Template Management
Overview
When you develop and deploy IoT solutions or apps, you most likely use complex architectures. We strongly recommend breaking up configurations into separate templates to simplify the deployment. This can make configuration replicable and troubleshooting easier.
A template is a standalone file that goes over a set of resources. You can also reuse templates through different deployments – creating consistency across complex implementations.
At /IOTCONNECT™, we offer a template – a pre-defined structure – to help you manage and organize all aspects of your device and data management. A template is helpful for the configurations you plan to reuse or for more complex architectures.
The template structure simplifies the process of device provisioning and data flow by assigning rules, capturing attributes and allocating commands. Our template feature will enable you to:
- Create and maintain records of your devices
- Establish device properties in the form of attributes that define the data captured by those devices
- Assign commands so the devices can perform their desired functions with ease
- Designate rules for each device
For example, for web developers, site templates offer an ideal solution for streamlining the website-building process. A site template contains all the pieces needed to build a website, including layout, navigation, sample content and more. Plus, you can customize each site with components and interactions that meet your specific needs.
Overall, site templates are helpful for web developers to get the job done quickly and efficiently. Likewise, for IoT solution developers, this template structure is beneficial for managing devices.
Let us start with the template.
Create a template
To create a template for your organization:
- From the left navigation, mouseover the Devices module. Select Greengrass Device. In the middle and toward the down, select Templates.
- Along the top and toward the right, select Create Template.
- Enter data in the following fields:

(Screen: Create Template)
- Template Code: Enter a unique code for the template. Once entered, you cannot change.
- Template Name: Enter a unique name for the template.
- Authentication Type: We offer two types of authentications.
- CA-Signed Certificate: A third-party organization approves it. Commonly used in production environments.
- Self-Signed Certificate: A user approves. Suitable for development environments.
- Device Message Version: The device message version allows you to define how your device communicates with the Greengrass core, ensuring that the messages sent and received are understood correctly. Select the device message version. The platform displays the data type while editing a template based on a device message version.
- Gateway Support: Gateway support enables your Greengrass device to serve as a gateway for other devices in your edge network, allowing seamless communication between local devices and AWS IoT services. This is useful for managing many devices efficiently in your edge network.
- Tag: On selecting the gateway support, it opens the Tag tab to allow you to assign tags to the device. Tags help categorize and organize resources like devices. By assigning tags to the device, you can easily search and filter devices.
- Click Save to create a template.
Required fields have a red asterisk on the upper-right side of every field name.
Once a template is saved, the window opens the fields to fill.

(Screen: Template Properties)
A template in /IOTCONNECT™ offers four features to set values – Properties. Attributes. Shadow. Commands. Consider setting values in all.
Properties

(Screen: Properties)
- Description: Enter a short description of the template.
- Data Frequency (in seconds): Defines the frequency of device-to-cloud messages sent from a device. This works with SDKs provided by /IOTCONNECT™. 60 seconds is the default minimum data frequency. If you would like to reduce the default data frequency below 60 seconds, we recommend you create a support ticket under enable feature section. We can then set your default desired data frequency. Without it you can enter data frequency between 60 and 999.
- Click Save to save properties.
Required fields have a red asterisk on the upper-right side of every field name.
Attributes

(Screen: Attributes)
- Local Name: Enter the unique local name for the attributes.
- Data Type: Type of data you can ask your device for reporting to /IOTCONNECT™. /IOTCONNECT™ supports the following data types.
| Bit (0/1) | Datetime | Latlong | String |
| Boolean | Deciman | Long | Time |
| Date | Integer | Object |
- Description: Enter an explanation for the attributes.
- Color Code: /IOTCONNECT™ will use this color while plotting data on a chart or map.
- Unit: Define the unit of an attribute.
- Click Save to store attributes.
Required fields have a red asterisk on the upper-right side of every field name.
Shadow
The Shadow feature in the Greengrass template is a virtual representation of the device’s state in the cloud. It allows devices to communicate their state and receive updates from the cloud, ensuring consistency and real-time communication. Selecting Shadow when creating a template offers advantages such as synchronization and management of device states across the IoT fleet, easy updates of the desired state, monitoring of reported state, offline functionality, and strong security measures. Shadow simplifies device management and enhances reliability in IoT deployments.
Shadow consists of two primary elements, property and key. The back-end application establishes the property, but it is not transmitted to the device. Conversely, the key is linked to the device to support authentication and is not shared with the cloud. The back-end application configures desired properties that the device can read, whereas the device sets reported properties that the back-end application can read.

(Screen: Shadow)
- Property: The value set by a back-end application and read by a device.
- Key: The value set by a device and read by a back-end application.
- Data Type: Type of data you can ask your device for reporting to /IOTCONNECT™.
- Default Value: Specify the desired device state to update while the device is connected or not connected to AWS IoT Core.
- Click Save to save the shadow.
Required fields have a red asterisk on the upper-right side of every field name.
Commands
Commands instruct a device to take action. In devices, commands include a name and parameter value. The device’s firmware takes the required action based on the command.
Parameter value: 10 ⁰C

(Screen: Commands)
- Command Name: Enter the unique command name.
- Command: Enter the command that you want to give.
- Make the radio buttons ON if:
- You want a command to require the parameter value.
- You want a device to receive the receipt during its execution.
- The command is an OTA command.
- Click Save to see it in device properties.
Required fields have a red asterisk on the upper-right side of every field name.
Note: Once you save properties, attributes, shadow, or a command, you will see them in a list on the right.
Template List
To view the template list:
- From the left navigation, mouseover the Devices module. Click Device. In the middle and toward the down, select Templates.
- The template list shows a template name, authentication type, message version, attribute, shadow, command, device, rule and actions.

(Screen: Template List)
- Actions: Edit or delete a template.
Edit a template
To edit a template:
- Click on the Edit Template icon from the actions lane.
- It will show you the different fields to edit in a basic template and template features.

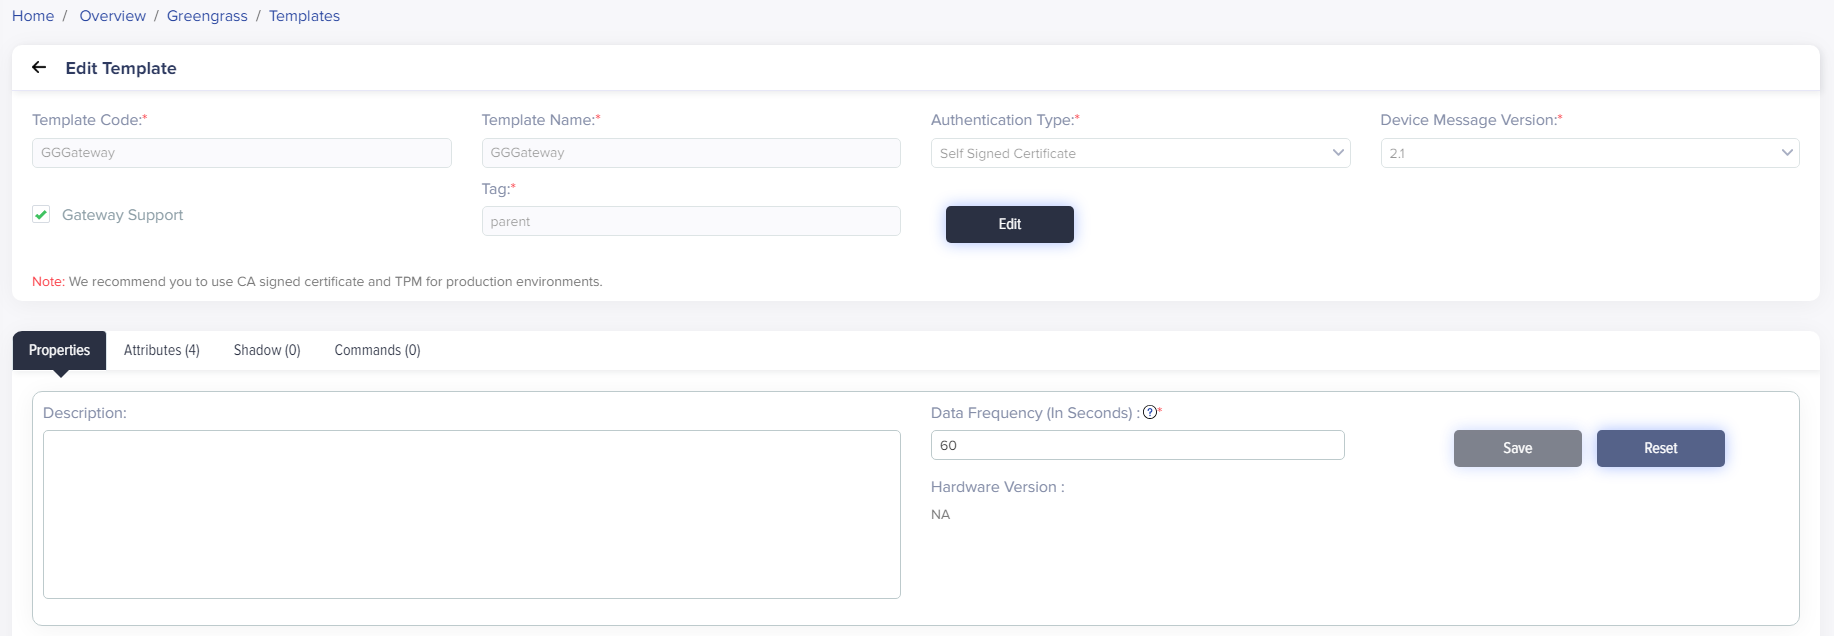
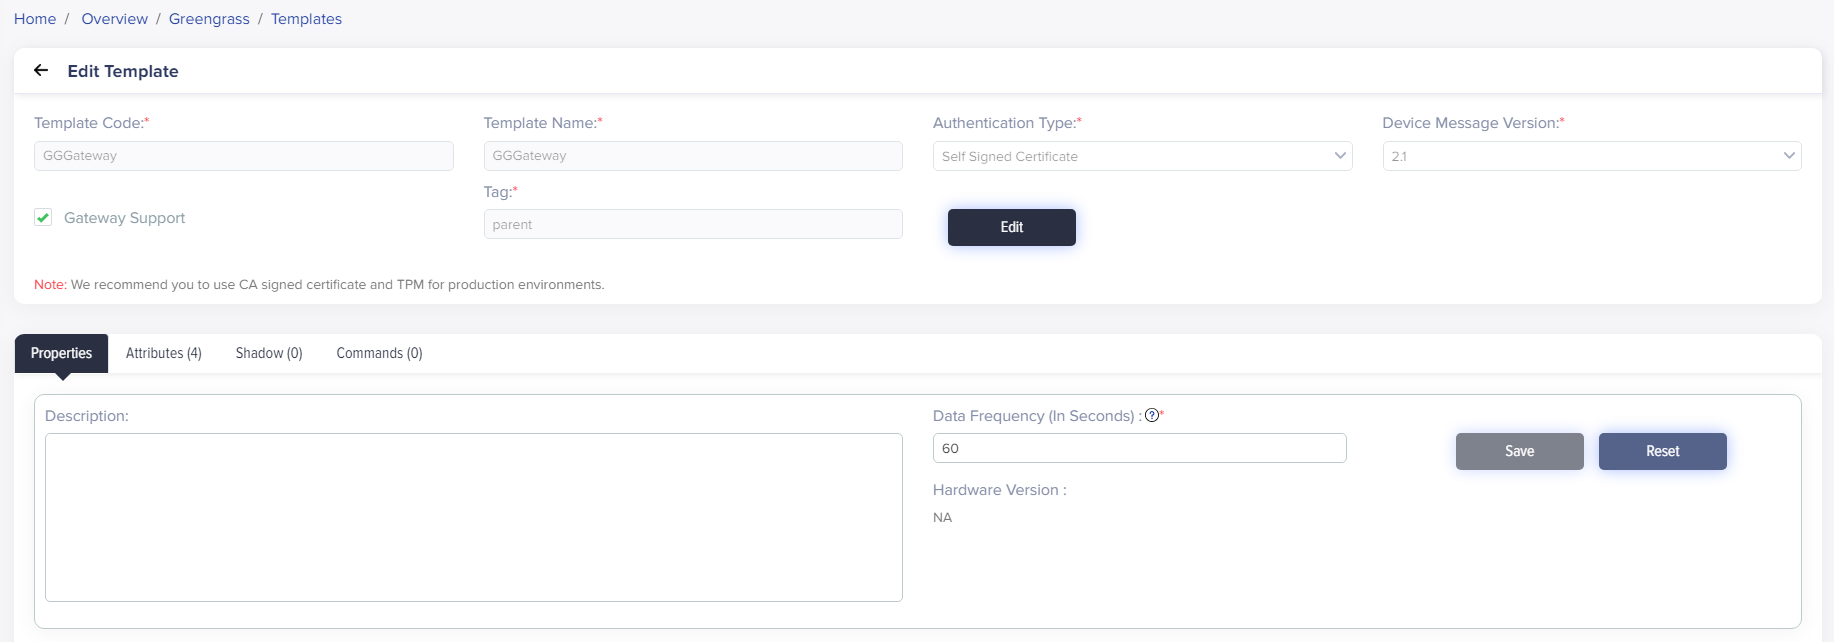
(Screen: Edit Template)
- To edit a basic template, click Edit. Here, you can only edit the template name.
- To edit template features,
- In Attributes, click Attribute name from the right side.
- In Shadow, click Property from the right side.
- In Commands, click a Command Name from the right side to allow you to edit on the left.
- In Properties, you can directly edit the description and data frequency.
- Click Save or Update to save the revised changes.
Required fields have a red asterisk on the upper-right side of every field name.
Delete a template
To delete a template:
- Select the Delete Template icon from the actions lane.
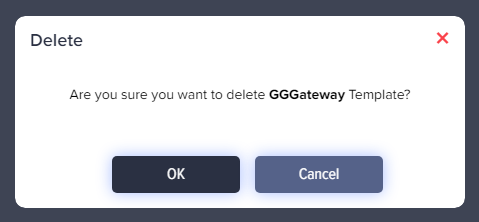
- It will present the dialogue box titled ‘Delete’.

(Screen: Delete Template)
- Click Ok to delete a template.
