
Firmware Management
Overview
/IOTCONNECT™’s device management feature lets you use over-the-air (OTA) firmware updates. OTA provisioning simplifies and speeds up the deployment of content, updates, and configurations for connected devices. Refer to the diagram below for information on how this works in /IOTCONNECT™ with minimal disruption to business operations.
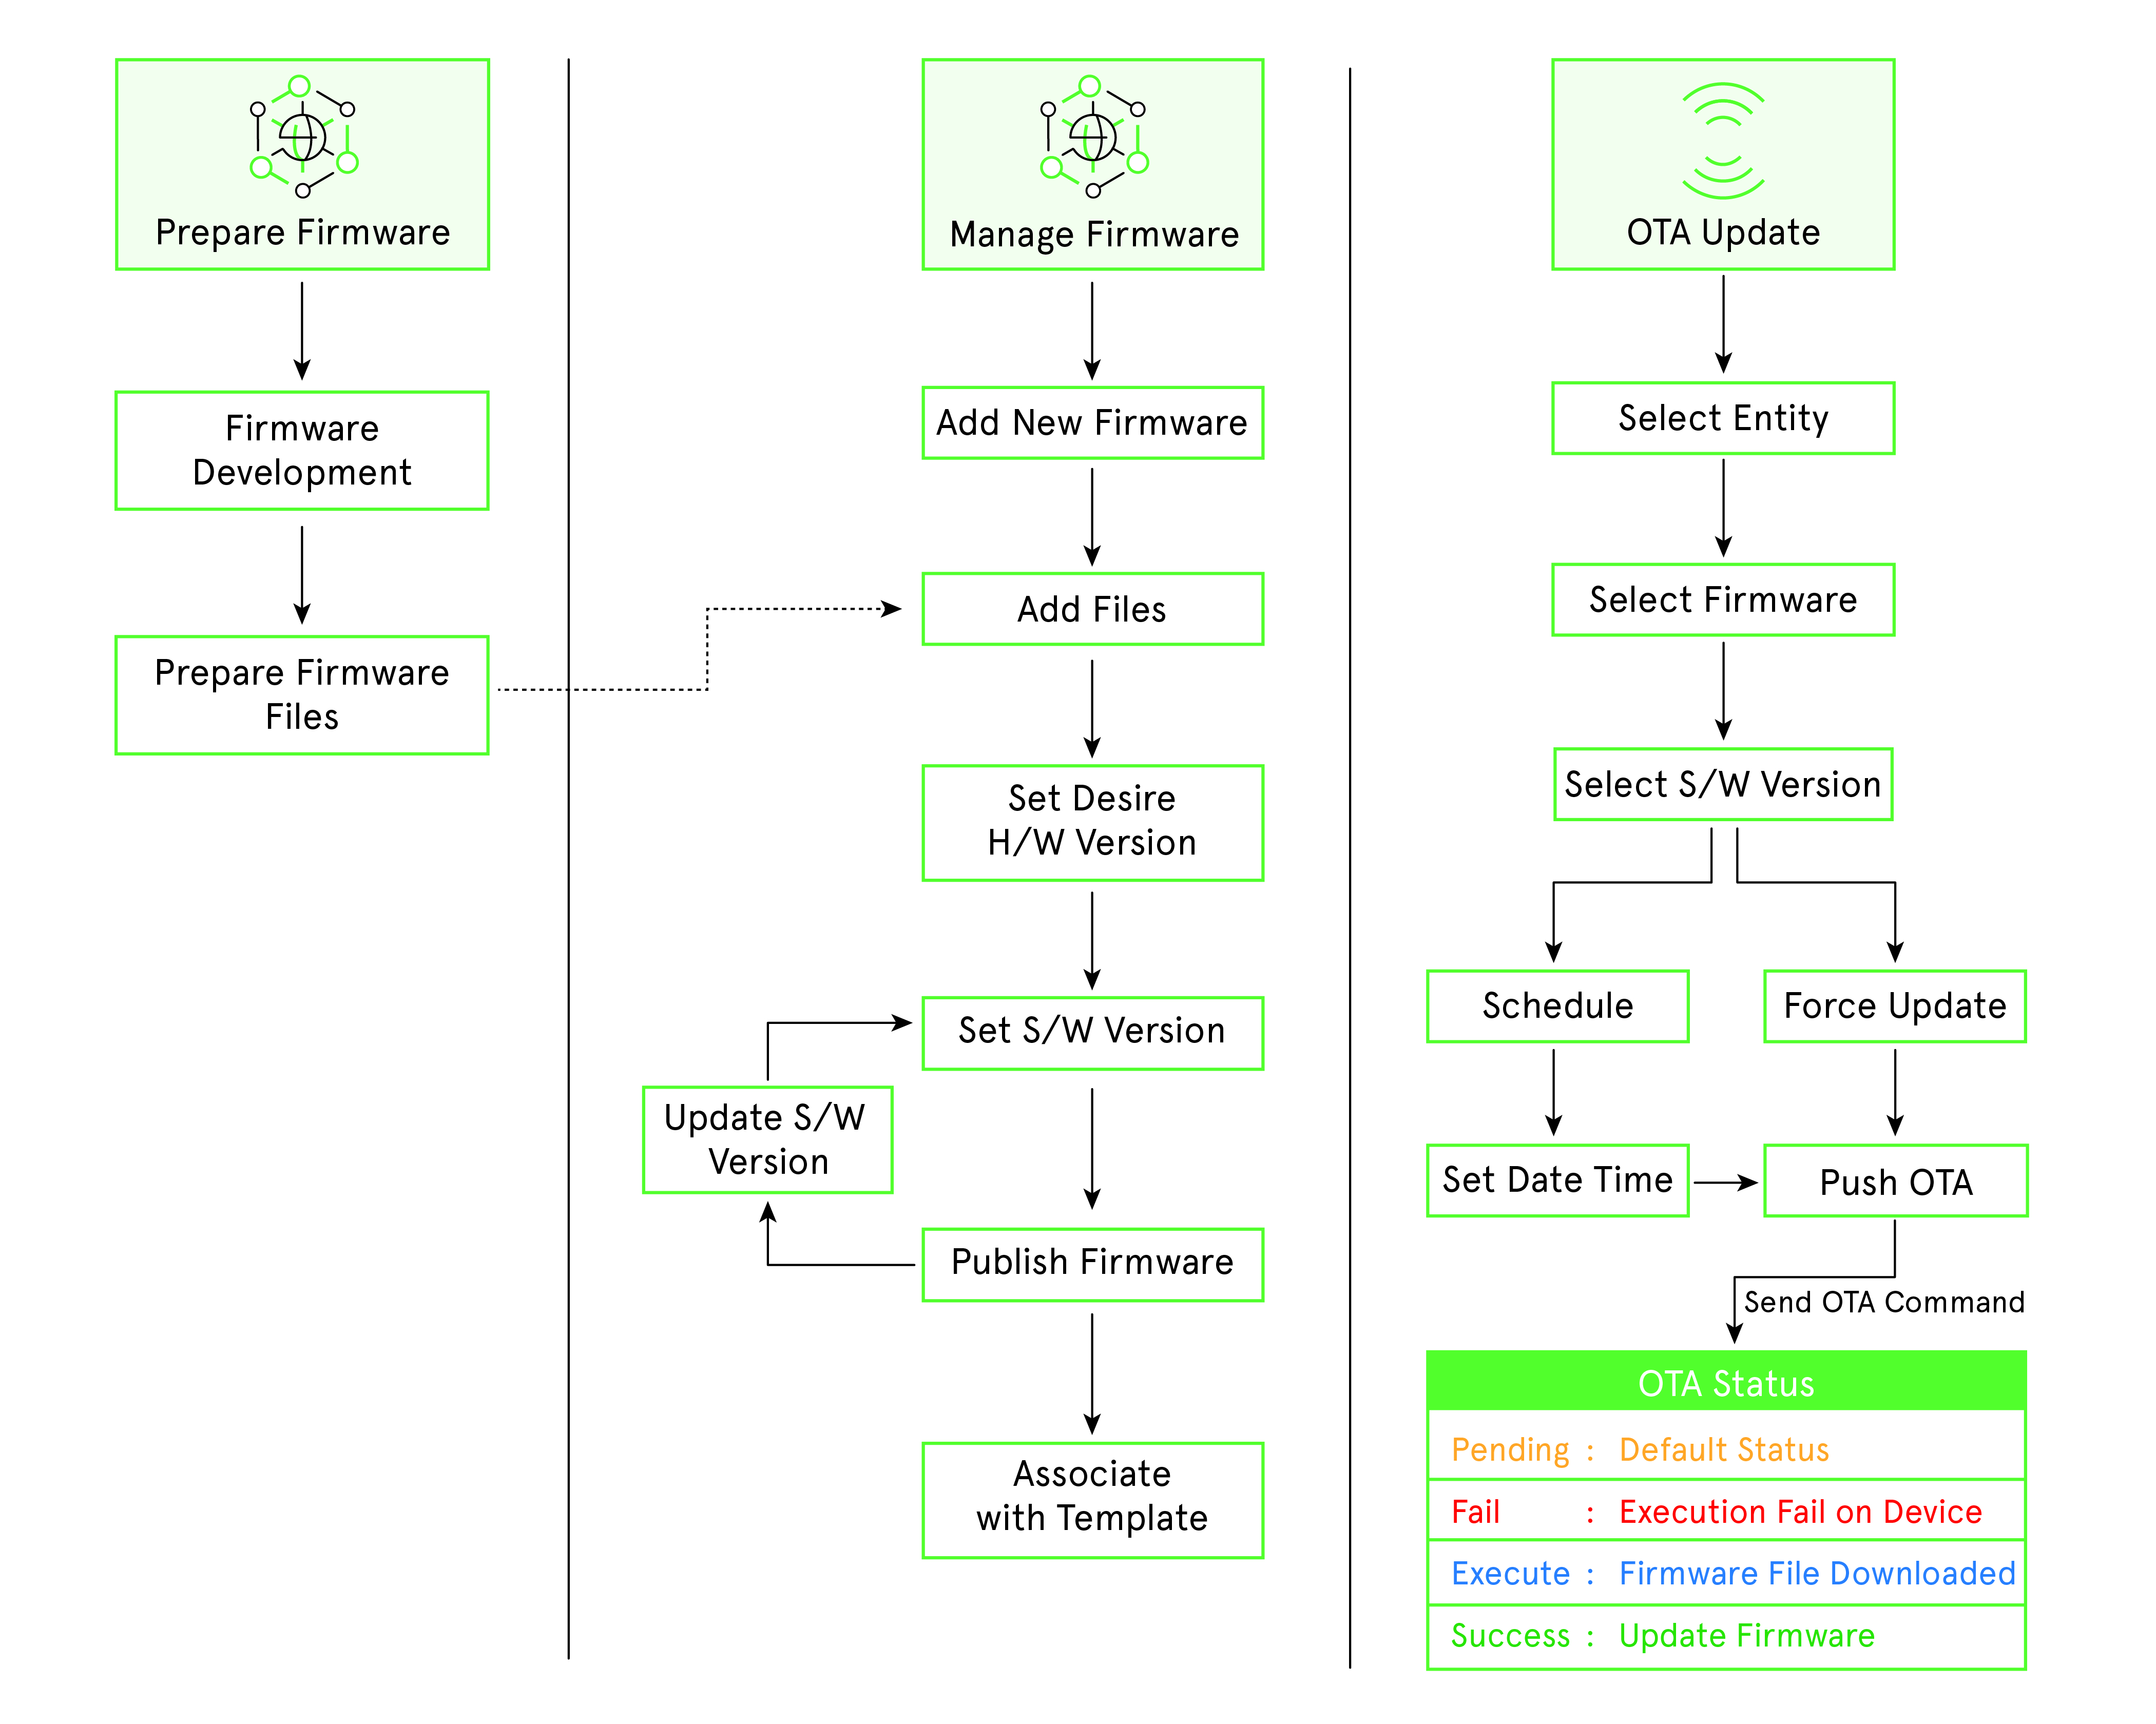
(Screen: OTA Firmware Update Flow)
Firmware Management
Firmware management allows you to create firmware versions (hardware and software). Additionally, firmware management lets you know how many firmware updates you have released via OTA. The draft mode allows you to edit the existing firmware and release it. /IOTCONNECT™ offers two types of firmware versions:
- Hardware Version: The hardware version is unique to each system. You can add a new hardware version by clicking on Create Firmware. Once released, the hardware version cannot be deleted.
- Software Version: The software version is associated with each hardware version. You can add software versions by clicking on the Upgrade Software. The button can be found in the firmware version list’s Actions lane.
Create Firmware Version
To create a firmware version for your template:
- From the left navigation, mouseover the Devices module. Click Device. In the middle and toward the down, select Firmware.
- Along the top and toward the right, select Create Firmware.
- Enter data in the following fields:
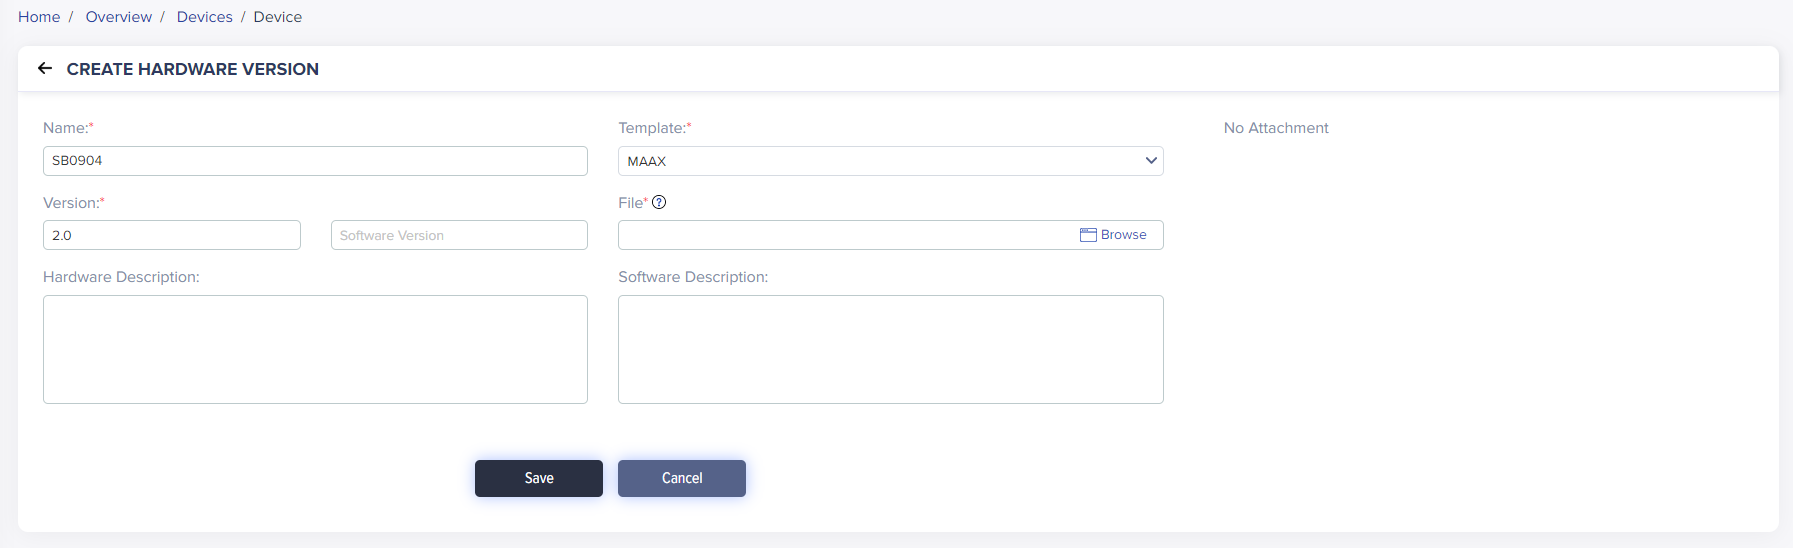
(Screen: Create Firmware/Hardware Version)
- Name: Enter a unique firmware name to help you identify the firmware.
- Version: Enter the firmware’s hardware version number.
- Template: Select the template for your firmware. Once you select the template, the firmware file tab will appear.
- Firmware File: Upload the firmware file. Note that the firmware file can only be in .txt, .zip., or .iso. You can also upload multiple files of different file types.
- Notes: You can add required notes for a device.
- Descriptions: Enter a relevant description of the firmware.
- Click Save to create a firmware version.
Required fields have a red asterisk on the upper-right side of every field name.
The firmware list will reflect your firmware.
Firmware List
To view the firmware list:
- From the left navigation, mouseover the Devices module. In the middle and toward the down, select Firmware.
- The firmware list displays a firmware name, template code/name, hardware version, software upgrades status, description and actions.

(Screen: Firmware List)
- Software Upgrades: It shows the number of software versions released/published and in the draft mode. Any software version you create stays in the draft mode. Once released, you cannot update a software version.
- Actions: Upgrade software or deprecate software.
- A click on Upgrade Software will take you to create a software version.
Firmware Filter
- Apply the filter from the top-right corner of the firmware list.
- Add filters like firmware name, hardware version, released, draft and deprecated firmware versions by selecting the + icon
- Any software version you create stays in draft mode by default. You can publish the firmware anytime and check more details using a firmware filter.

(Screen: Firmware Filter)
/IOTCONNECT™ offers five firmware filters. Apply any filter and enter the required keywords or number to retrieve matching results in the firmware list. Click Apply Filter to apply it.
Deprecate a firmware
To deprecate firmware:
- Select Deprecate Firmware icon from the actions lane.
- It will present the dialogue box titled ‘Delete’.
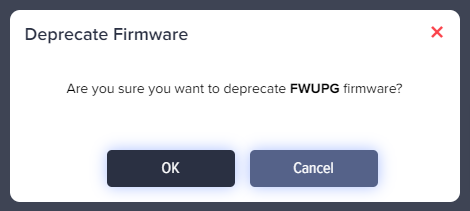
(Screen: Deprecate Firmware)
- Click Ok to deprecate firmware.
Software Version Management
Create Software Version
To create a software version:
- From the left navigation, mouseover the Devices module. In the middle and toward the down, select Firmware.
- Click Upgrade Software from the firmware version list.

(Screen: Upgrade Software)
- Enter data in the following fields:

(Screen: Create Software Version)
While creating a software version, you cannot edit fields related to the hardware version.
- Software Version: Enter the firmware’s software version number.
- Firmware File: Upload the firmware file. Note that the firmware file can only be in .txt, .zip., or .iso. You can also upload multiple files of different file types.
- Descriptions: Enter relevant software descriptions to the firmware.
- Click Save to create a software version.
Software Version List
To view the software version list:
- From the left navigation, mouseover the Devices module. In the middle and toward the down, select Firmware.
- Click on numbers from released or draft under software upgrades. In the middle and toward the left, select All.

(Screen: Software Version List)
While creating a software version, you cannot edit fields related to the hardware version.
- Status: Your software version can be in Draft or Released mode. Once released, you cannot update a software version.
- Software Version Actions: It presents the actions you can take on a software version.
Software Version Actions
Access software version actions with a click on the number of software versions in the released or draft mode. Software version actions enable you to take different actions.
Test OTA
Test OTA allows you to test the software version even on a single IoT device.

(Screen: Software Version Actions – Test OTA)
- A click on Test OTA will present OTA Updates in a new window.
(OTA Updates)
- Test OTA allows you to select the device and schedule OTA.
- Click Update to test OTA
Release Firmware
- Click Publish from the software version actions.

(Screen: Software Version Actions – Publish)
- It will present the dialogue box titled ‘Release Firmware’.
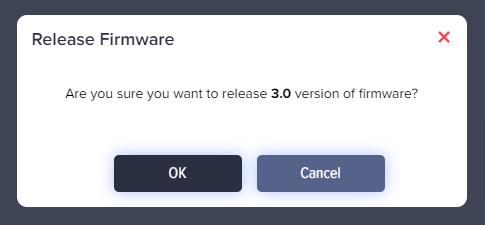
(Screen: Release Firmware)
- Click Ok to release the firmware.
Download Firmware File(s)
- Click Firmware File(s) from the software version actions

(Screen: Software Version Actions – Firmware File(s))
- It will present the dialogue box titled ‘Firmware File(s)’.
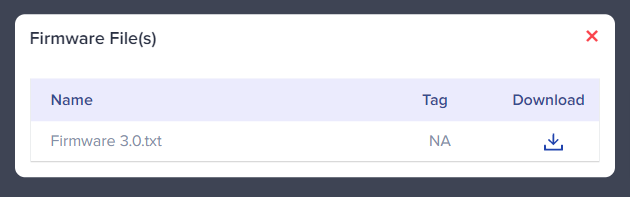
(Screen: Firmware File(s))
- Download firmware file(s) as per your need.
Edit Software Version
- Click Edit from the software version actions

(Screen: Software Version Actions – Edit)
- Enter data in the following fields:
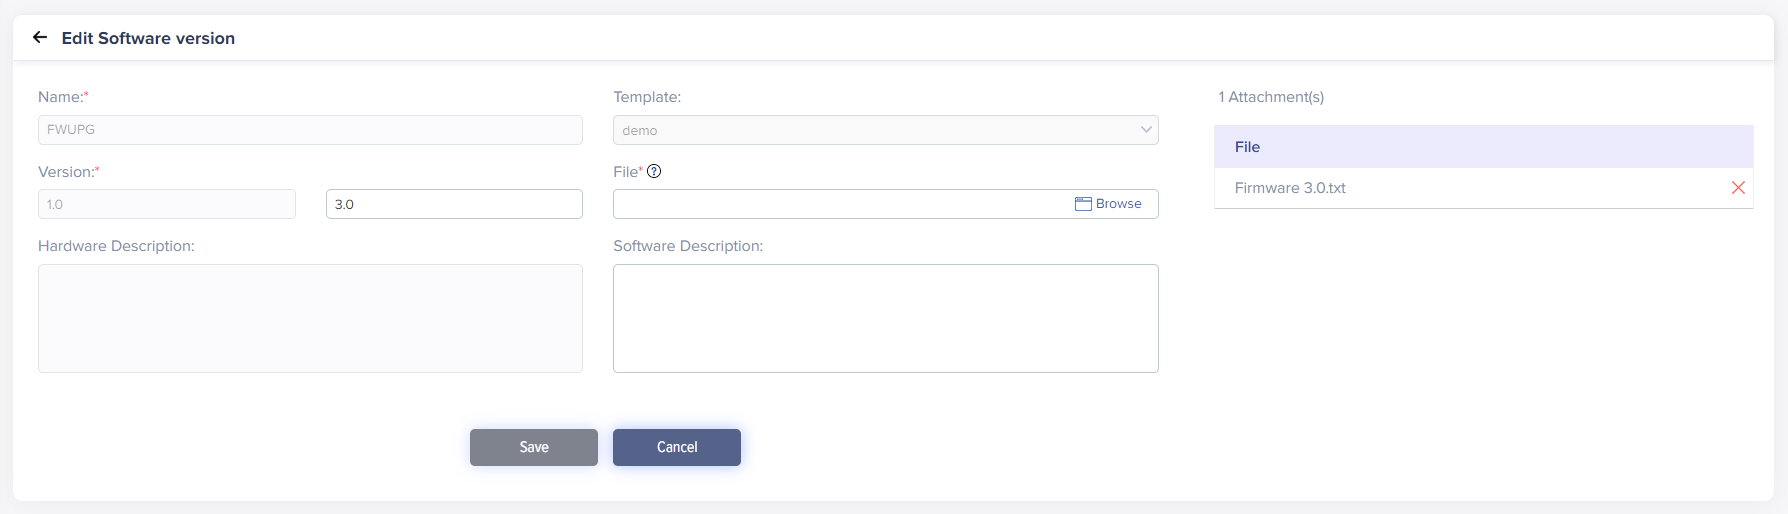
(Screen: Edit Software Version)
- Editing a software version includes a software version number, software version file upload and software version description.
- Click Save to save the changes to the software version changes.
Delete Software Version
- Click Delete from the software version actions.

(Screen: Software Version Actions – Delete)
- It will present the dialogue box titled ‘Delete’.
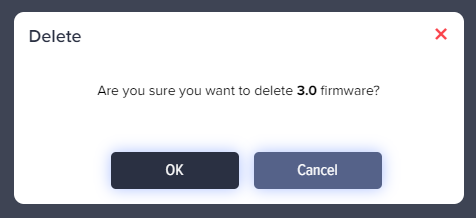
(Screen: Delete Software Version)
- Click Ok to delete the software version.
OTA Updates
You can send/schedule a new OTA update as soon as the new firmware is available. You can select hardware and software versions for any target, such as all devices of an entity, all devices of an entity including a sibling entity, a particular device, or a device group. It will be helpful if the device’s function/parameters change.
Create OTA update
To create an OTA update:
- From the left navigation, mouseover the Devices module. Click Device. In the middle and toward the down, select Firmware.
- Along the top and toward the right, select OTA Updates.
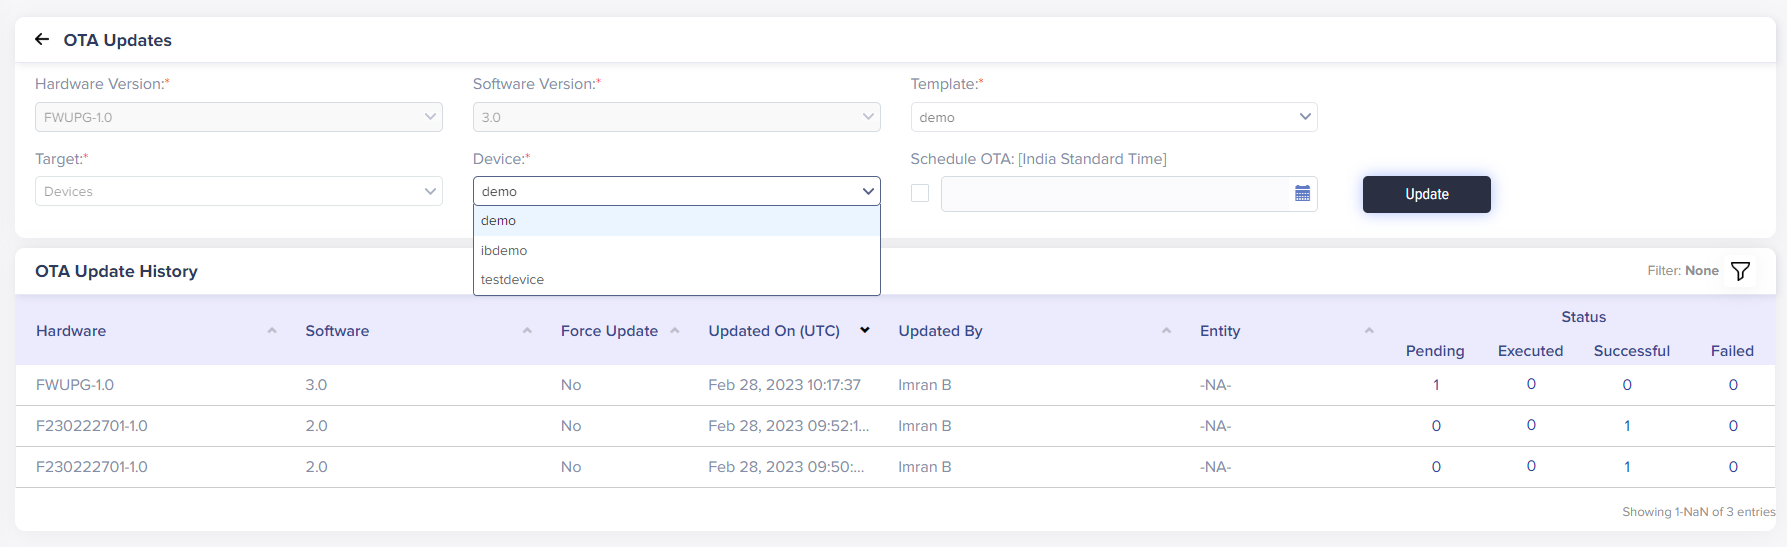
- Enter data in the following fields:

(Screen: Create an OTA Update)
- Hardware Version: Select the hardware version from the drop-down list for your target.
- Software Version: Select the software version number from the drop-down list for your target.
- Target: /IOTCONNECT™ offers four options to target:
- Single Entity
- Entity including Siblings
- Devices
- Devices Group
As you select the target, the right tab will show the option accordingly.
- Schedule OTA: Set the date and time you need to release an OTA update.
- Click Update to create an OTA update.
OTA Update History
To view OTA update history:
- From the left navigation, mouseover the Devices module. Click Device. In the middle and toward the down, select Firmware.
- Along the top and toward the right, select OTA Updates.
- In OTA Updates, the later portion is of OTA Update History.

(Screen: OTA Update History)
- Status: OTA update history can be pending, executed, successful, or failed.
- Pending: Displays the number of OTA updates that are pending.
- Executed: Indicates the number of OTA updates that have been executed but have not yet been successful.
- Successful: Shows how many OTA updates have been successful.
- Failed: Displays how many OTA updates failed.
- Status: OTA update history can be pending, executed, successful, or failed.
To navigate to the individual OTA update status, click on the count of a particular OTA update status.

(Screen: Navigate to the Individual OTA Update Status)
As shown below, the details of an OTA update will be visible.

(Screen: OTA Update Status Details)
- OTA Update History Filter:
- Apply the filter from the top-right corner of the OTA Update History.
- Add filters like hardware, entity, scheduled, deprecated, etc. by selecting the + icon.
- You can add or remove any filter anytime.

(Screen: OTA Update History Filter)
/IOTCONNECT™ offers seven OTA update history filters. Apply any filter and enter the required keywords or number to retrieve matching results in the OTA update history list. Click Apply Filter to apply it.