
Greengrass Device
AWS IoT Greengrass is software that extends cloud capabilities to devices located in remote or disconnected environments. It allows devices to perform computing, messaging, data caching, and sync capabilities locally while still interacting with the broader AWS cloud.
By using AWS IoT Greengrass, you can run AWS Lambda functions on your devices, enabling them to respond quickly to local events, reducing latency and minimizing the amount of data sent to the cloud. It also supports local device discovery, secure communication, and over-the-air updates.
AWS IoT Greengrass enables local processing and storage, allowing devices to operate with reduced or intermittent connectivity. This is particularly useful in industrial automation, agriculture, and many more scenarios, where devices can operate with reduced or intermittent connectivity.
Create a Greengrass device
To create a Greengrass device for your organization:
- From the left navigation, mouseover the Devices module. Click Greengrass Device.
- Along the top and toward the right, select Create Device.
- Enter data in the following fields:
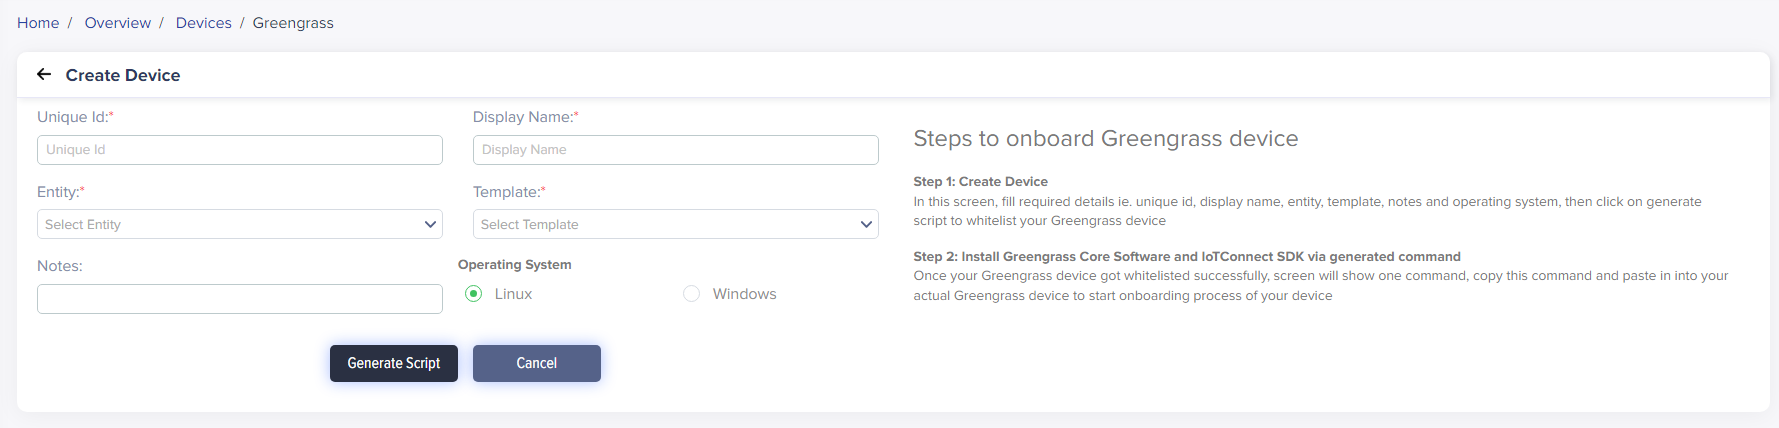
(Screen: Create Device)
- Unique ID: Enter the unique ID of a device.
- Display Name: Enter the display name for a device.
- Entity: Select the entity for your device.
- Template: Select the template for your device.
- Notes: You can add required notes for a device.
To onboard a Greengrass device, you need to follow the two main steps. The first step is to create a device by filling in the required details, such as the unique ID, display name, entity, template, notes and operating system. Once you have entered all the necessary information, click ‘Generate Script’ to whitelist your Greengrass device. This will ensure that your device is authorized to connect.
When you click Generate Script, you will see the pop-up container as shown in the following screenshot.
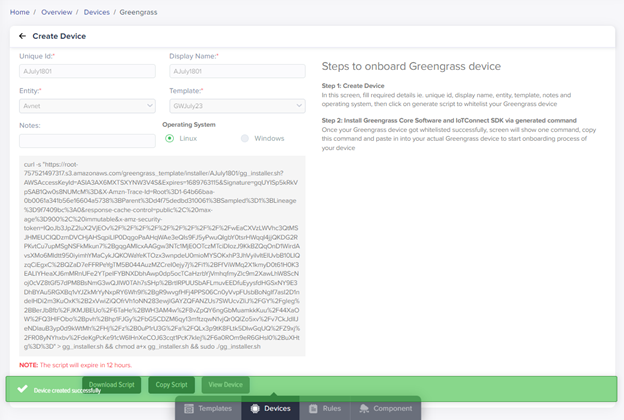
(Screen: Copy/Download Script)
After successfully whitelisting your Greengrass device, you can proceed to the second step. That involves installing the Greengrass Core Software and /IOTCONNECT™ SDK via the generated command. Once you copy the command, paste it into your actual Greengrass device to start onboarding. With these two simple steps, you can easily onboard your Greengrass device and use it for your IoT projects.
Required fields have a red asterisk on the upper-right side of every field name.
The Greengrass device list will reflect your device.
Greengrass device list
To view the Greengrass device list:
- From the left navigation, mouseover the Devices module. In the middle and toward the down, select Greengrass Device.
- The Greengrass device list displays a unique ID, device name, template name, entity name, devices, last connection, last communication, device status, status and actions.

(Screen: Greengrass Device List)
The first four columns show the Unique ID, and the device, template and entity names.
- Last Connection: Time of the last connection by a device to the cloud.
- Last Communication: Time of the last contact where a device sends the telemetry data.
- Device Status: It has relevance with cloud connectivity.
-
- Connected: A device is connected to the cloud and transfers data.
- Disconnected: A device is disconnected from the cloud. To join a device with the cloud, set:
-
-
- Unique ID
- CPID or SID
- Environment: Pre-QA, POC, or Production
- Discovery URL as per the environment
- Certificate: Provide certificate path
- Place sensor value
- Released: This is a default device status once you create your Greengrass device.
-
When you copy the command and paste it into your actual Greengrass device, AWS IoT Core will acquire it.
- Status: It is related to /IOTCONNECT™. It can be active or inactive.
- Active: Device is connected to /IOTCONNECT™ and ready to use anytime.
- Inactive: Device is unplugged from /IOTCONNECT™. To use it back, activate the device.
- Actions: Apart from deleting a device, you can also track data change.
- Track Data Change: It shows the data on created date, created by, updated data and updated by.

(Screen: Track Data Change)
- Delete: Delete a device from /IOTCONNECT™.
- Device Filter:
- Apply the filter from the top-right corner of the device list.
- Add filters like entity and device status by selecting the + icon.
- Add or remove any filter at any time.

(Screen: Device Filter)
/IOTCONNECT™ offers six device filters. Apply any filter, enter the required keywords or select an option to retrieve matching results in the device list. Click Apply Filter to apply it.
Edit a Greengrass device
To edit a device:
- Click on the Unique ID from the device list. This will show you the fields to edit.
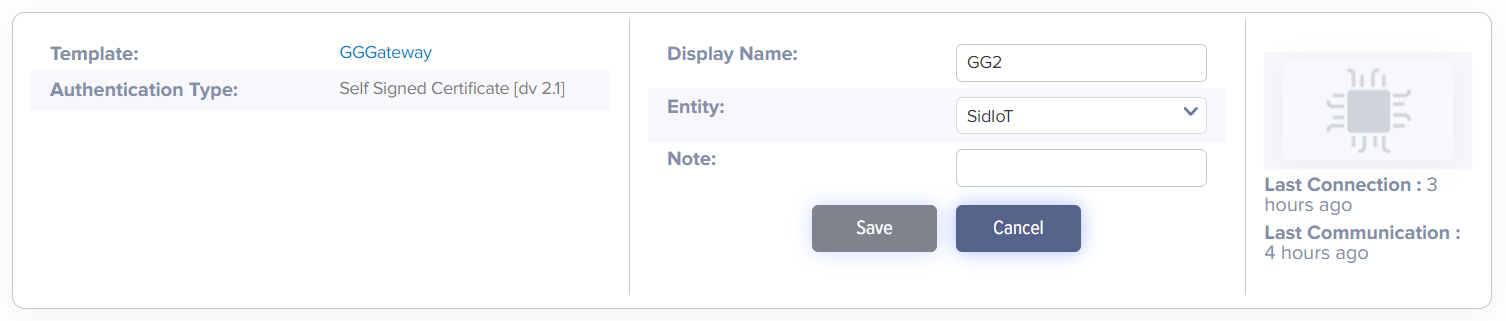
- Editing a device will take you to Device Info of Device Details. Click Edit Device Info from the top right corner of the Device Info. This will allow you to edit basic device details like its display name, associated entity, notes and device image. You cannot edit the template or authentication type.
- Click Save to save editing a device changes.
(Screen: Device Filter)
Delete a device
To delete a device:
- Select the Delete Device icon from the actions lane.
- It will present the dialogue box titled ‘Delete’.
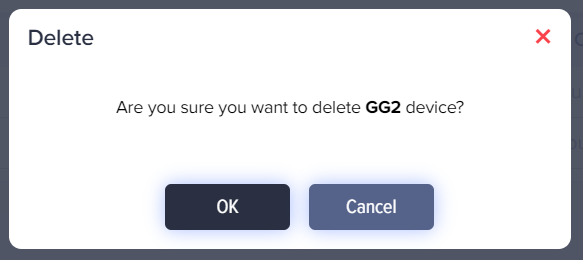
(Screen: Delete Device)
- Click Ok to delete a device.