ExpressConnect
Create Design – Guided Mode
You can opt for Guided Mode to help you through the design from selecting the products to adding them in the workbench. You need to turn on the Guided Mode as shown below:

(Screen: Guided Mode)
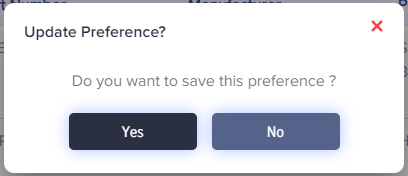 (Screen: Guided Mode_Message)
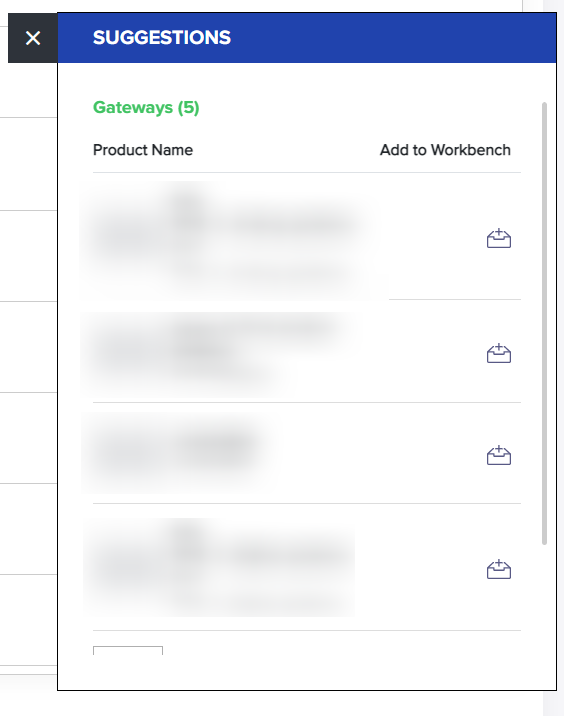
You can then get suggestions according to your selection of first product:

(Screen: Suggestions)
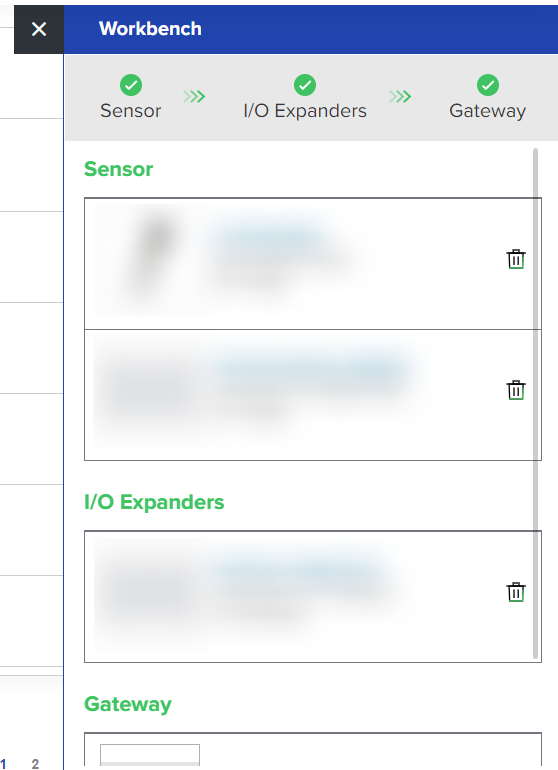
Once you’ve selected from the given suggestions, you can choose a gateway device and add it to the workbench.

(Screen: Workbench)
You can then proceed to Design Canvas.
ExpressConnect Overview
If you want to get a detailed device design to onboard your devices on our IoT platform, /IOTCONNECT™, and send or receive data, you can leverage ExpressConnect services in Partner Program. This module allows you to create and design the entire data flow, which when published, gets reflected as template in /IOTCONNECT™. Template is essential in our IoT platform to define device properties like type of device, connectivity, type of data and actions to take when certain data is received.
Creating a template manually can be a little tedious depending on the number of devices you want to connect. Hence, with ExpressConnect you can reduce the steps with our easy drag and drop interface that enables you to efficiently design the data flow. This will create a template in /IOTCONNECT™ with the same properties.
You can access ExpressConnect from the left menu:

ExpressConnect Module
You can access ExpressConnect from the left menu:
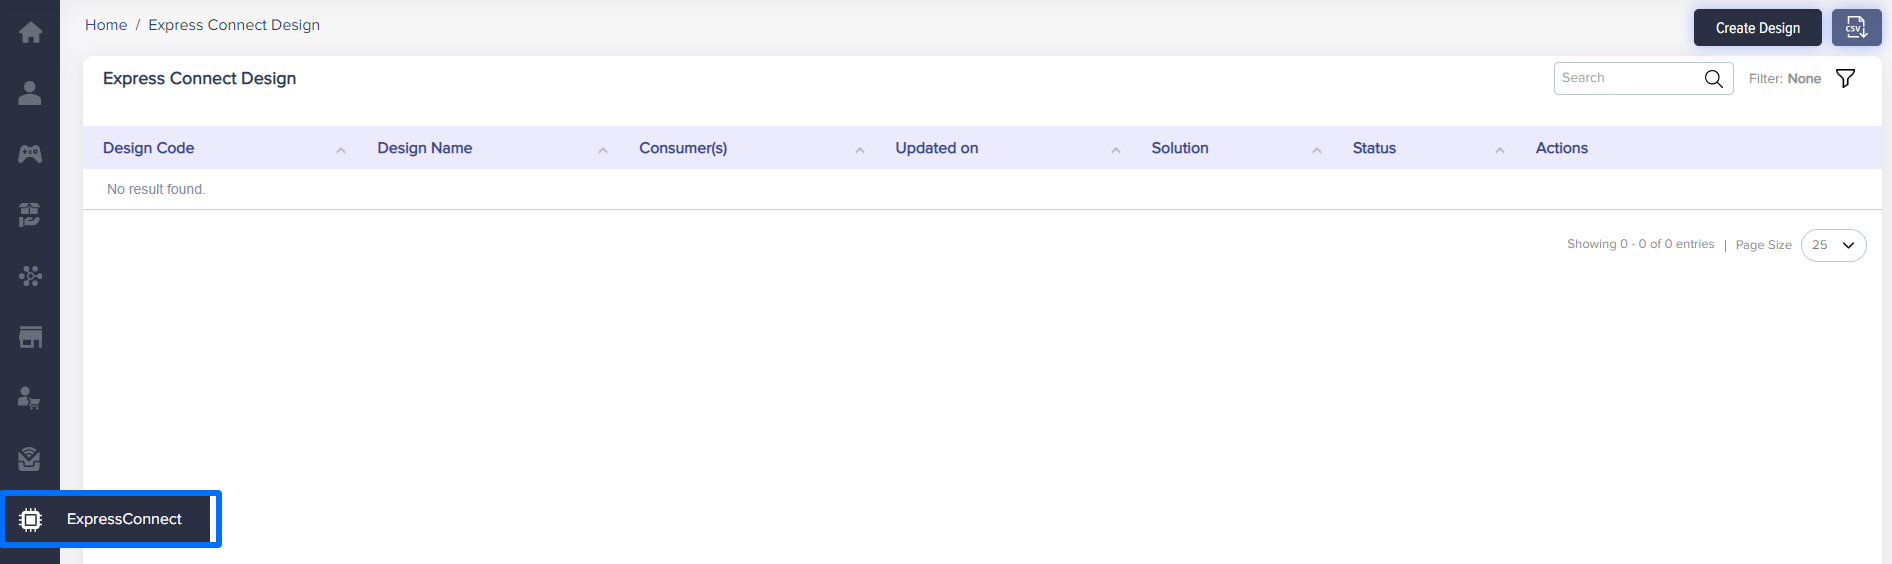
(Screen: ExpressConnect)
You can see the list of designs created previously on this page with details like:
- Design code: It is a system generated code for your design.
- Design name: You can create a name for your design.
- Consumers: It will display the number of consumers associated with the solution for which you are creating the design.
- Last modified date/time: It will display the date and time when you last edited or modified the design.
- Solution: You’ll see the solution associated with the design.
- Status: It will show you the status of the design (draft/published).
- Actions: You can perform the following actions:
- View: You can see the information about the flow that you designed using the canvas in the module.
- Edit: You can edit the flow design using this icon.
- Delete: You can delete the flow using this icon.
- Publish: This icon allows you to publish your flow design.
- Clone: You can clone the design and edit it accordingly.
Note: You cannot edit or delete the design once it is published or if there is a consumer associated with it
You can also download the information about the published design by clicking on the CSV icon as shown below:

(Screen: ExpressConnect_Create Design)
Create Design
Click on Create Design to enter the details about your design. You will get a screen as given below:
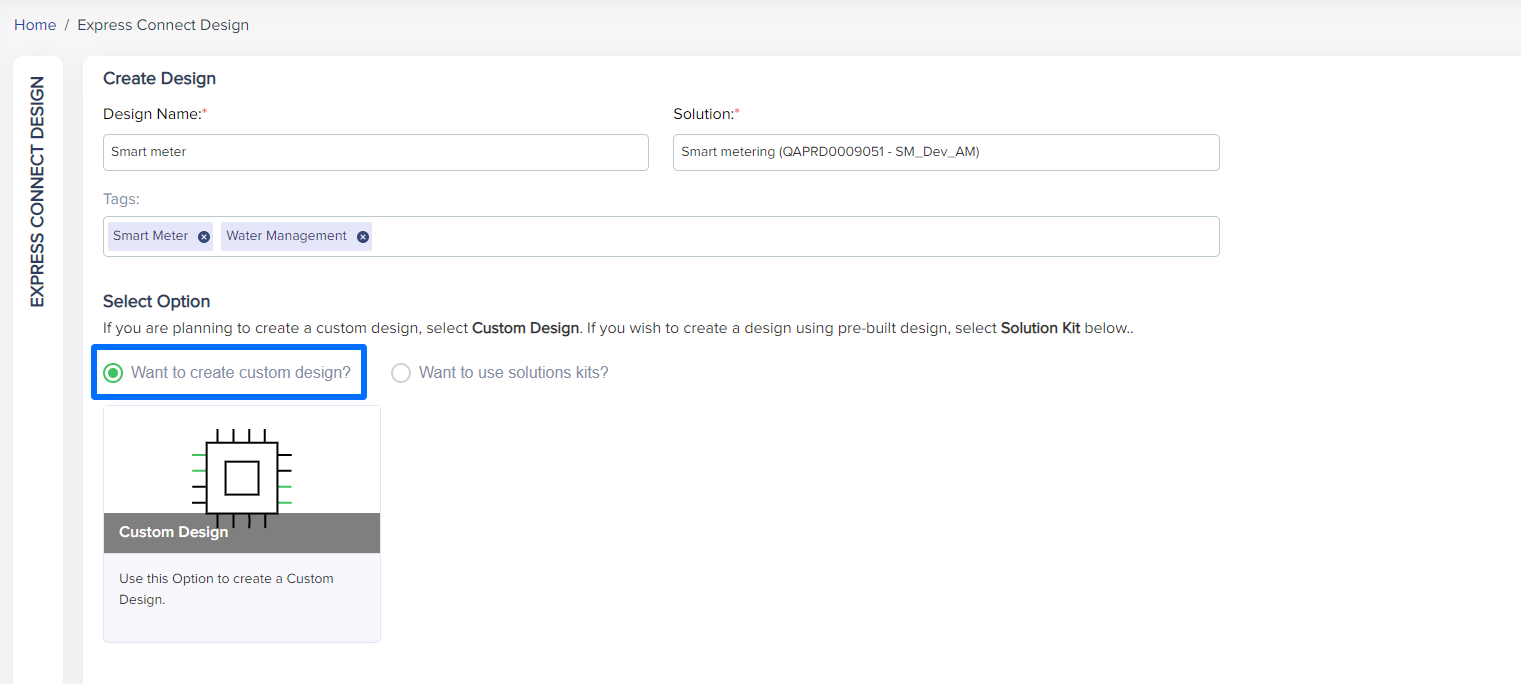
(Screen: Create Design)
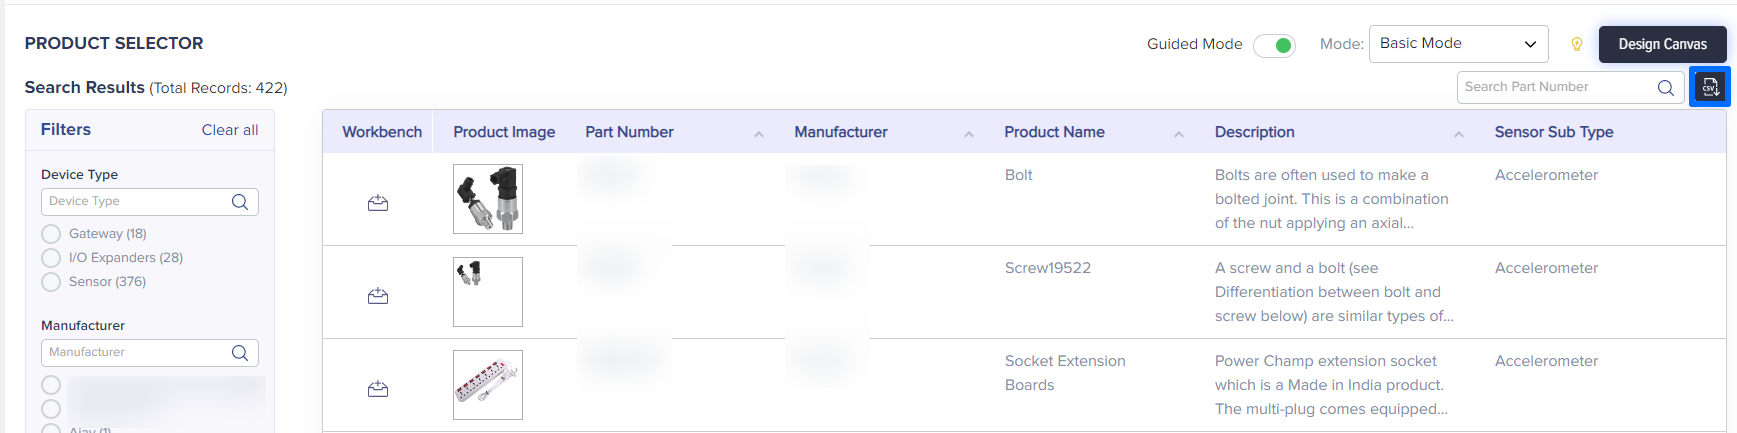
After entering the design name, the solution that you want to create the design for and tags related to the design, you need to select the components for the design that will be included as part of your solution – sensors, gateways and I/O expanders from the list given in the next screen:

(Screen: Product Selector)
You can even search the products by their part numbers. Once you have selected the required components, you can check the list in Workbench.
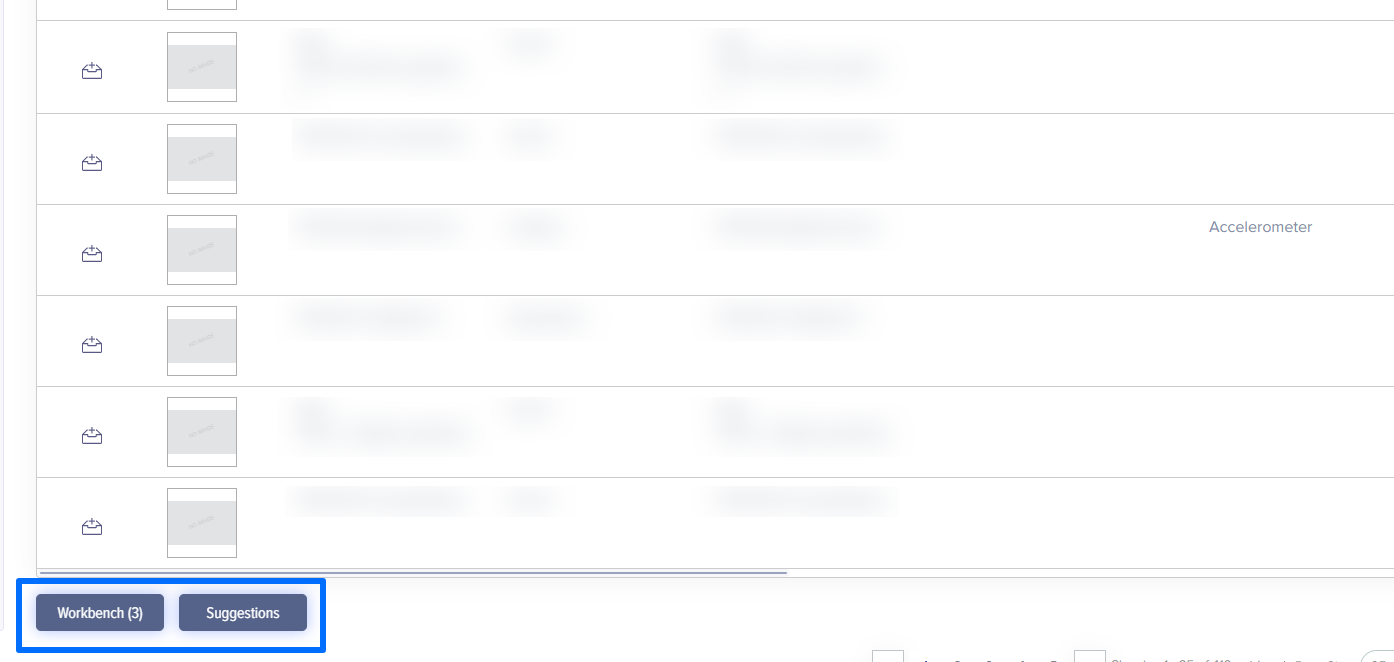
(Screen: Workbench)
(Screen: Workbench Details)
You can start designing the flow only if the validation rules are followed. Hence, you need to make sure that you have selected proper components to start the designing process.
(Screen: ExpressConnect_Suggestions)
You can also download the list of hardware by clicking on the CSV icon as given below:
(Screen: Download Hardware)
Note: You can continue with designing even without selecting an I/O Expander.
Once the flow is designed, you can publish it as shown in the screen below:
 (Screen: Publish Design)
You will get a pop-up asking to select authentication type. If you want to connect the design with devices from Device Management module, you need to select Token as your authentication type. For more instructions, you can check Manage Device.
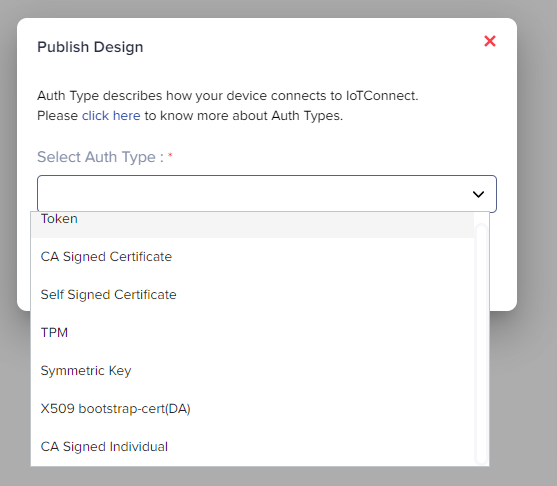
(Screen: Publish Design_Authentication Type)
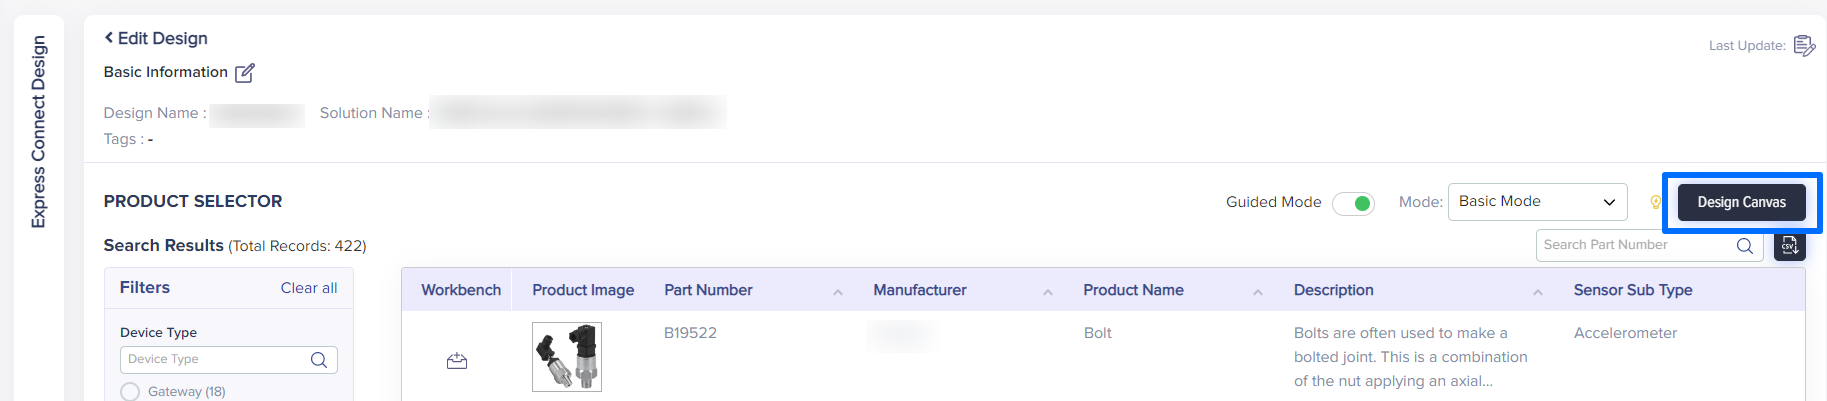
Design Canvas
Click on Design Canvas to design your data flow:
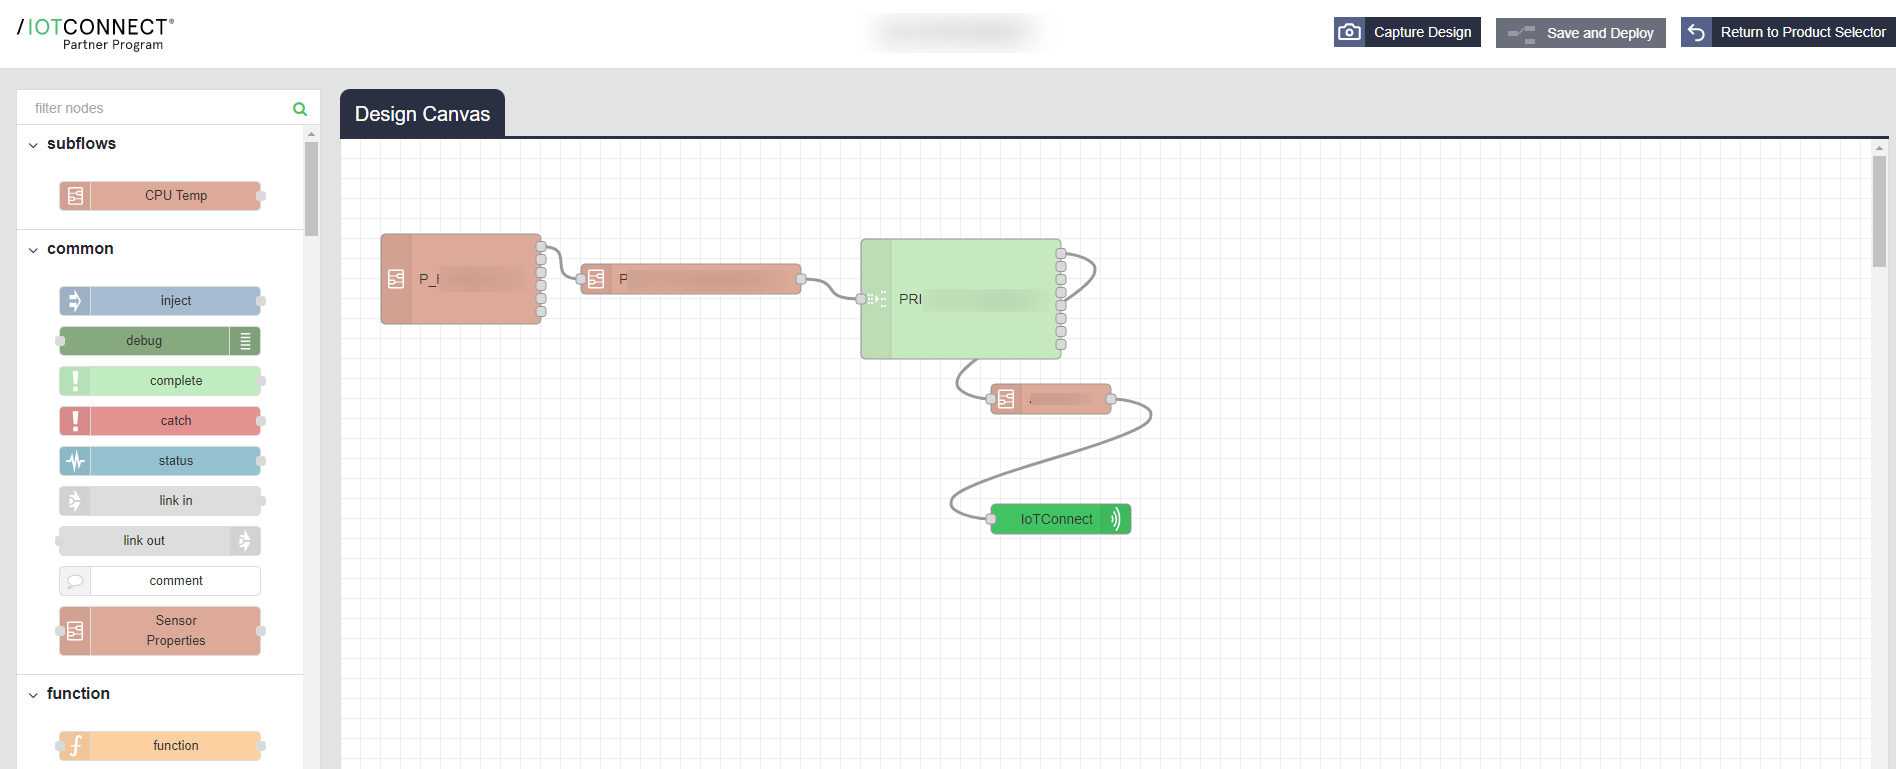
(Screen: Design Canvas)
You will get a screen with all the components placed on the canvas. You can arrange the products according to the flow that you want to design. You can also select other parameters from the left menu like function, network, etc.
(Screen: Design Canvas_Design Flow)
Click Deploy Design to save the flow in draft mode.
To implement the same flow in /IOTCONNECT™, you need to publish the design. This can be done from the last icon of actions segment in the list.

(Screen: Publish Design)
Once you have published the design, you can create consumer from My Consumers segment. The consumer that you create will be able to see the design flow that you have created under the template segment of /IOTCONNECT™.
To get advanced features or more options for connection nodes, you can use Advanced Mode design:
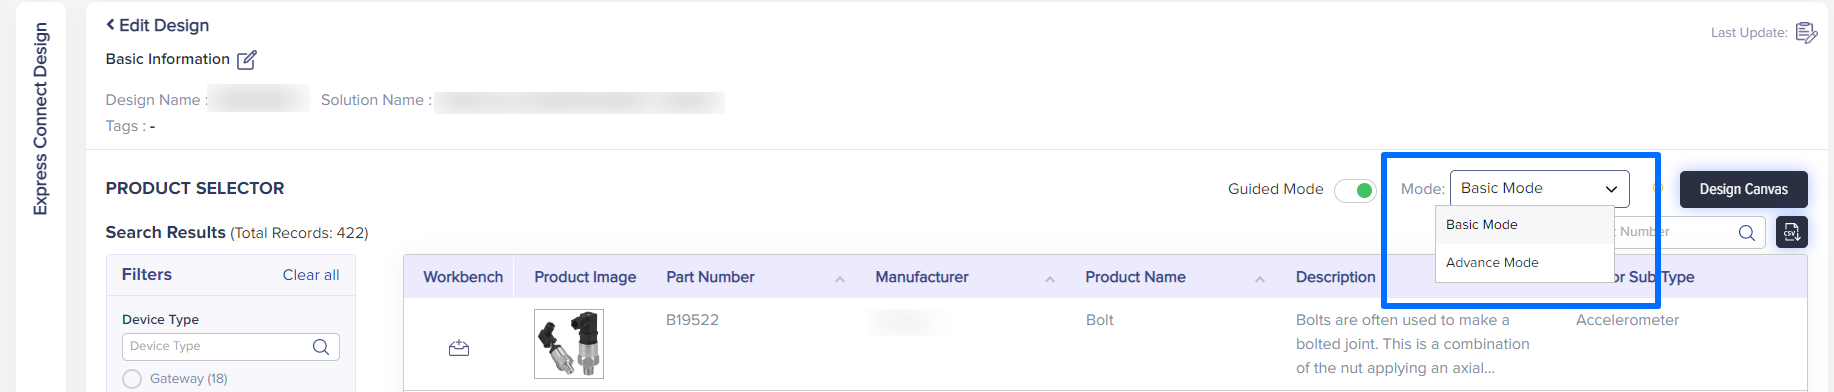
(Screen: Advanced Mode)
You’ll get the screen given below:
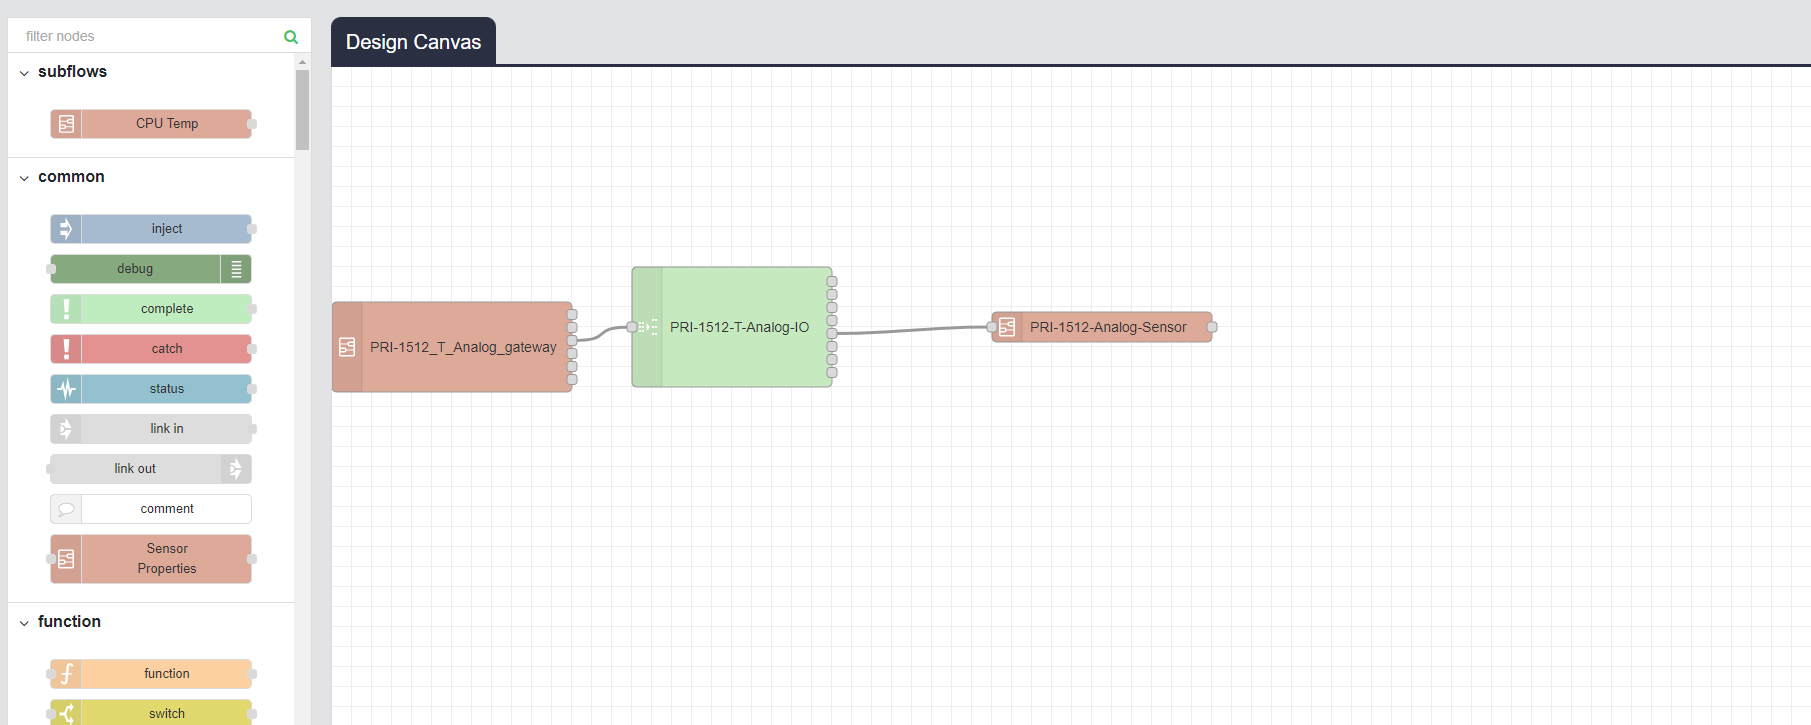
(Screen: Advanced Mode_Nodes)
You will get access to more nodes if you select advanced mode while creating a design. Rest of the steps are same as designing in normal mode. You can drag and drop the nodes from left menu and connect it with your devices. Once you have designed the flow, you can save and deploy the same.
Design Instructions And Clone Design
To understand the data flow in a working environment with actual connected devices, you can check the Design Instructions window from the actions segment:

(Screen: Design Instructions_Icon)
You will get a step-wise instruction panel on how to connect your devices:

(Screen: Design Instructions)
Once the design is published, you can copy it with the clone button:

(Screen: Clone Design)
You can edit the cloned design according to the requirements.
Solution Kits
Click on Create Design to enter the details about your design. You will get a screen as given below:
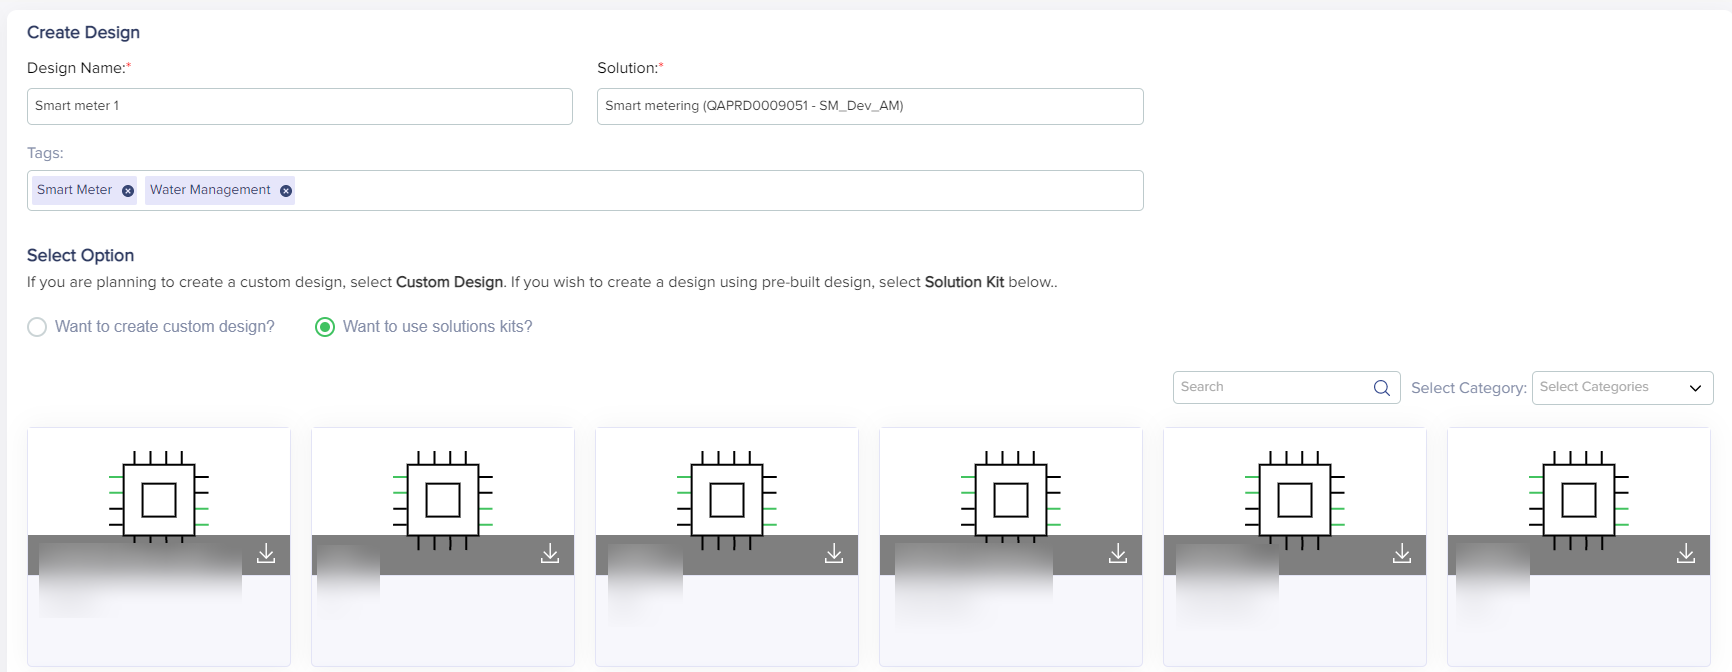
(Screen: Solution Kits_Create Design)
You can either create/customize the pre-built design or download the design template and customize later.
The workbench will already have components added in it. You can choose from the given list or continue with the devices that are already added in the workbench.

(Screen: Solution Kits_Workbench)