Solutions Hub
Solutions Hub Overview
Solutions Hub is a dedicated marketplace for all IoT products and services. You can add your smart solutions and products in Solutions Hub to showcase it to the global market.
You can access Solutions Hub from the left menu:

View Solutions Hub products
You can view the solutions that you have added to Solutions Hub from the screen given below:

(Screen: Solutions Hub_List)
You can use filter to search for specific product:

(Screen: Solutions Hub_Filter)
Solutions Hub – Add a hardware/software product
You can add your products and solutions by clicking on Publish New.

(Screen: Add Solution)
You will get a pop-up asking you to select the product type and the product that you wish to publish on Solutions Hub:
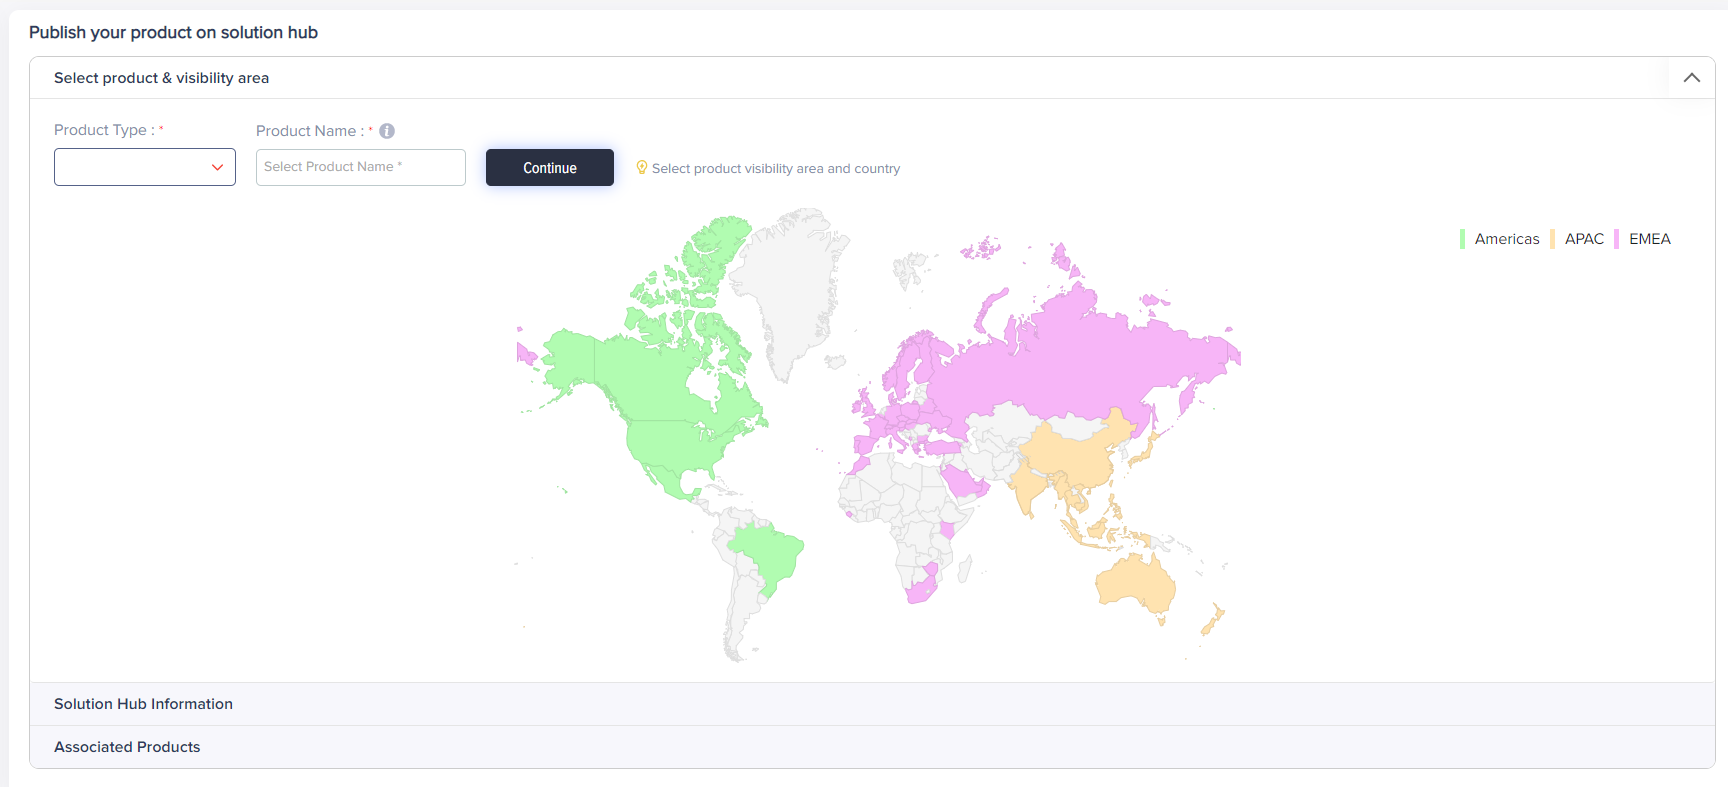
(Screen: Solutions Hub_Select Product And Region)
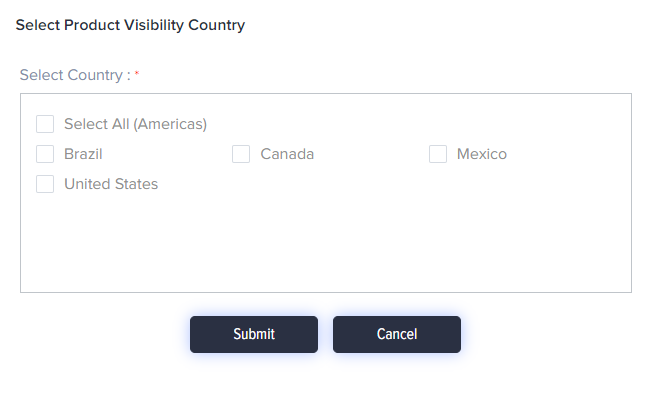
(Screen: Solutions Hub_Select Country)
Once you have selected the region, you can start adding your product (hardware/software) details as given below:
(Screen: Solutions Hub Information)
Note:
You will not be able to add same part numbers for same products in different region.
Under the Category field allows you to determine for what use case (smart building, smart elevator, asset monitoring, etc.) is your product (hardware/software) most fit for. You will find the following options:
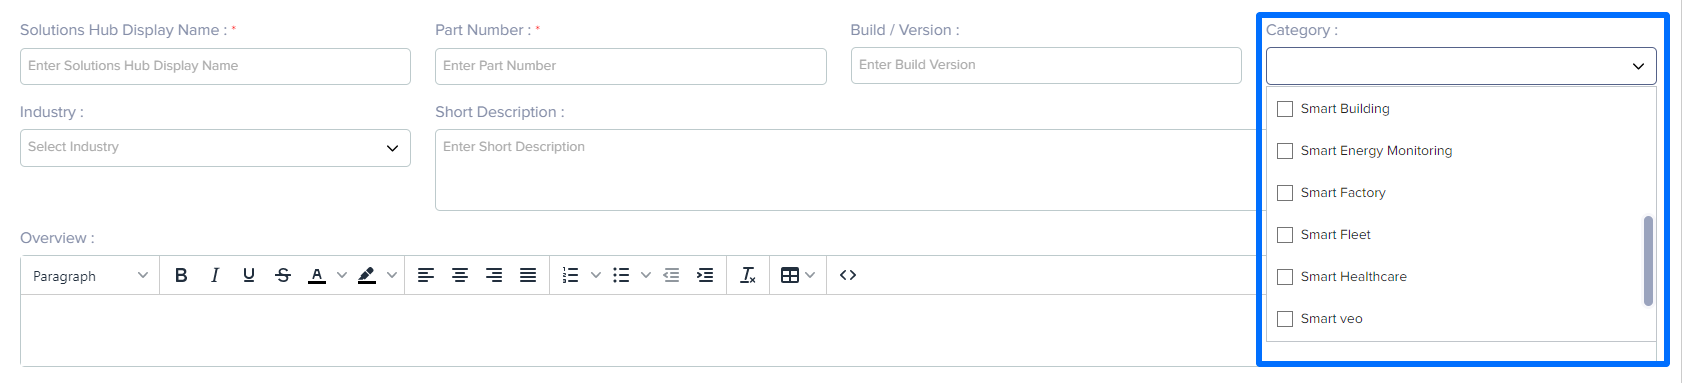
(Screen: Solutions Hub_Details)
With Industry segment, you can choose the sector that your product can be used in.
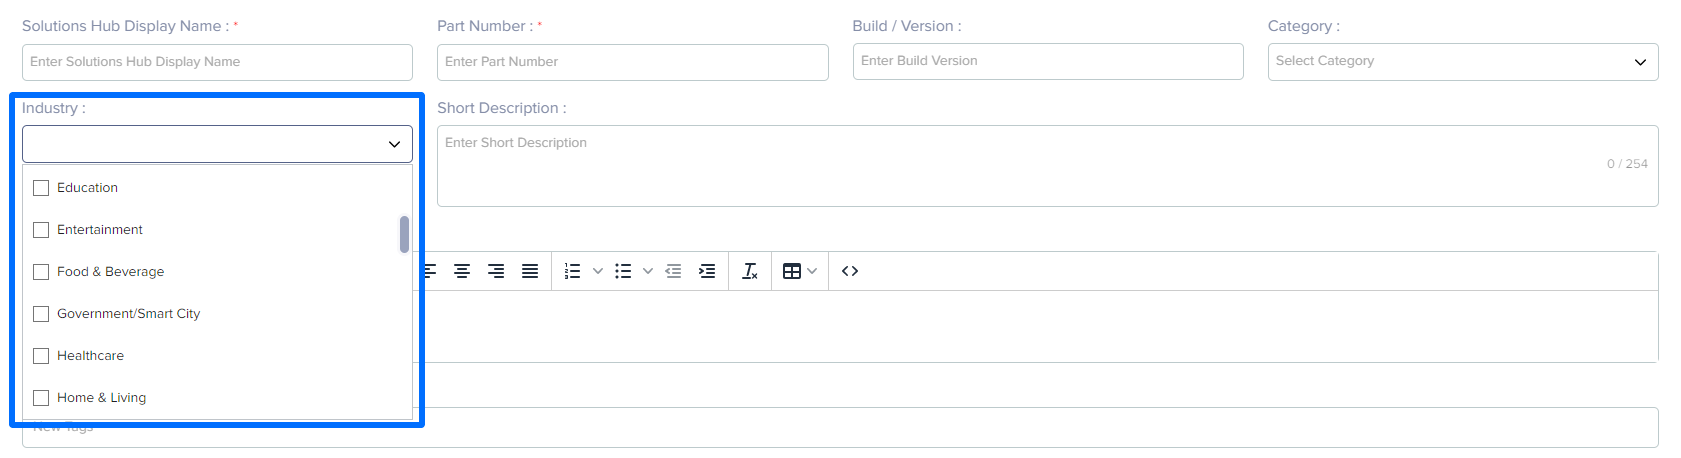
(Screen: Solutions Hub_Industry)
You can also add /IOTCONNECT™ certification that you have created. In case of software products, this field will not appear.
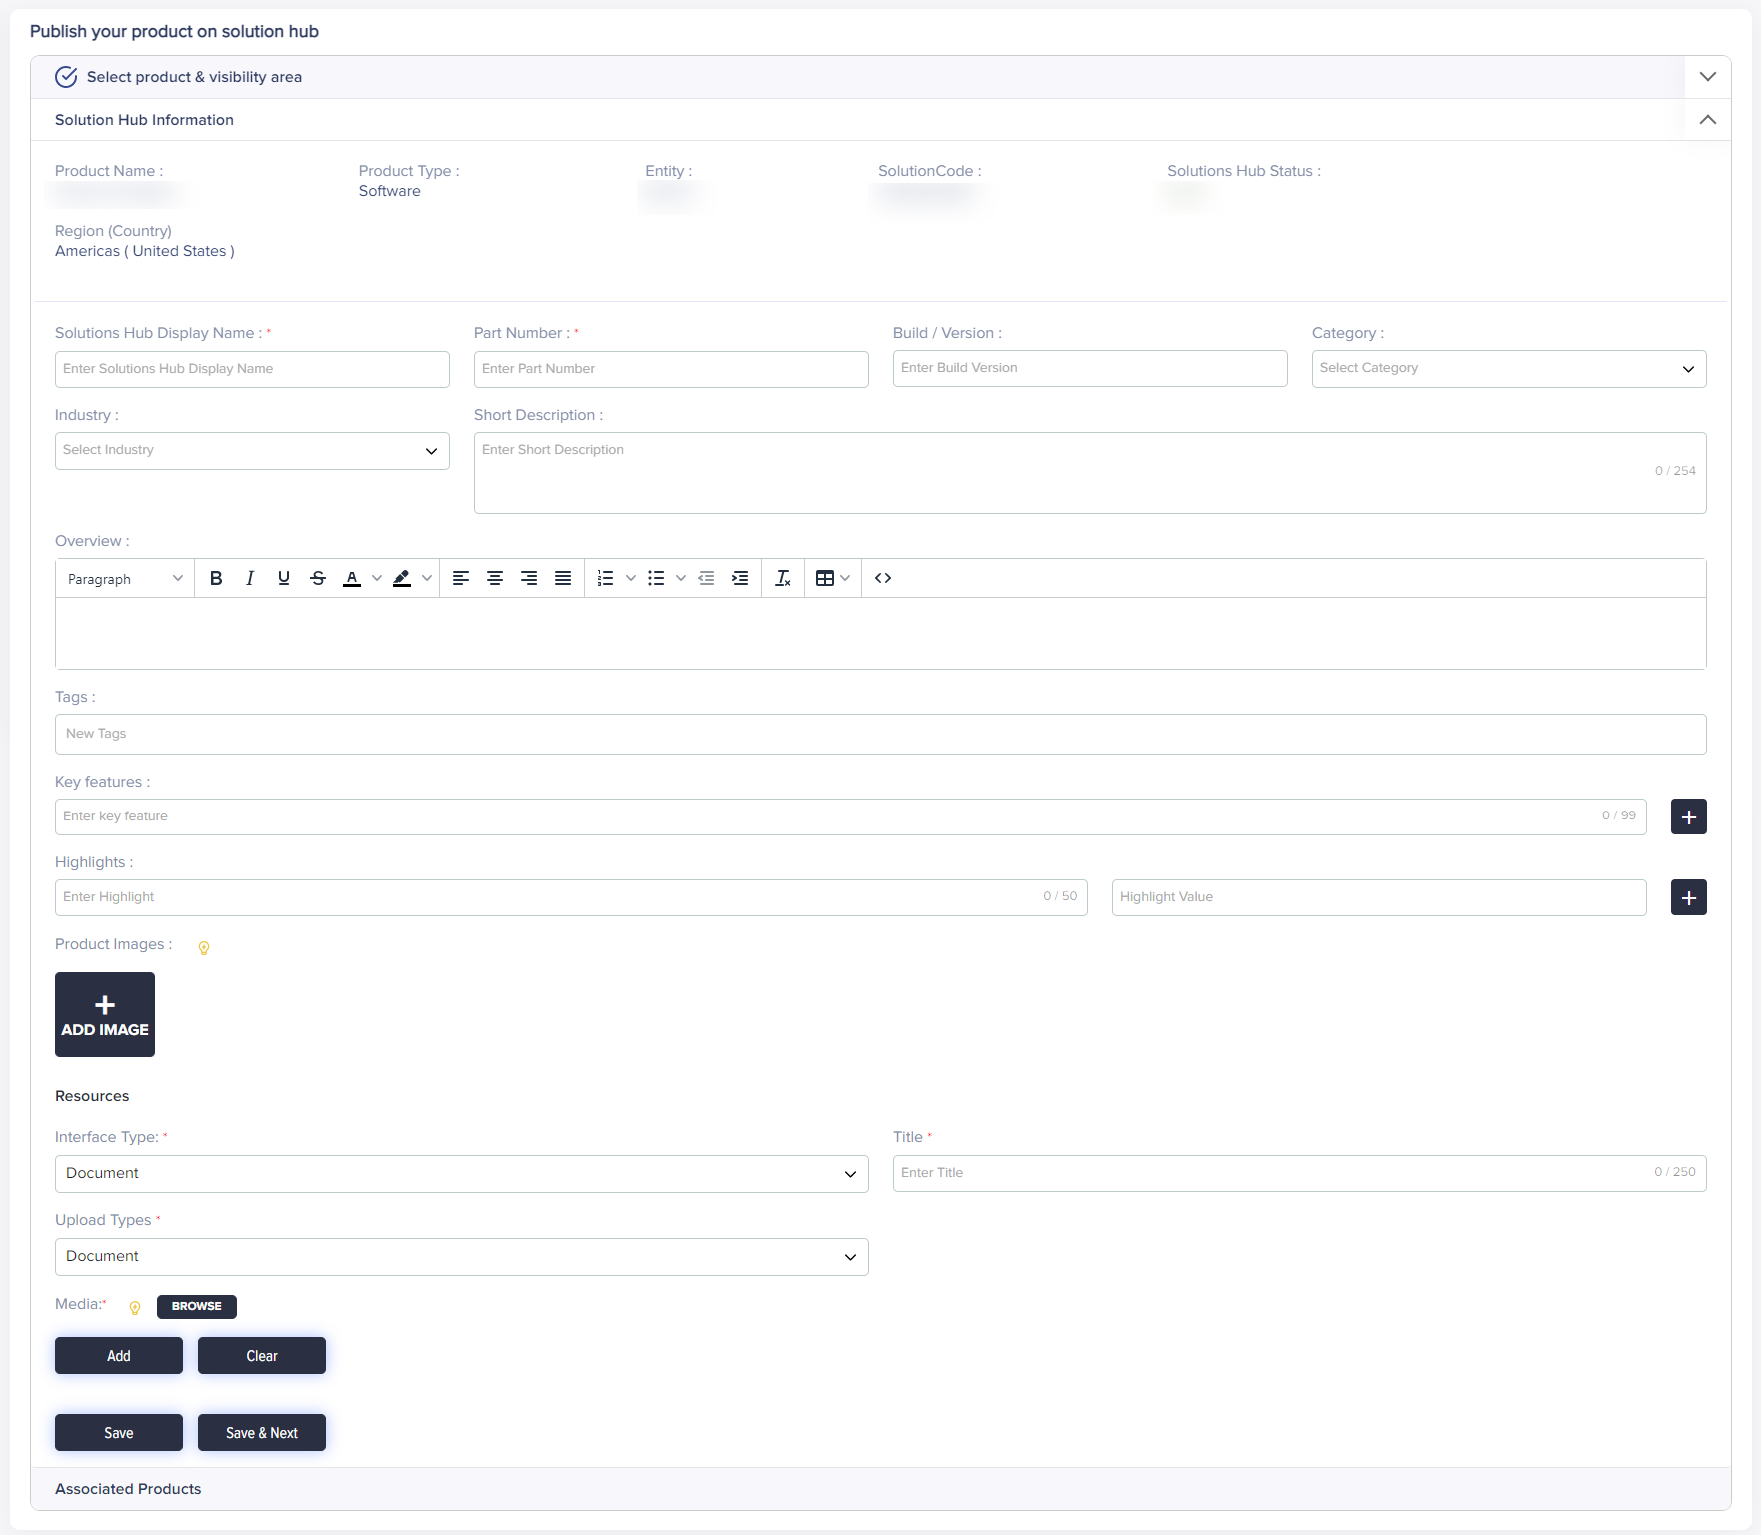
You can add short description, overview and tags of your product.
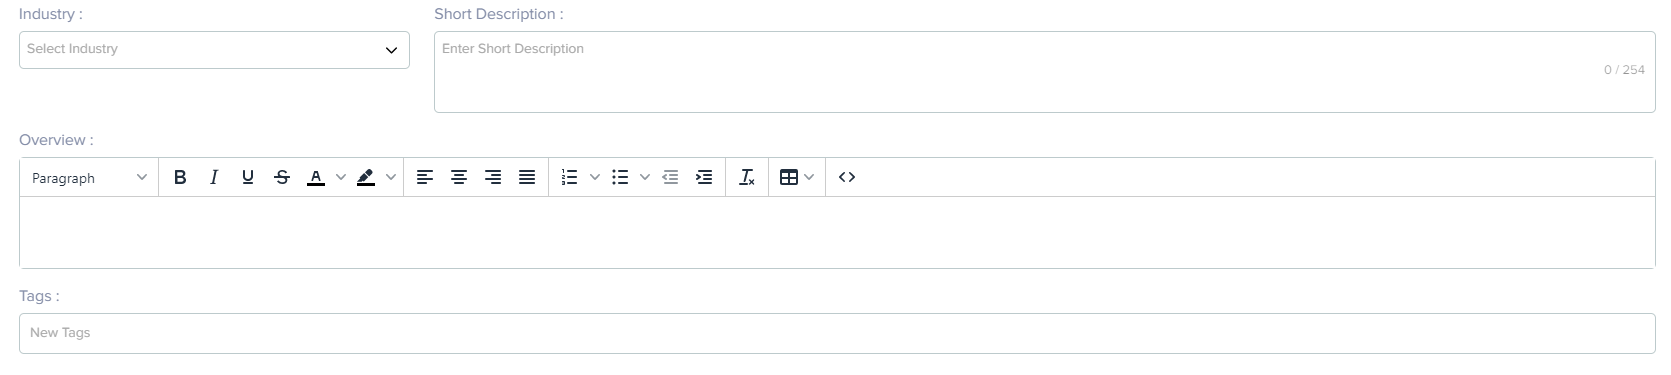
(Screen: Solutions Hub_Summary)
With the tag feature, you can add tags related to your product. For example, if you are offering asset monitoring solution, you can add tags like machine learning, supply chain management, etc.
You can also add key features, highlights and images of your product/solution. You can add unique advantages in highlights segment.
Each highlight should have a KPI and amount associated with it. The KPI should be mentioned in the Highlights section while the amount should be mentioned in the value part. Eg. Highlights = Improve efficiency and Highlight = 80. This means users can improve efficiency by 80% by using your hardware/software.

(Screen: Solutions Hub_Key Features)
You can upload necessary documents for your product like build details, etc. You can upload document which will allow your consumers to download the document that you have attached. With URL, you can offer your consumers with the detailed document that they can read online. Image allows you to upload image that helps your consumers to understand your products better.
You can also block other partners from using your product for their solution. Other Solution can use the hardware listed by you and offer it with their solution as associated product. However, by selecting the checkbox, you can block them from doing so.

(Screen: Block Partner_Associated Product)

(Screen: Solutions Hub_Resources)
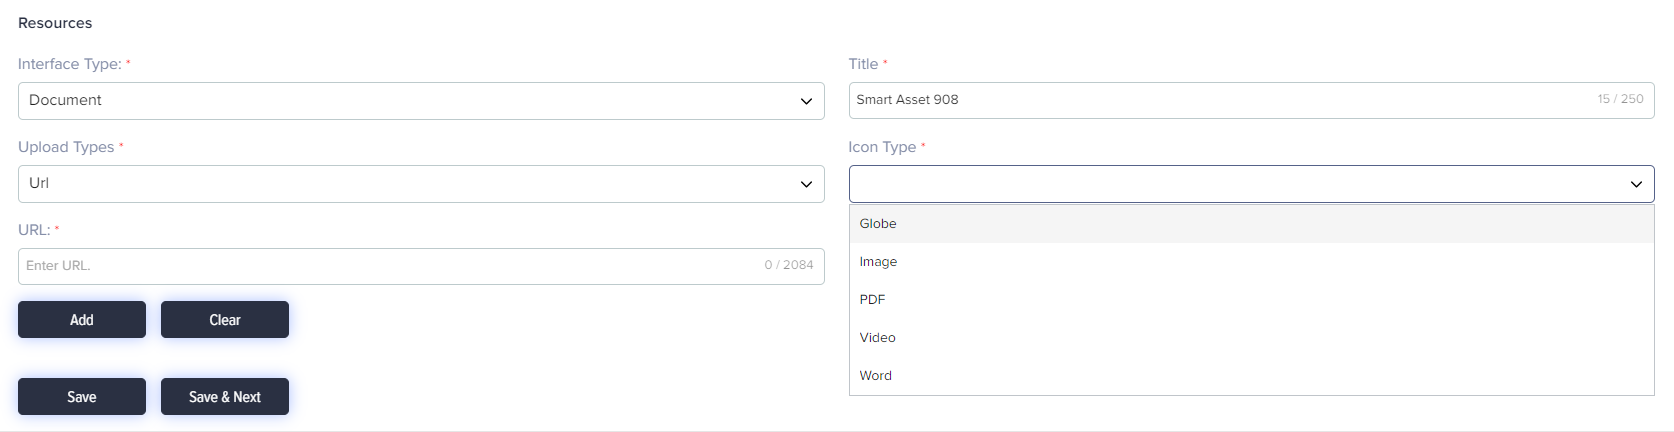
(Screen: Resources_URL)
You can select from the given icon, the one that you’d like to display before the link that you specify for your consumers.
- Click Add to add the details.
- Click Clear to delete the details that you have entered.
- Click Save to save the details that you have entered.
- Click Save & Next to save the details and move on the next step.
- Click Cancel to undo the changes.
You can add associated product that works with your offering. Suppose you are providing asset monitoring solution, you can add other partner’s hardware as an associated product and offer the software and hardware combo.
- Enter the product you want to associate with your solution. A list will appear with several options that match your search query. You can choose from the list.

(Screen: Solutions Hub Approval_Associate Products)
- Click Previous to go back to the previous step
- Click Skip and Continue if you don’t want to associate any other product with your solution.
You can enter additional details of your product like interface, manufacturing info, gateway info, etc., of the document.
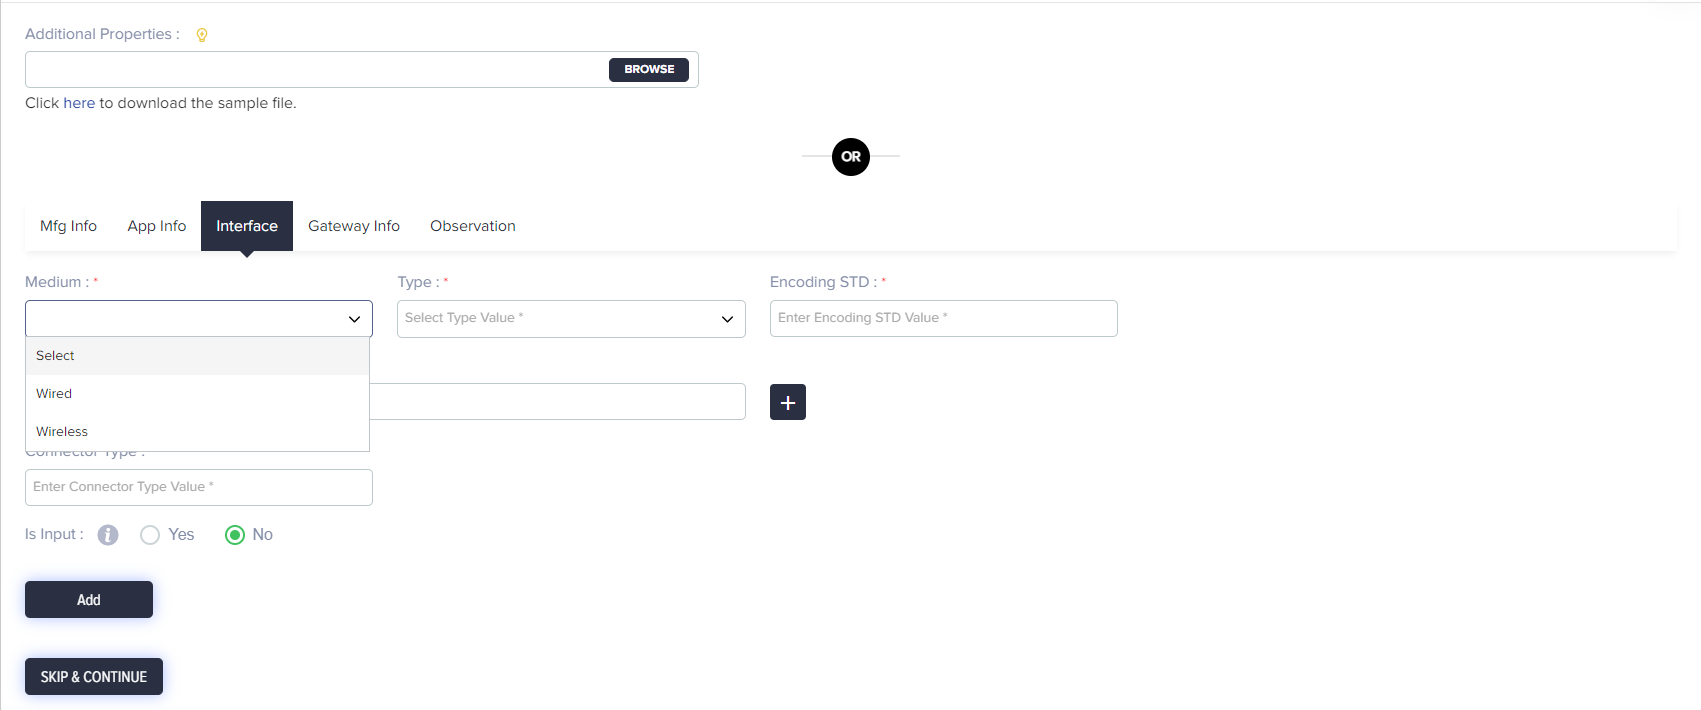
(Screen: Solutions Hub Approval_Inerfaces)
- Click Previous to go back to the previous step.
- Click Save to save the entered details.
- Click Skip & Next to move on to the next step.
- Click Save & Continue to save the details and move to the next step.
Once you have filled all the required information, you can preview it.
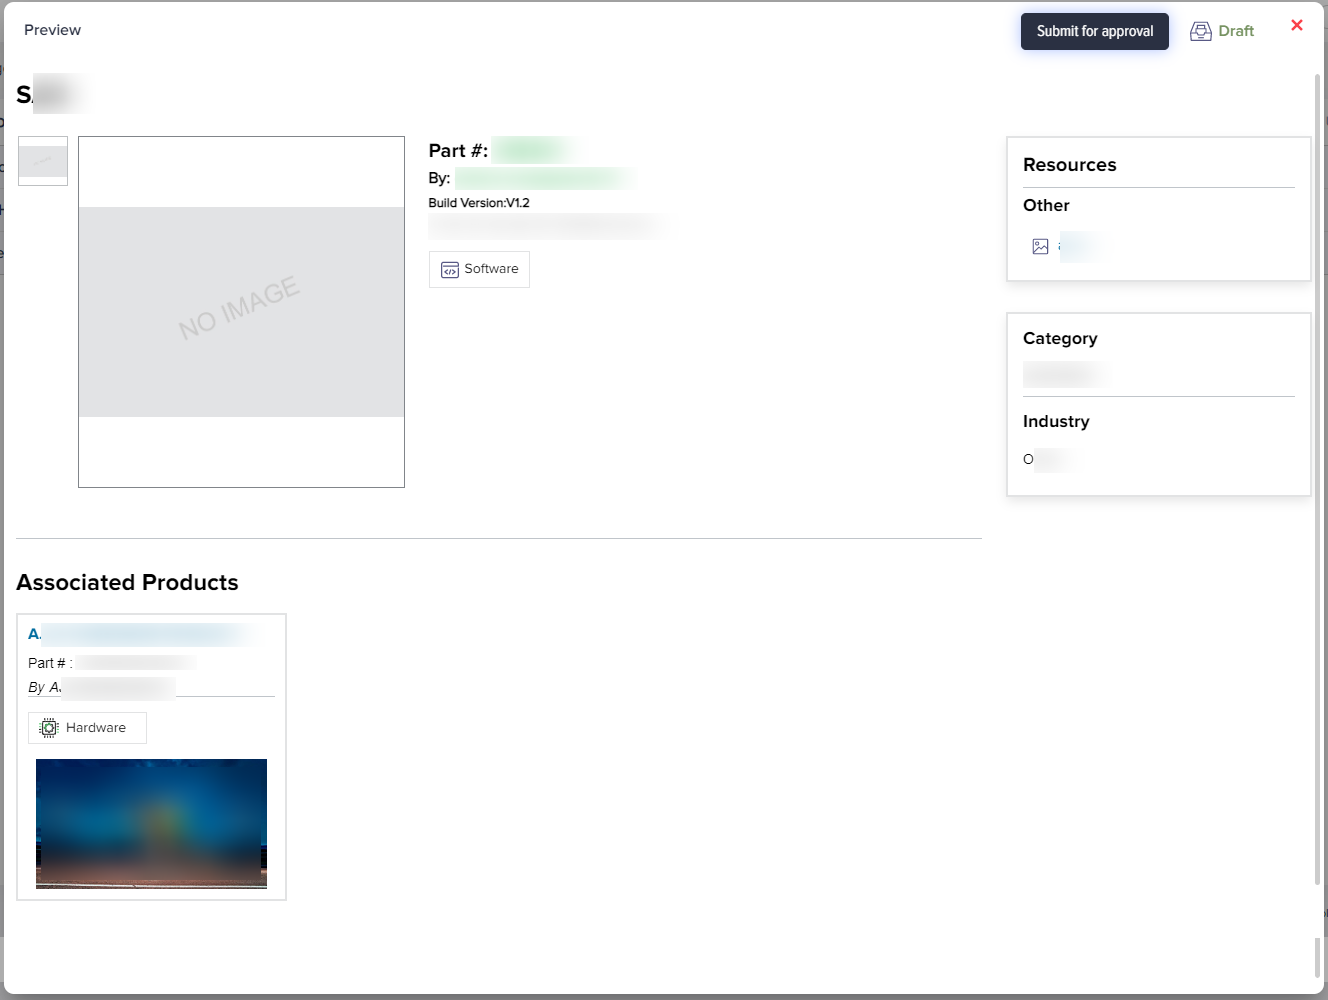
(Screen: Product Information Preview)
Click Submit For Approval to forward the details to the Partner Program Admin for review.
Branding Builder
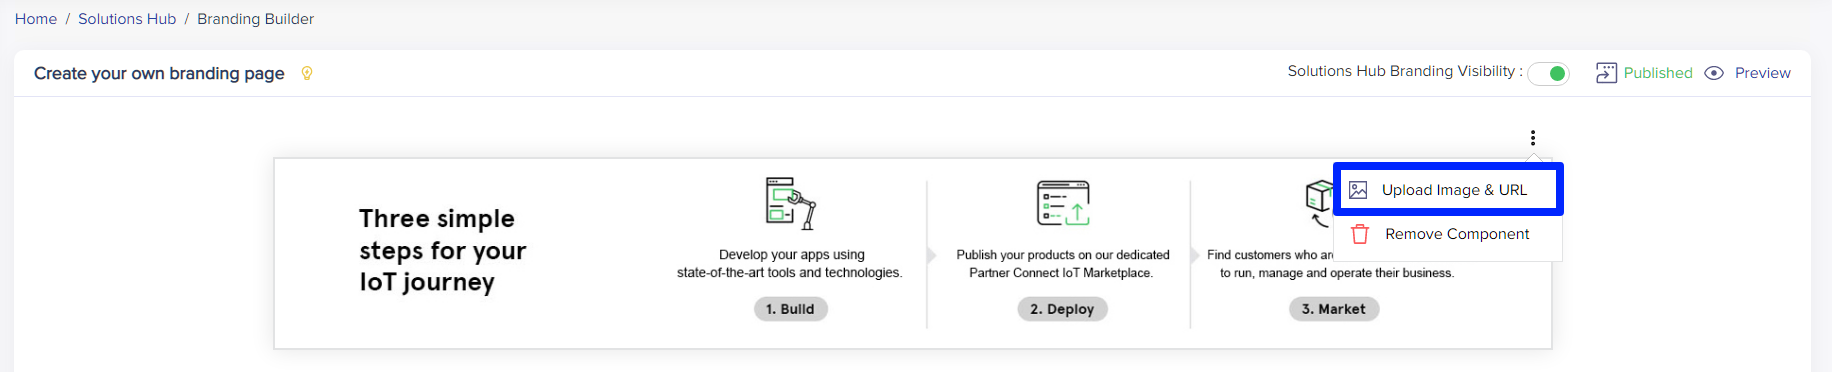
You can build your brand page that will be displayed on Solutions Hub marketplace. You can access the builder page as shown below:

(Screen: Branding Builder Button)
You will be redirected to a page where you can design using our easy drag-and-drop menu.
Using Carousel, you can add a title image and edit the image but the three dots as given in the image below:
You’ll see the following options for editing:
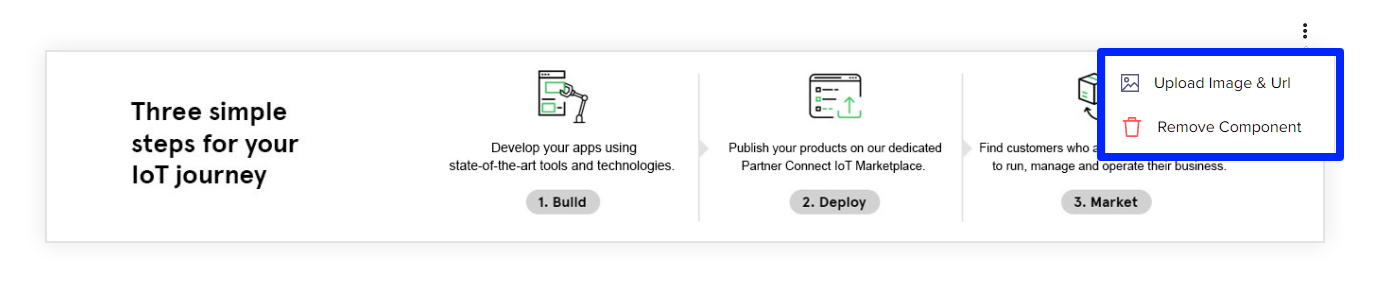
(Screen: Manage Carousel)
You will be given different options to edit the image that you have added.
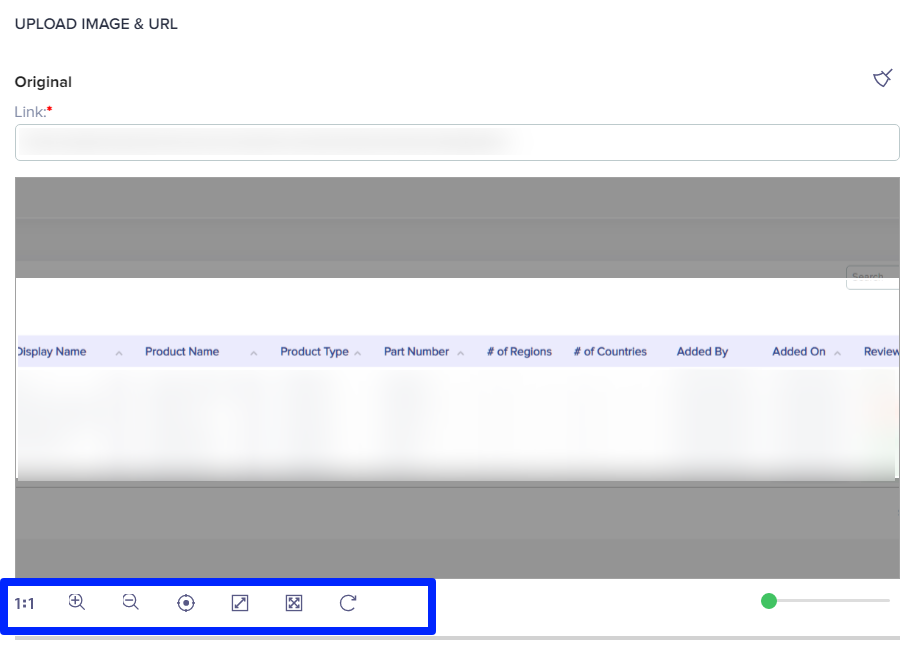
(Screen: Carousel_Edit Image)
You can zoom in, zoom out, adjust the image and stretch it as per your requirements. You will be able to preview the image before uploading.
(Sceen: Carousel_Upload Image)
With Small Image, Medium Image and Large Image, you can add images as per your needs.
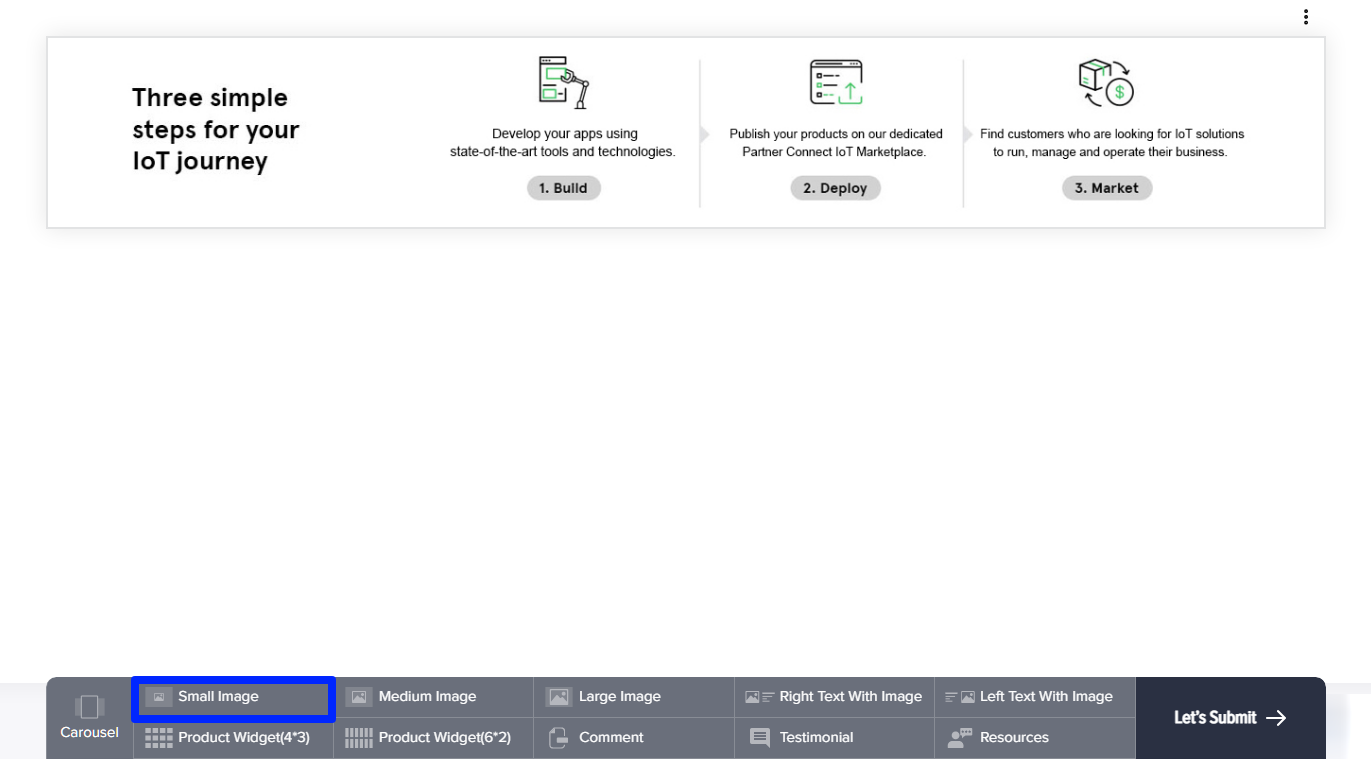
(Screen: Small Image)
You can select Upload Image and you will be able to choose an image and edit it just like in Carousel. You can even move this segment up or on top. You can even remove the component if not required.
With Right Text With Image and Left Text With Image, you can add text along with an image as given below:
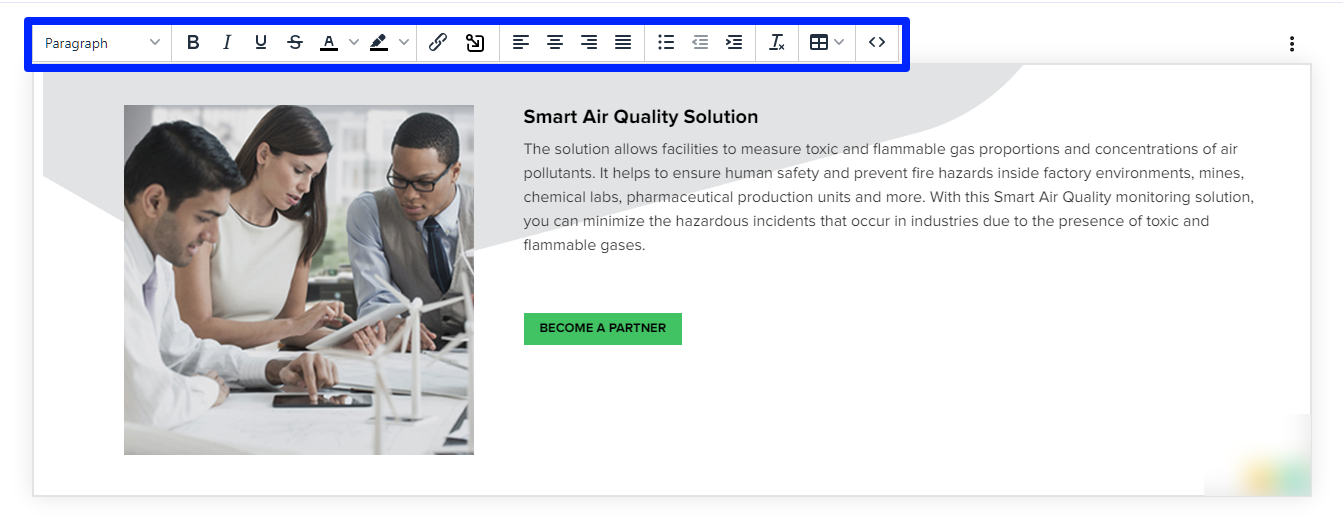
(Screen: Edit text_Small Text)
You can start editing the text by clicking on the text box. You can also format the text using the formatting bar given on top of the component. To change the image, you can click on the three dots in the top right corner.
In a similar manner as shown in Carousel, you can edit the image as per your requirements.
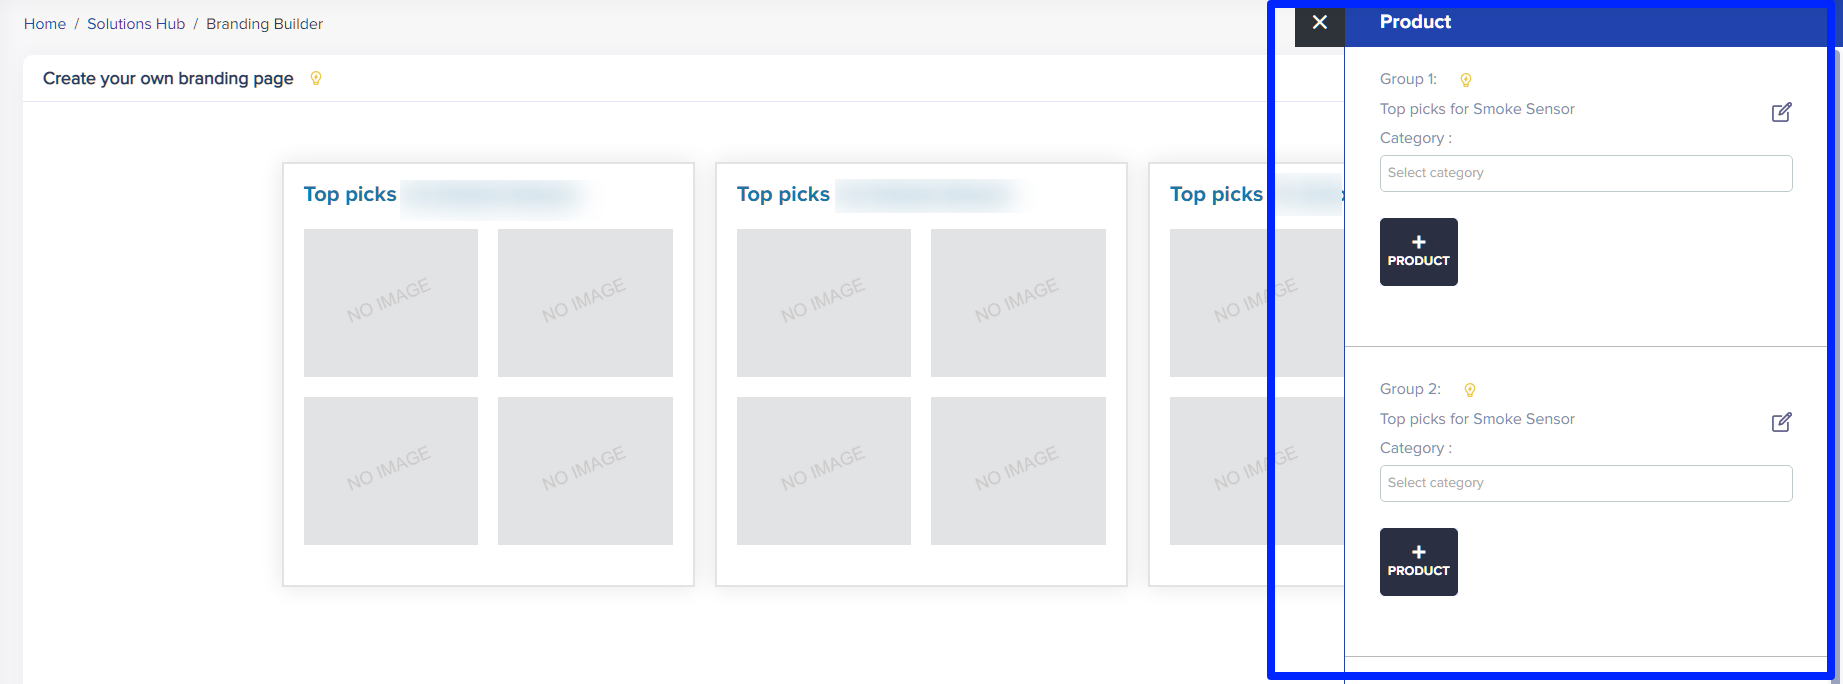
With Product Widget (4*3) and Product Widget (6*2), you can showcase your products.
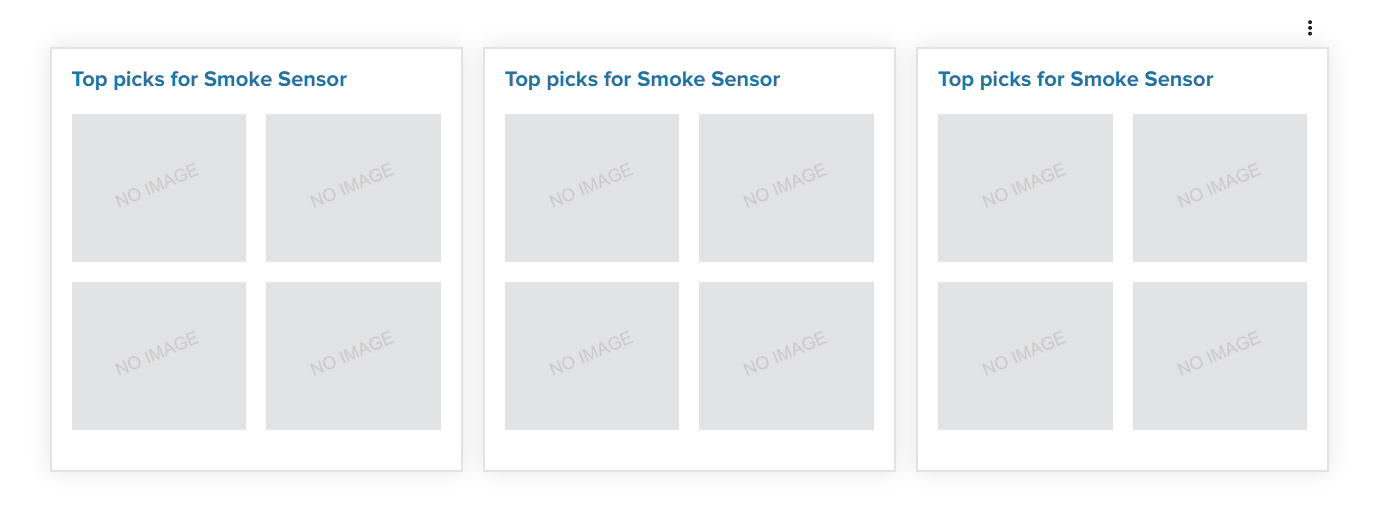
(Screen: Product Widget(4*3))
You can add images of your products in through this widget:
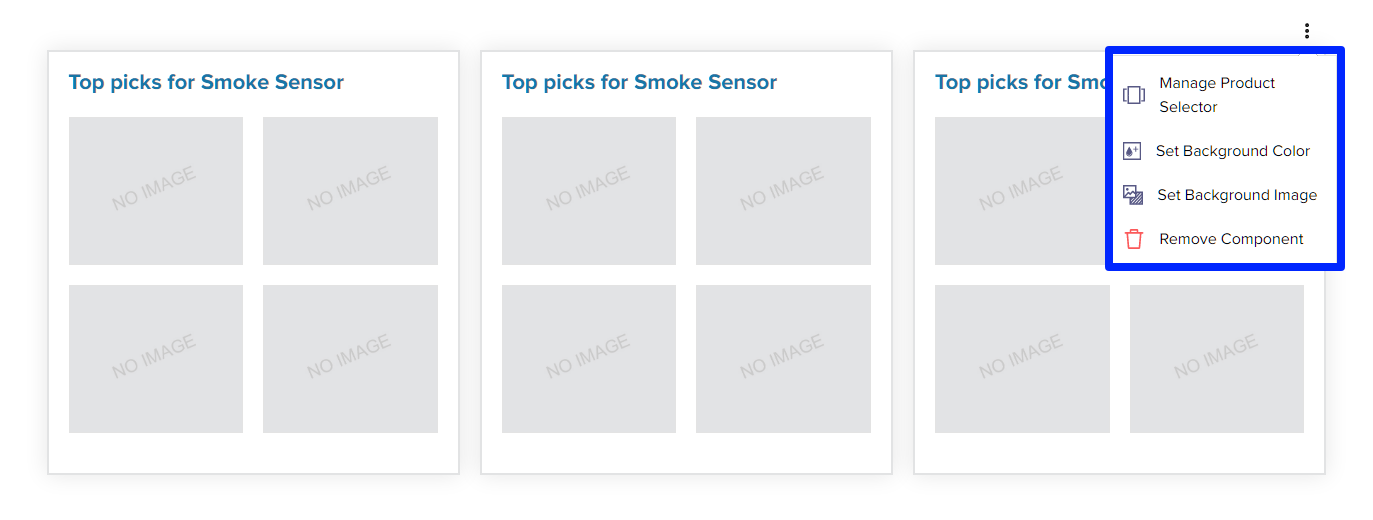
(Screen: Manage Product Selector 1)
(Screen: Product Selector_Add Product)
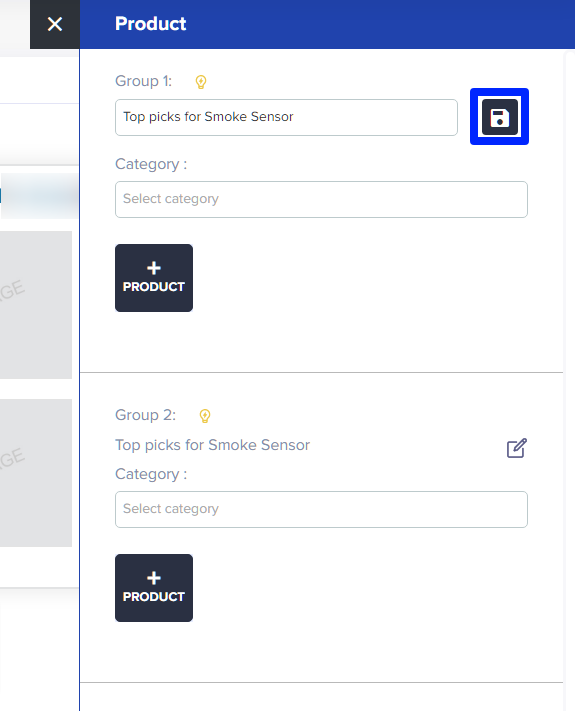
(Screen: Product Selector_Edit Heading)
Once you have chosen the category, you can select the product from the list. You can also edit the title.
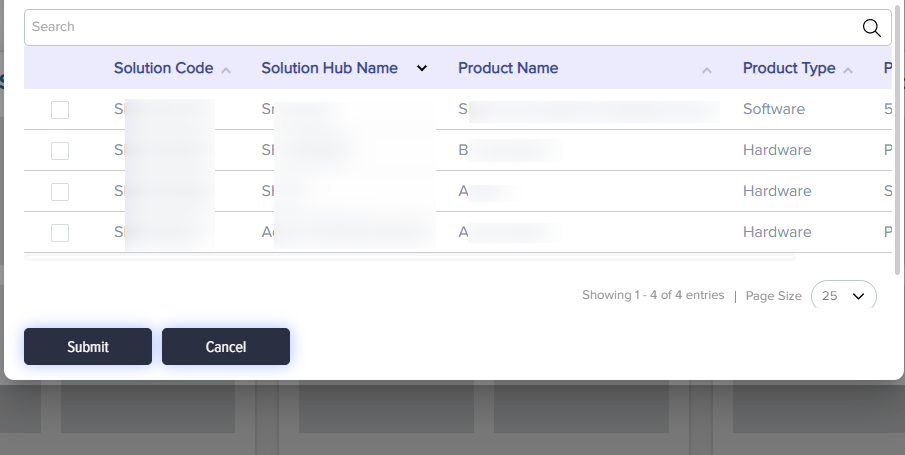
(Screen: Product Selector_Manage Product)
After selecting products for each of the category, you will be able to preview the same:
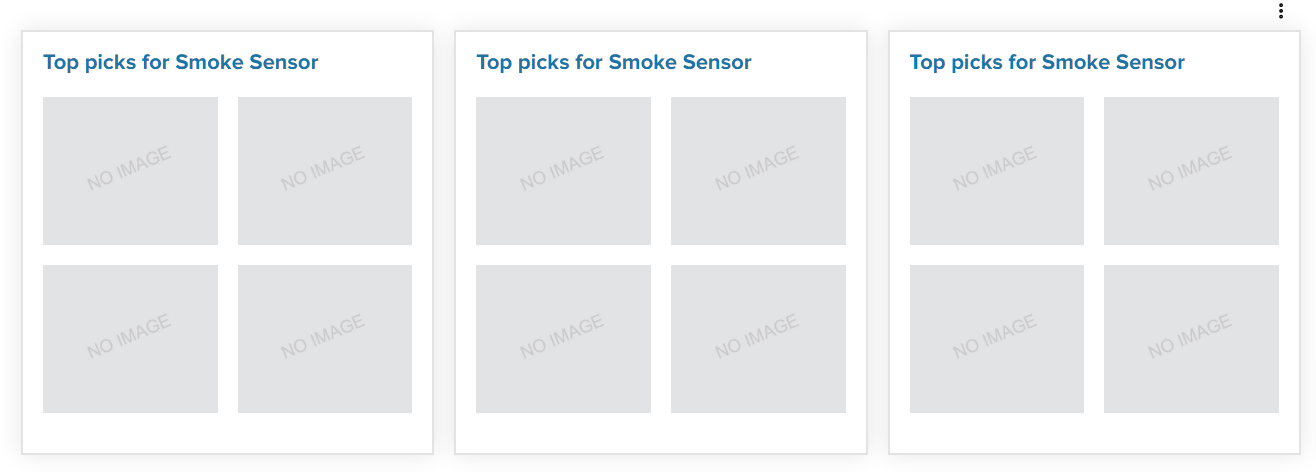
(Screen: Product Selector_Preview)
With Comment, you can add text related to your company or solutions that you offer.

(Screen: Comment)
You can edit and format the text by clicking anywhere on the text. You can remove or move the component.

(Screen: Comment_Edit)
With Testimonial, you can add testimonials that you’ve received from your consumers.
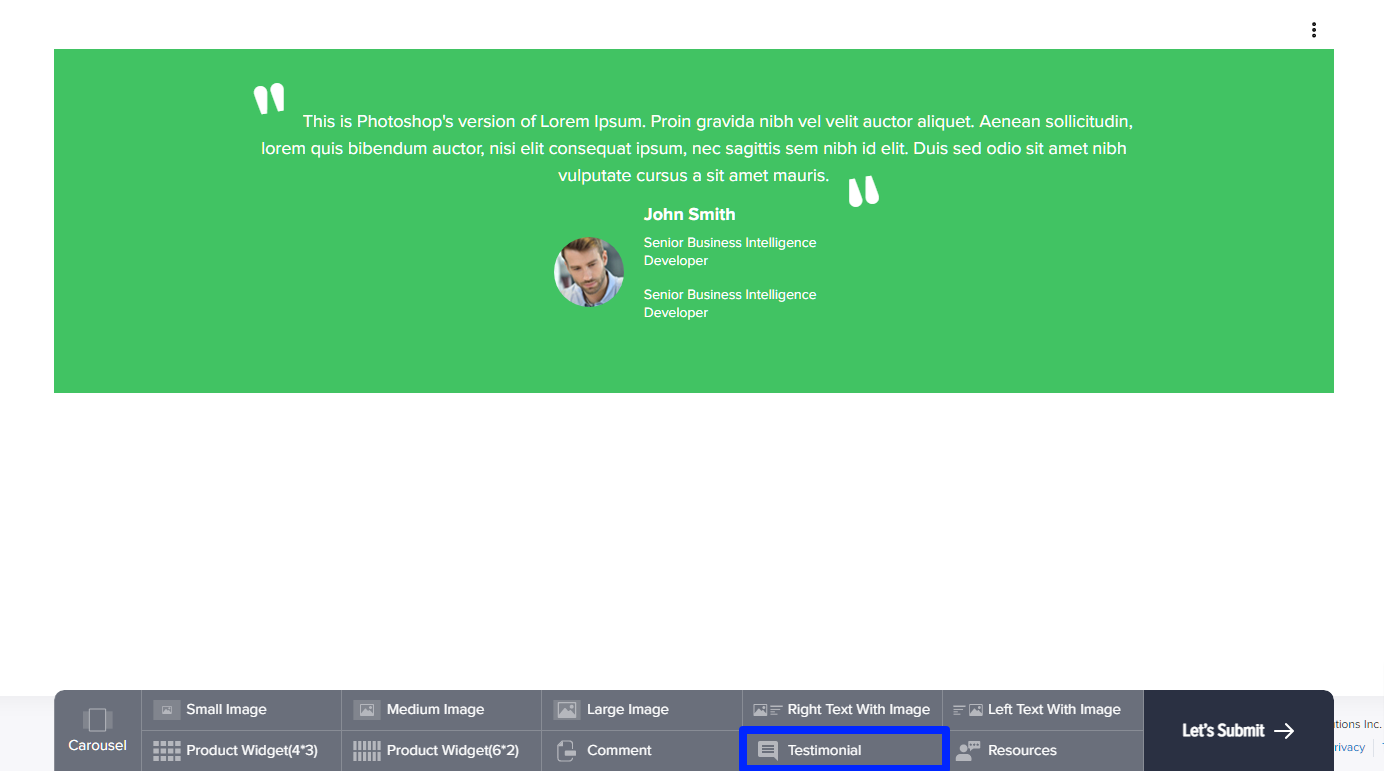
(Screen: Testimonial)
You can edit the text, add information about your client and also add image,
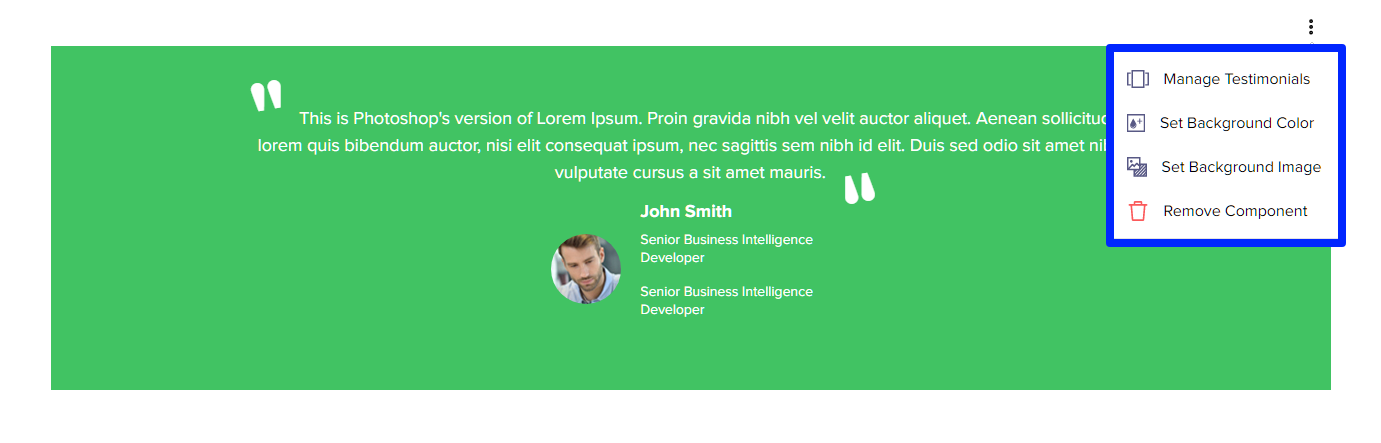
(Screen: Manage Testimonials)
You will be redirected to the screen where you can add the details.

(Screen: Add Testimonials)
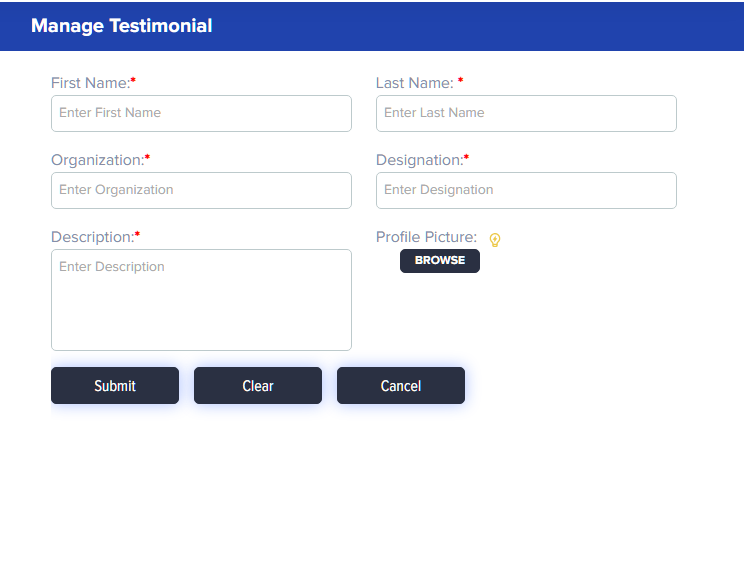
(Screen: Testimonial_Add Details)
Once you have added the required details, you can manage the position in which you want the testimonials to be displayed.
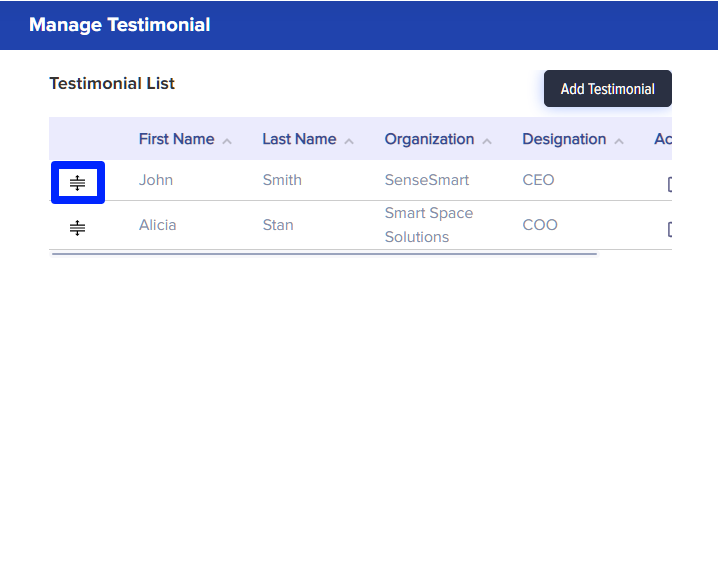
(Screen: Testimonial_Move/Position)
You’ll be able to preview the testimonial as given below:
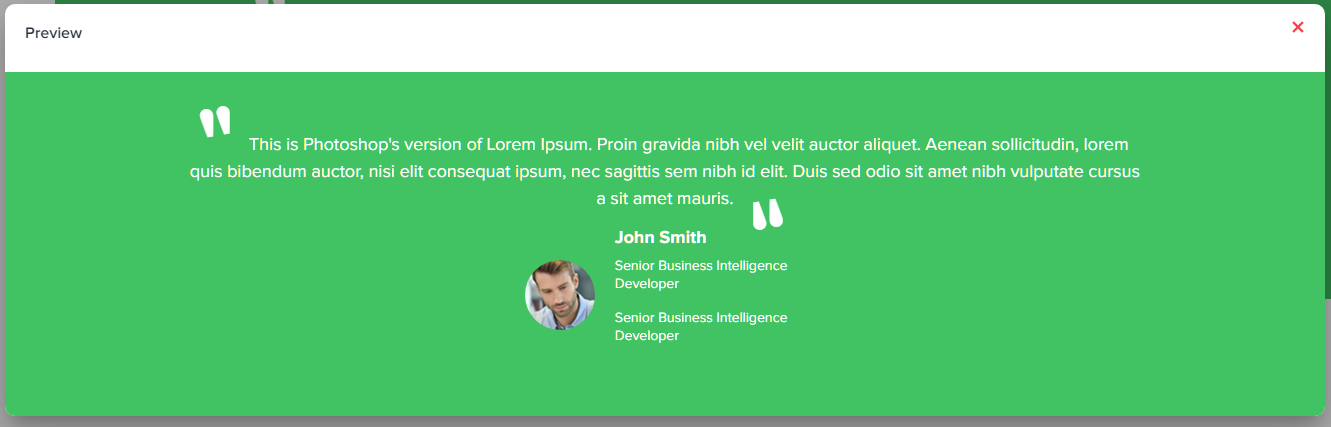
(Screen: Testimonial_Preview)
With Resources, you will be able to add necessary links or information about your company or solutions.
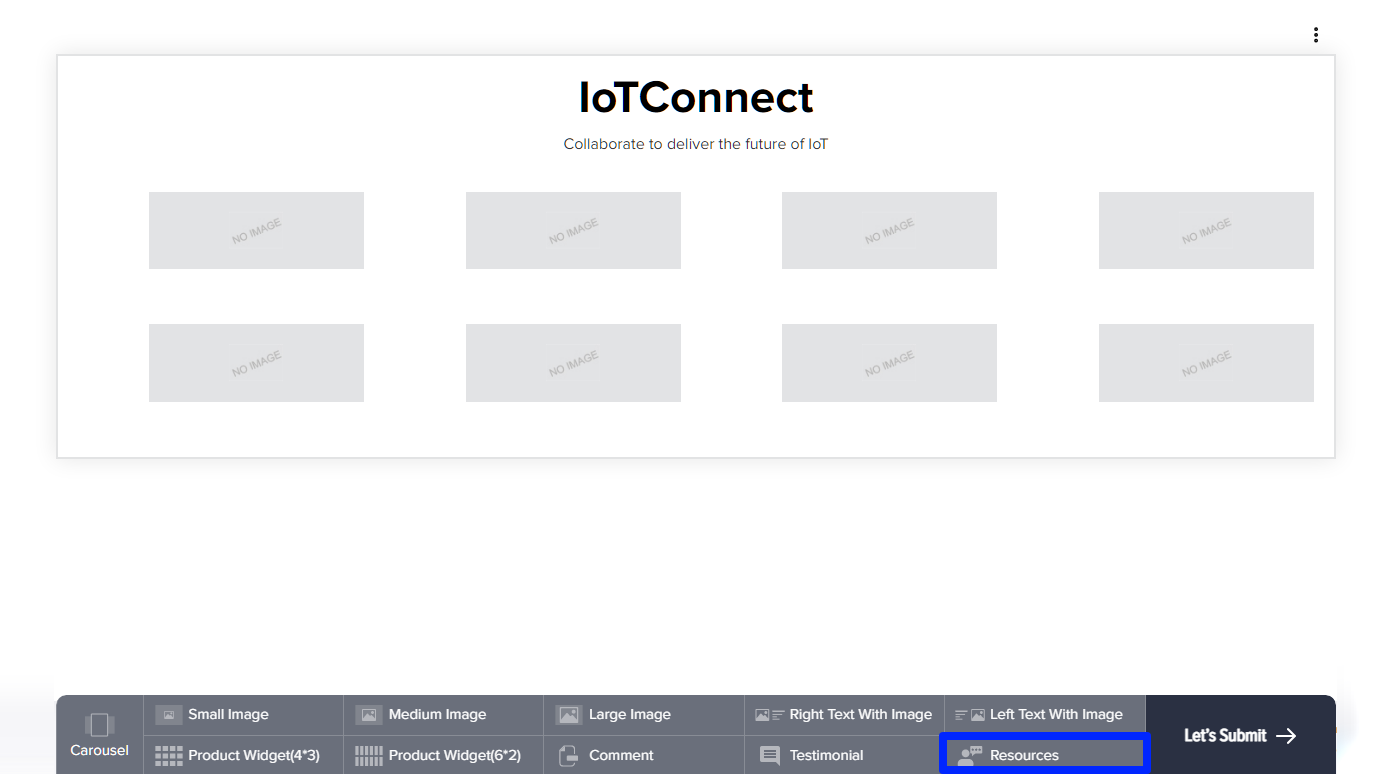
(Screen: Resources)
You can add details by clicking on the three dots on the top right corner.
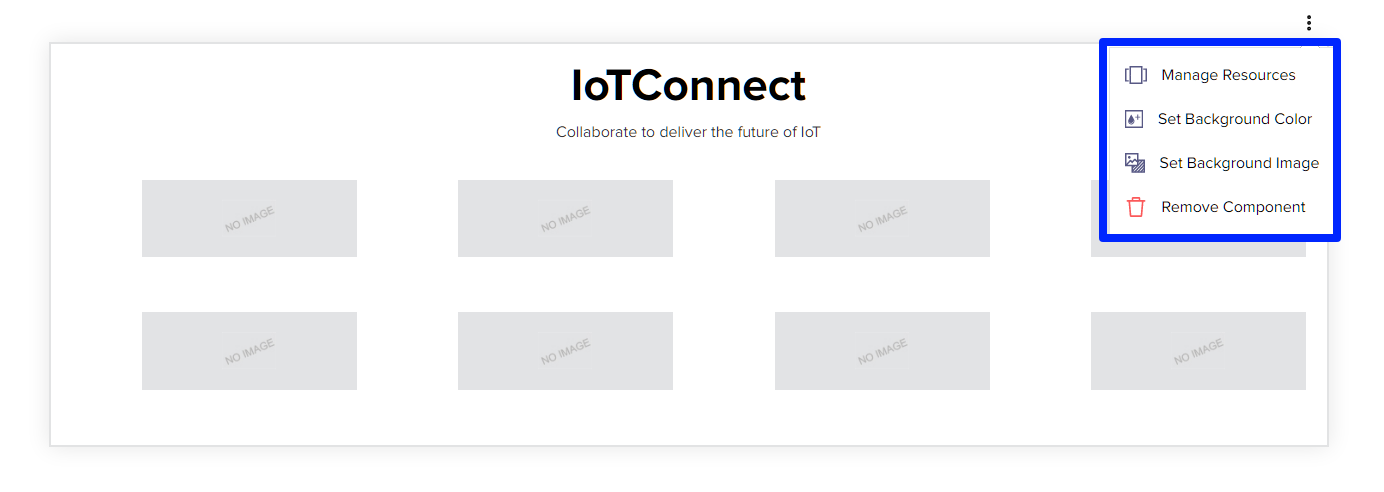
(Screen: Resources_Edit)

(Screen: Add Resrouce)
You can add details like title, link description and image.
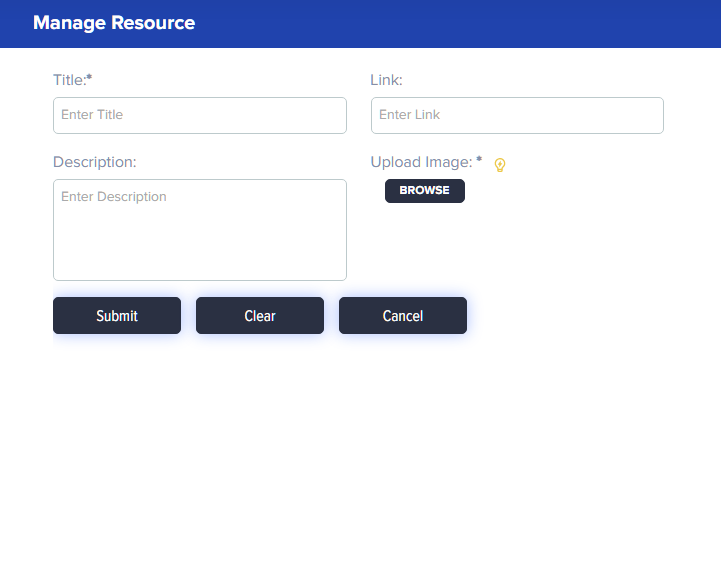
(Screen: Resource_Add Details)
Once you are done with adding the details for your branding page, you can preview it before submitting.
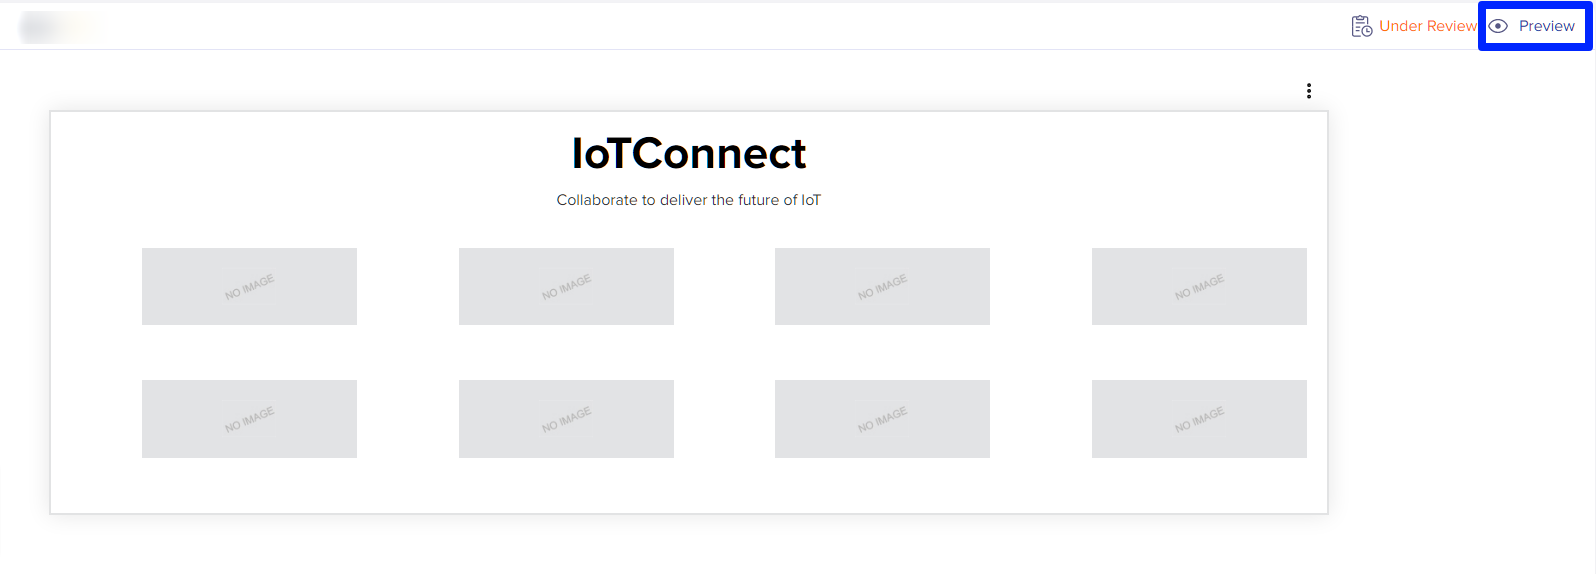
(Screen: Preview Button)

(Screen: Preview)
Once you are satisfied with the details and the preview, you can submit the page for approval. The status of you branding page will be displayed as shown below:
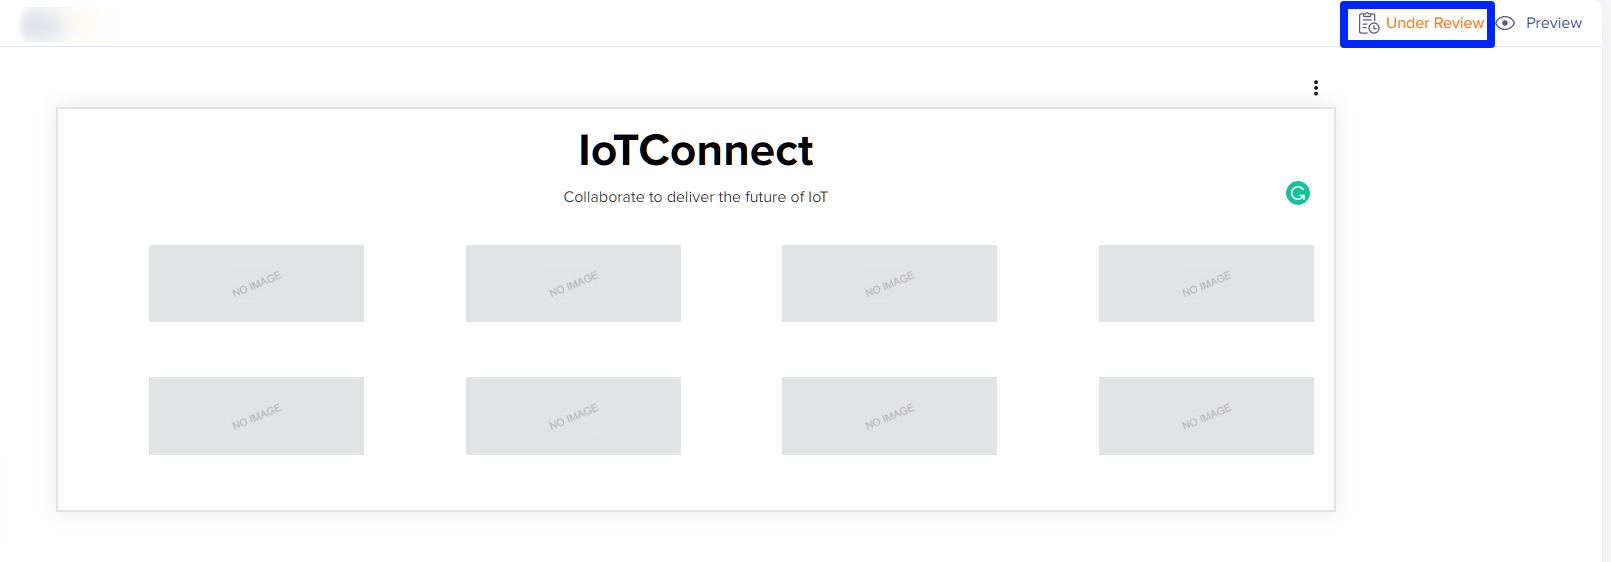
(Screen: Under Review)
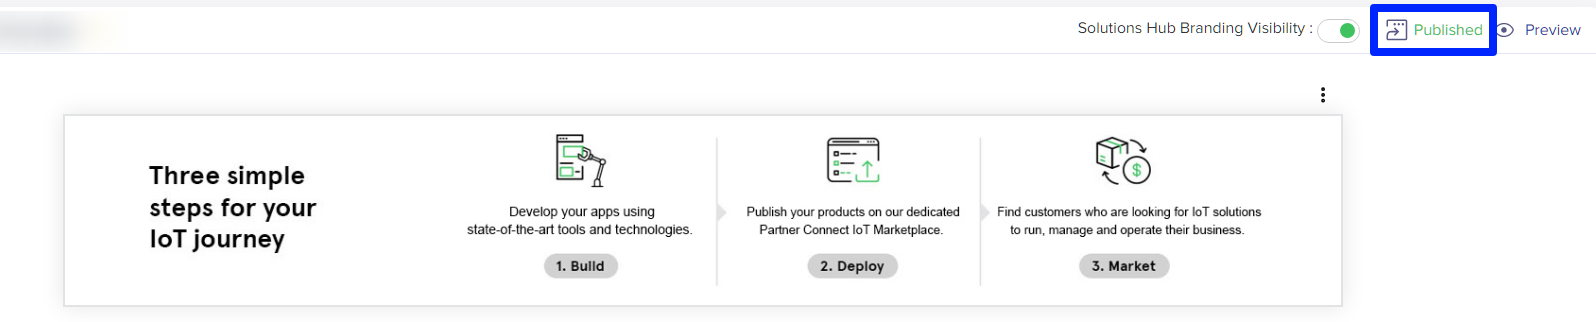
(Screen: Published)
Once your branding is published, you can opt for not making it visible on Solutions Hub by turning the toggle button off:
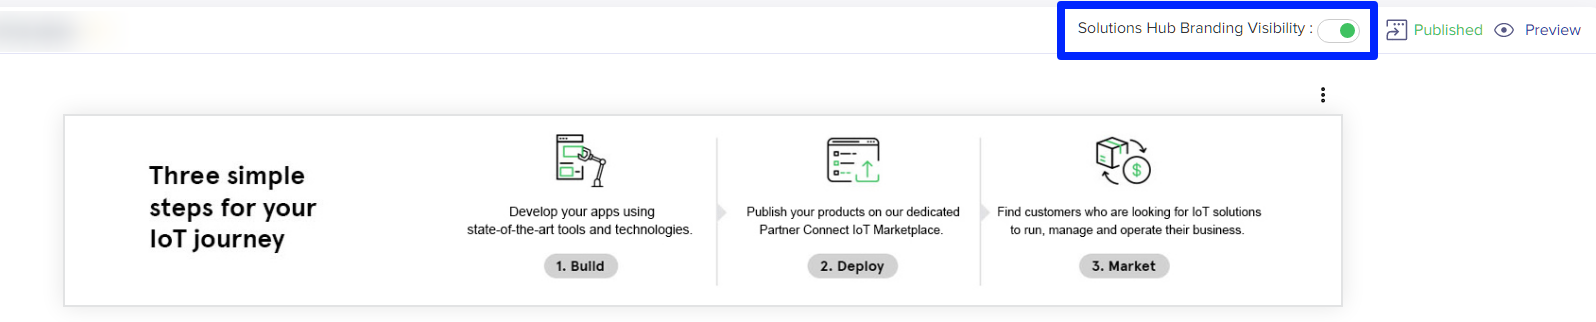
(Screen: Solutions_Hub_Branding_Visibility)