Products
Product Management Overview
Adding and managing products on the portal is an important step. Our Product Management segment allows you to add new products, edit product details, create an environment, add subscription plans and much more.
- Go to Dashboard
- From the left navigation pane, click Product

(Screen: Product)
- On clicking the Product Management tab, you will be redirected to Product screen.
View list of products
As you click on the Product Management tab, you will see list of products and their details.
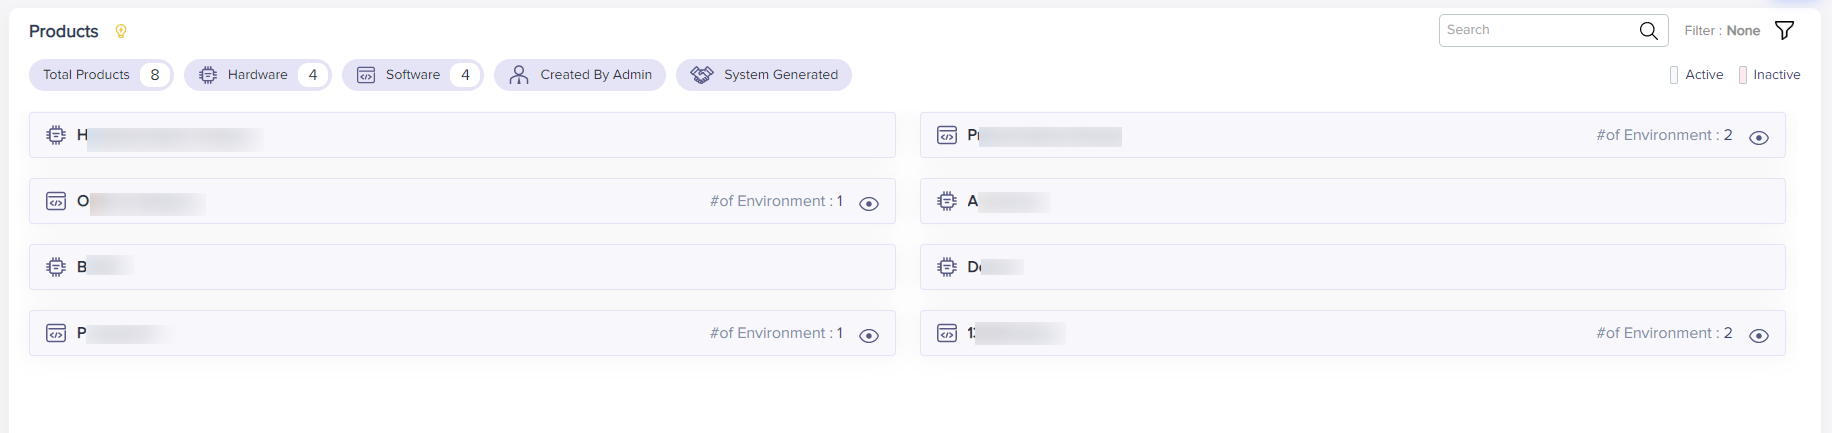
(Screen: View Product List)
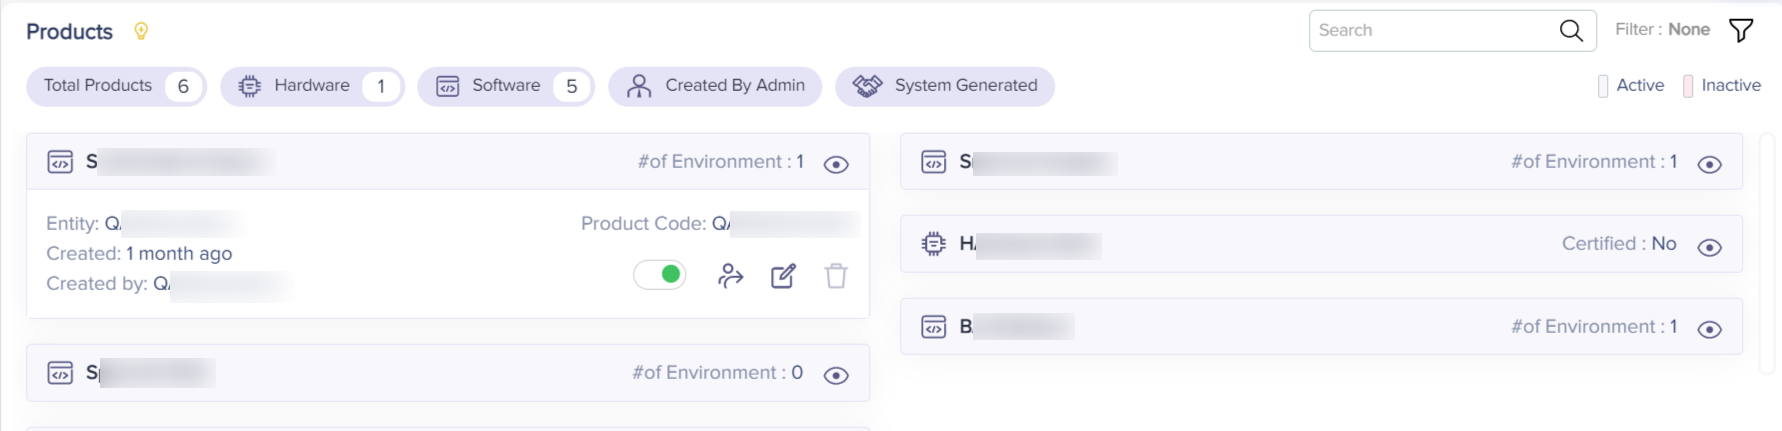
(Screen: Product Details)
- Product name: Name of existing products
- Product code: Code of existing products
- Created by: Name of the company that created the product
- #of environments: Number of environments created for each existing product
- Status: Status of the product (Active/Inactive)
- Actions: Edit and delete button
Note: The delete icon will be disabled if the status of the product is active.
Create a new product
- Select the product type that you want to create
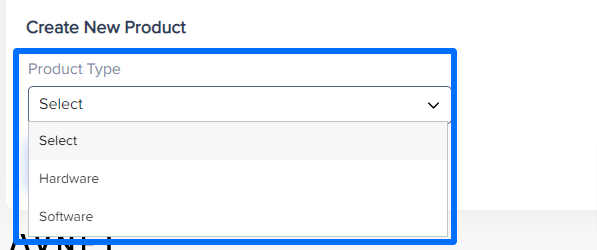
(Screen: Create Product Button)
Create a hardware product
Select Hardware from the list.

(Screen: Create Product Button)
Product name: Enter product name.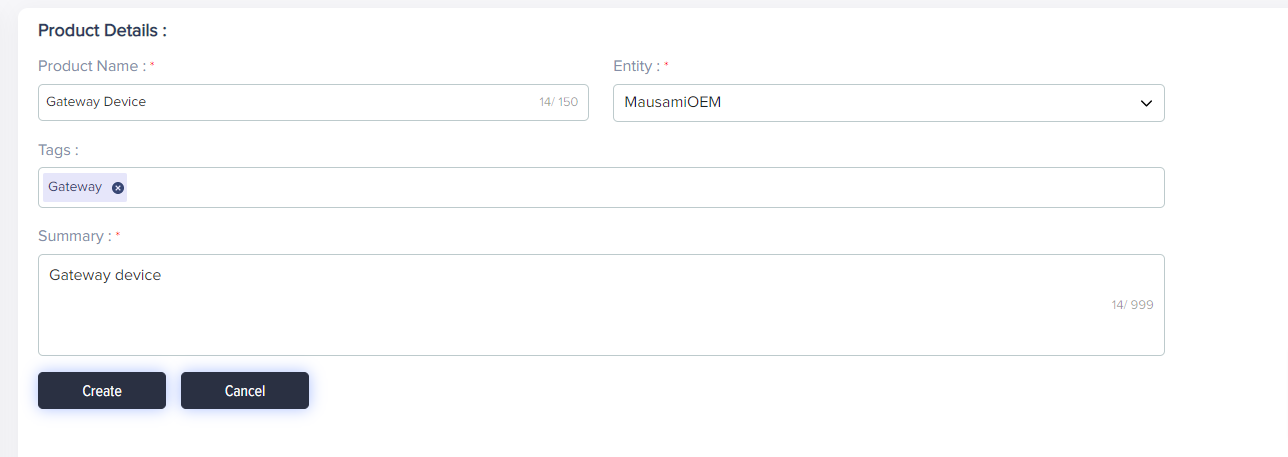
Product Name: Enter the name of the product
Entity: Select entity from the dropdown list
Tags: Add relevant tags for the product
Summary: Enter a brief description of the product
- Click Create to create the hardware product.
- Click Cancel to go back to the main screen.
Create Product For OEM Partners
Service and Solution partners can create solutions with Create Product button for their respective OEM partners.
Solution Partners can choose from options that allow them to add product details for self or for OEM:
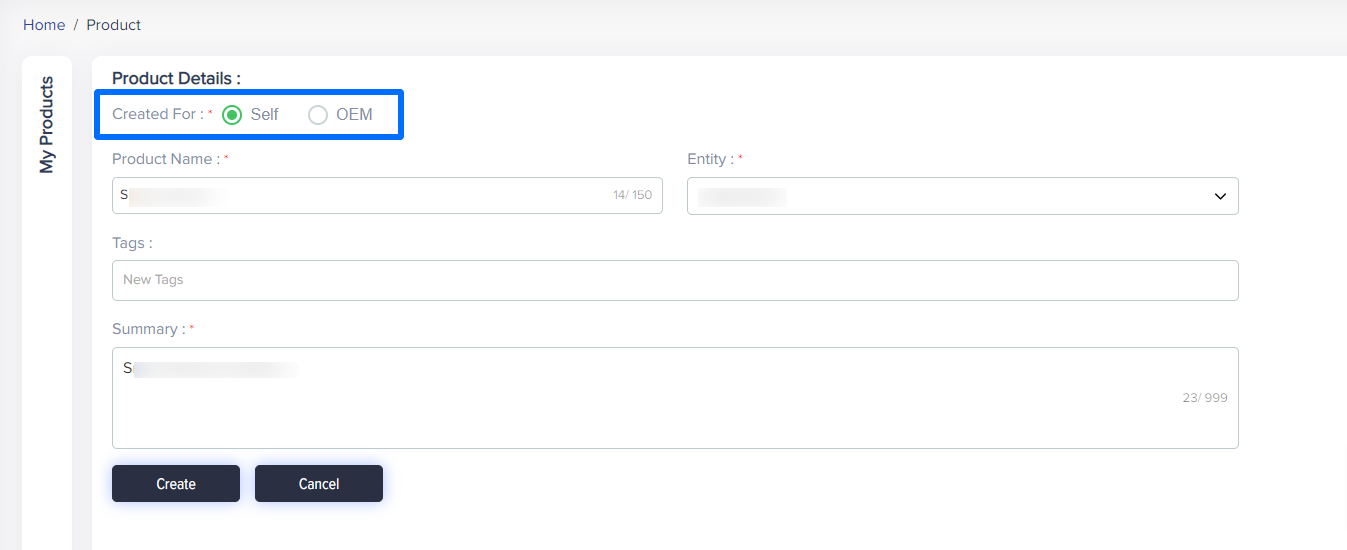
(Screen: Create Product_Solution_Partner_Self)
You can select the OEM partner from the OEM dropdown list.
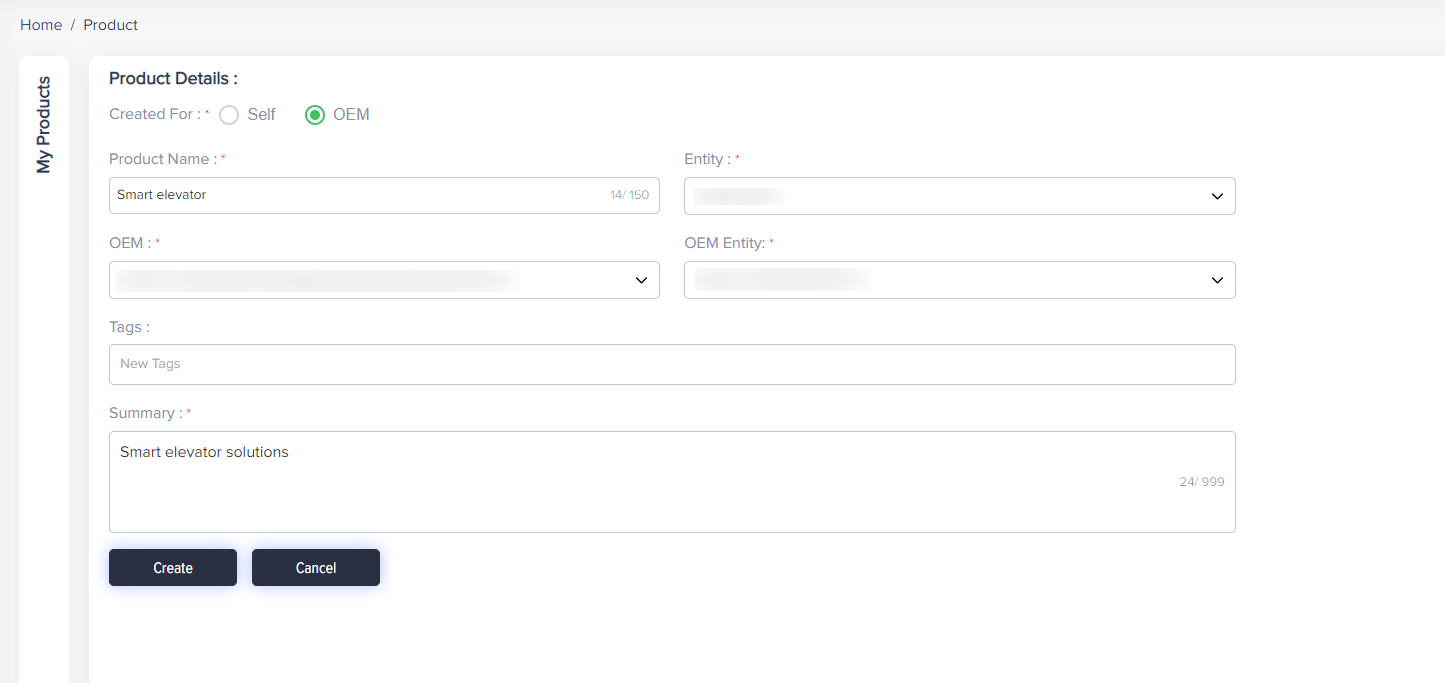
(Screen: Create Product_OEM)
Create Software product
Select Software from the list.
(Screen: Product Type Selection)
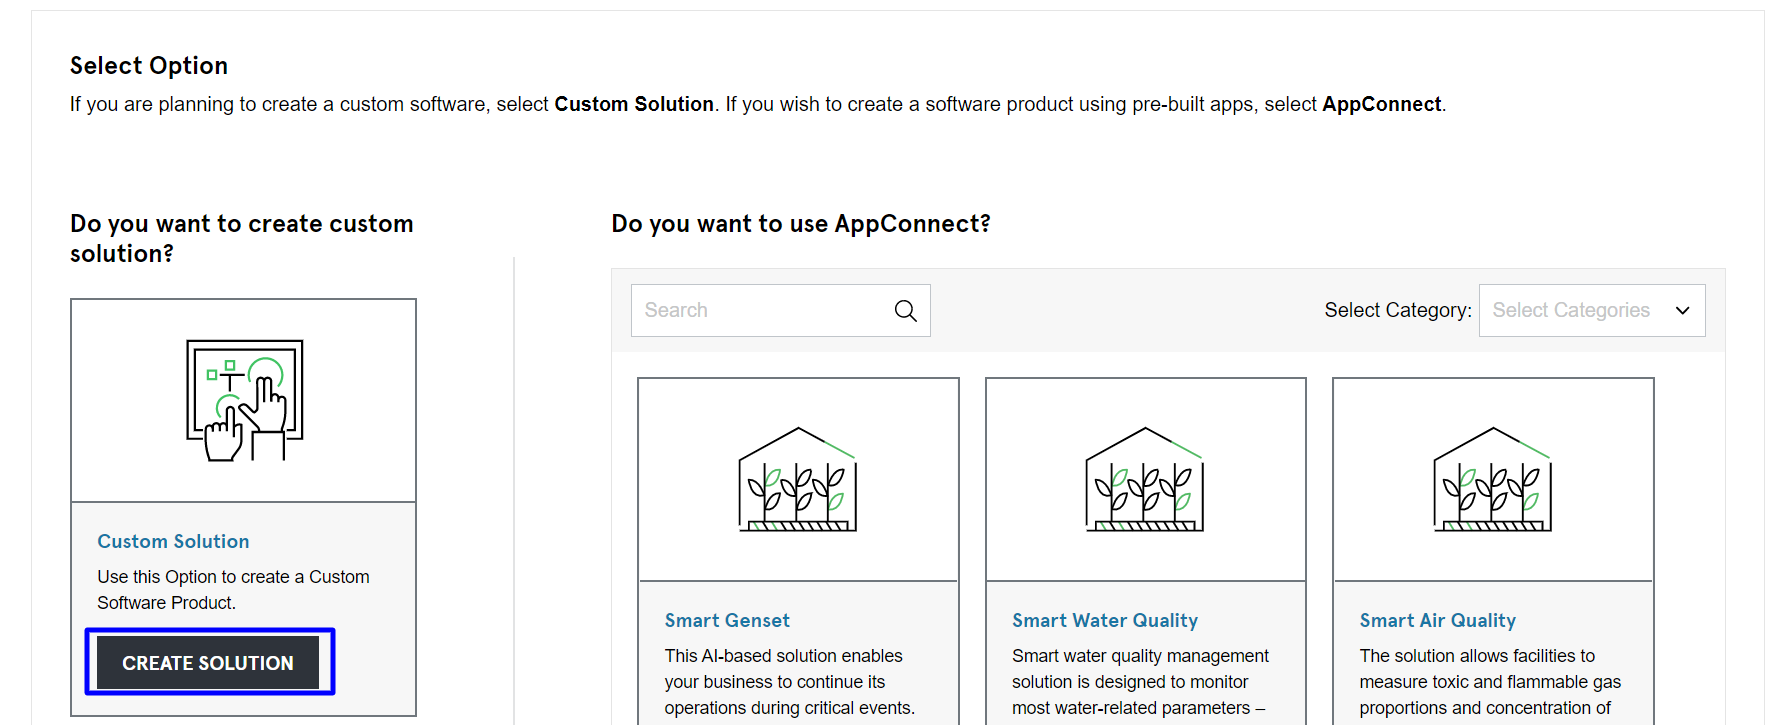
If you select software, you will get the following screen:

(Screen: Create Custom Solution)
- By opting for custom solution, you will get the screen given below
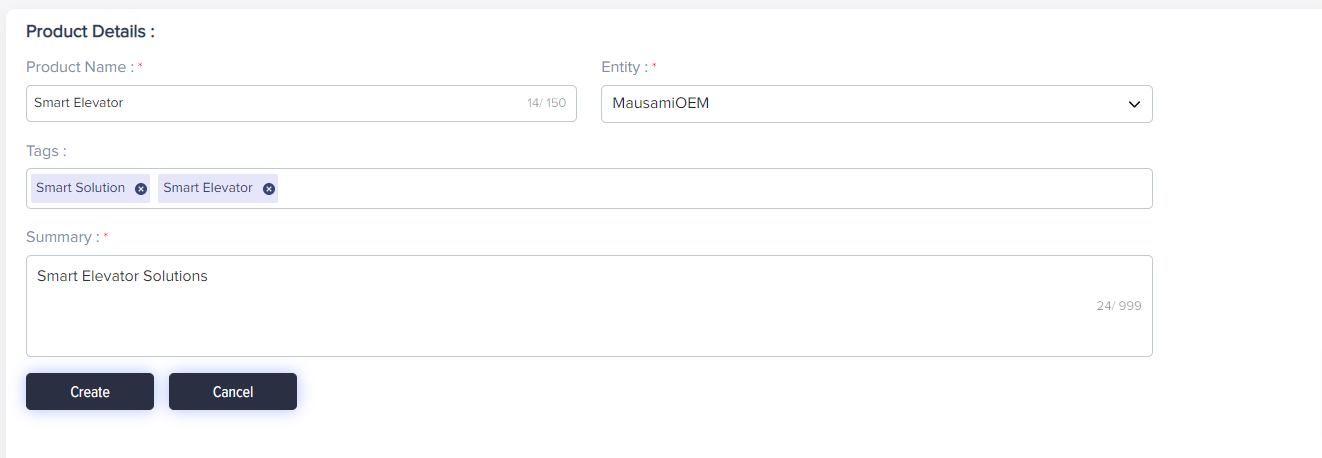
(Screen: Create Product)
Product Name: Enter the name of the solution
Entity: Select entity from the dropdown list
Tags: Add relevant tags for the solution
Summary: Enter a brief description of the solution
- Click Create to create new product, save the information and go back to product listing page
- Click Cancel to go back without saving the information
Once the product is created and you click on the edit option for the product from the product list, you might see some additional tabs apart from product information. These tabs include environments, subscription plans and hardware pricing. These tabs will be displayed on the basis of the selection made during product creation.
Click to know how to create environments and subscription plans.
Create environment
You will be able to create an environment for a product after you have entered the details of your software product.

(Screen: Environment_Options)
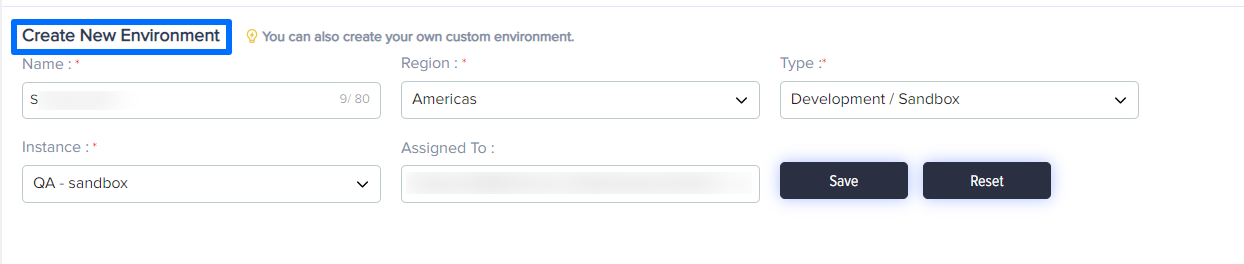
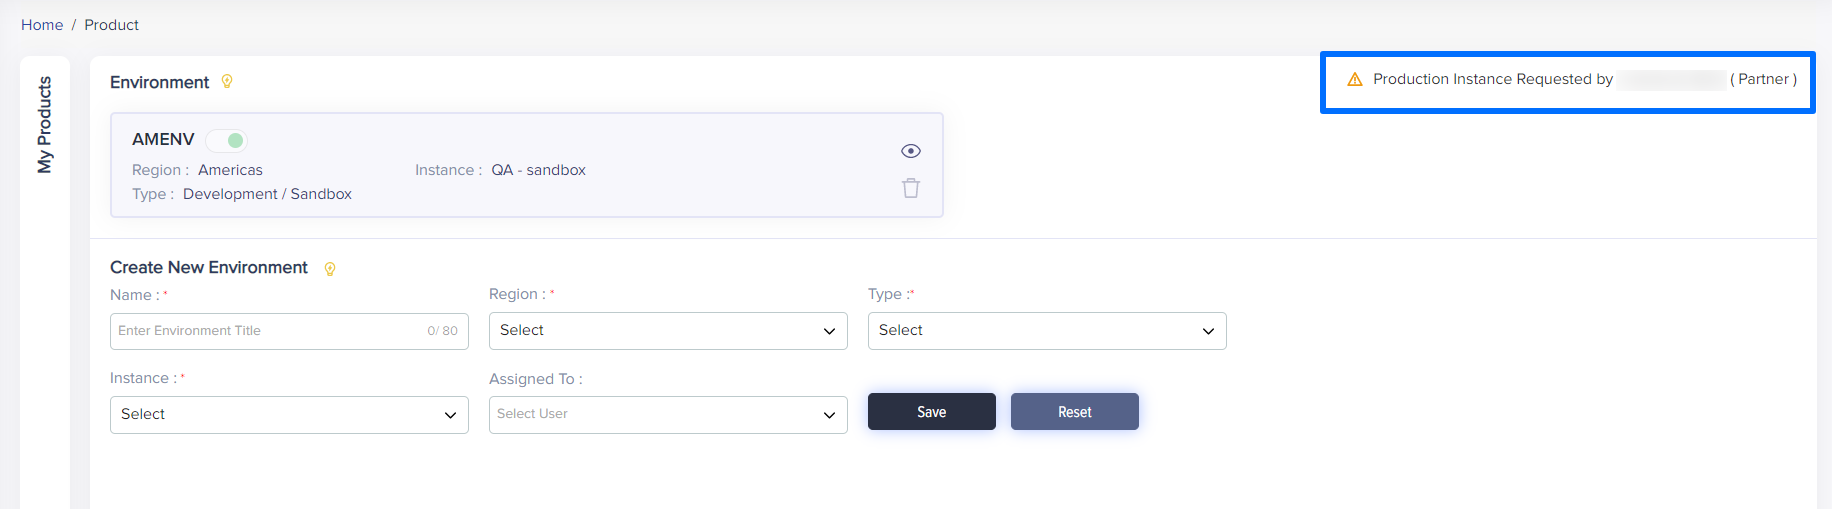
(Screen: Add Environment)
- Name: Enter the name of the environment
- Region: Select the focused region from the given drop-down list (APAC, EMEA, Americas)
- Type: Select the type of the environment you wish to add to the product – Development environment or a Production environment
- Instance: Select the environment instance from the drop-down list. The drop-down displays the list of subscribed instances
- Assigned to: Select the users from the list to whom the environment must be assigned
- Click Save to save the environment
- Click Cancel to clear the data filled
Once you save the Environment Information an environment will be created. Click to know more about the details of the created environment.
In case of AppConnect solution, you will get a configuration file of the solution from where you can download the source code file.
You can select option for Branding, Configuration, etc. from the sections given in the details of an Environment.
(Screen: Environment Details Button)
Note: You can only create sandbox environment. Send a request to admin to create production environment.
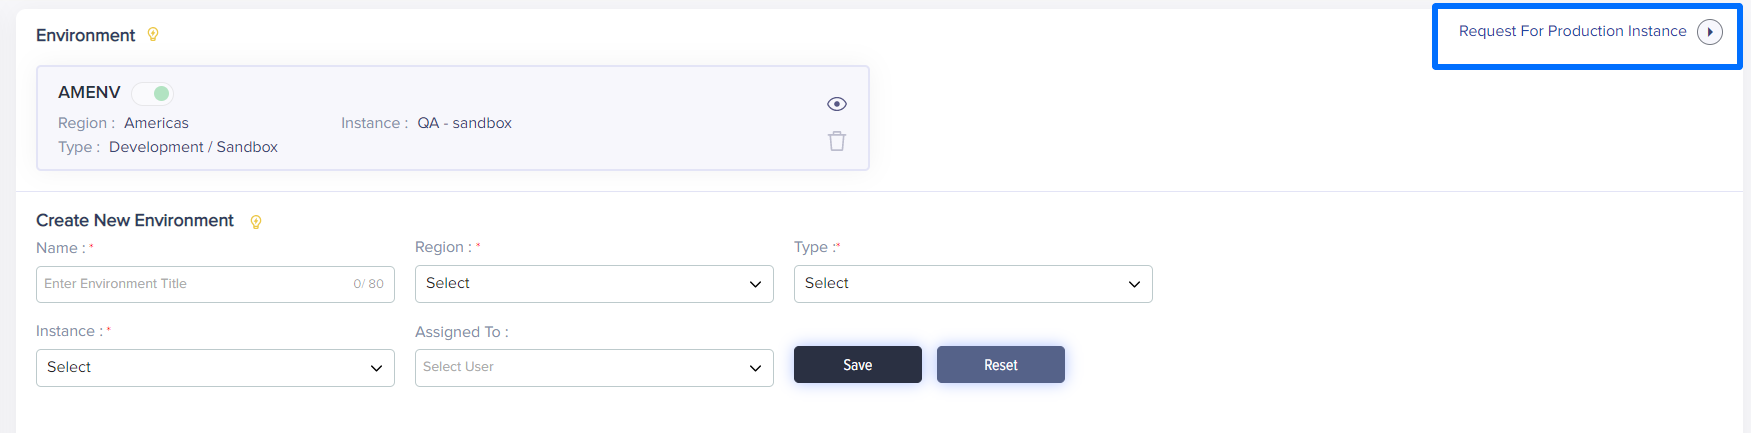
(Screen: Environment Request)
You will get a pop-up to input details for the number of messages that you would like to request for the production environment.
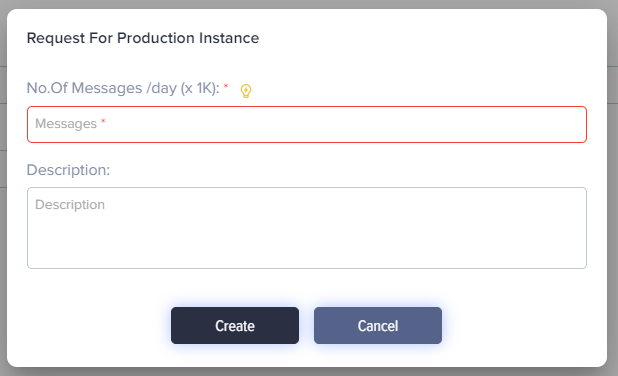
(Screen: Environment_No. Of Message)
Once you have requested for production environment, you will get a message as displayed in the screen below:
(Screen: Environment_Request_Message)
Device Template
Template management is a key part to ensure device connectivity and security within our /IOTCONNECT™ platform. /IOTCONNECT™’s template feature will help you with the following:
- Add and manage devices/sensors.
- Assign rules to each device.
- Define associated data captured by the device in the form of attributes.
- Set commands to allocate actions you want the device to perform.
To know more about template management, you can read our user guide.
If you are a hardware provider, you need to offer the details about your devices like certification details, type of data that can be received by the device like numeric, string, etc., and other information.
- Click on the edit button of your hardware product to get to the Device Template segment. You can choose from the existing ones or create a custom template
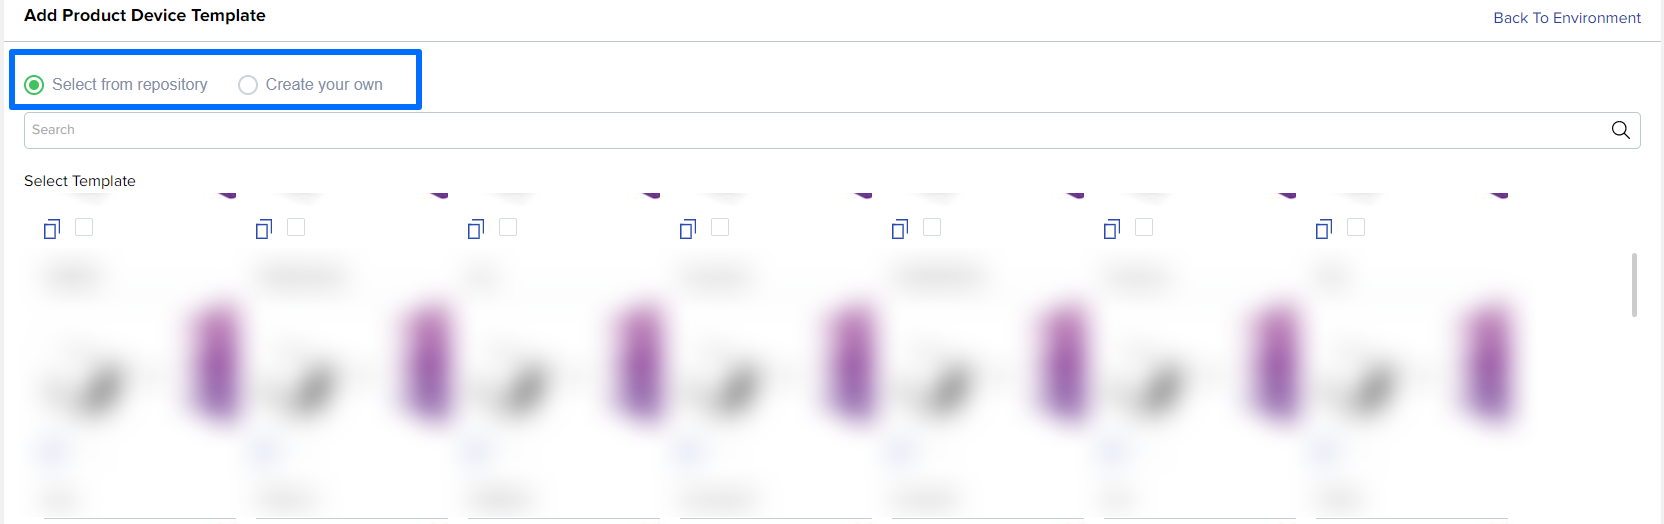
(Screen: Device Template_Repository)
(Screen: Device Template_Custom)
- Download the Json file and edit the details.
- Upload the edited file.
- Click Save to save the details.
- Click Cancel to undo the changes.
Create subscription plan
This section allows you to create subscription plan for your customers. Once the subscription plan is created, you can list your products on Solutions Hub or create your own UI for end-users to view your pricing plan using our subscription API.
When you click on the subscription tab from environment details section, the following screen will appear where you need to click on the eye icon. This will redirect you to the environment details screen. you can find the option for Subscription Plan at the bottom of the screen.

(Screen: Environment_Subscription)
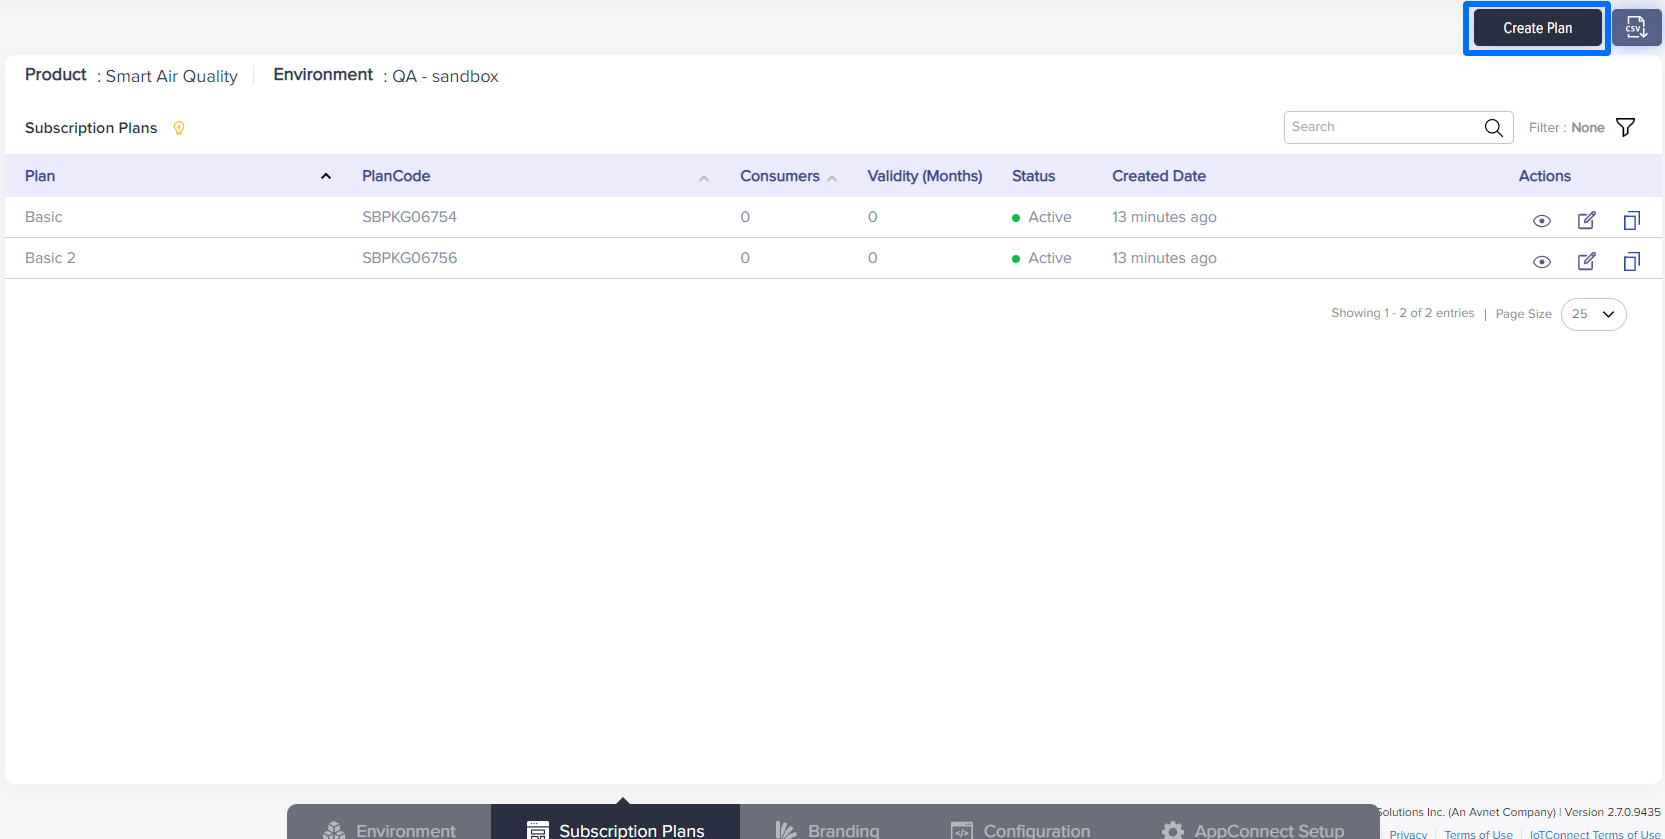
(Screen: Subscription Plan_Create Plan Button)
- On click you will be redirected to Create Subscription Plan screen
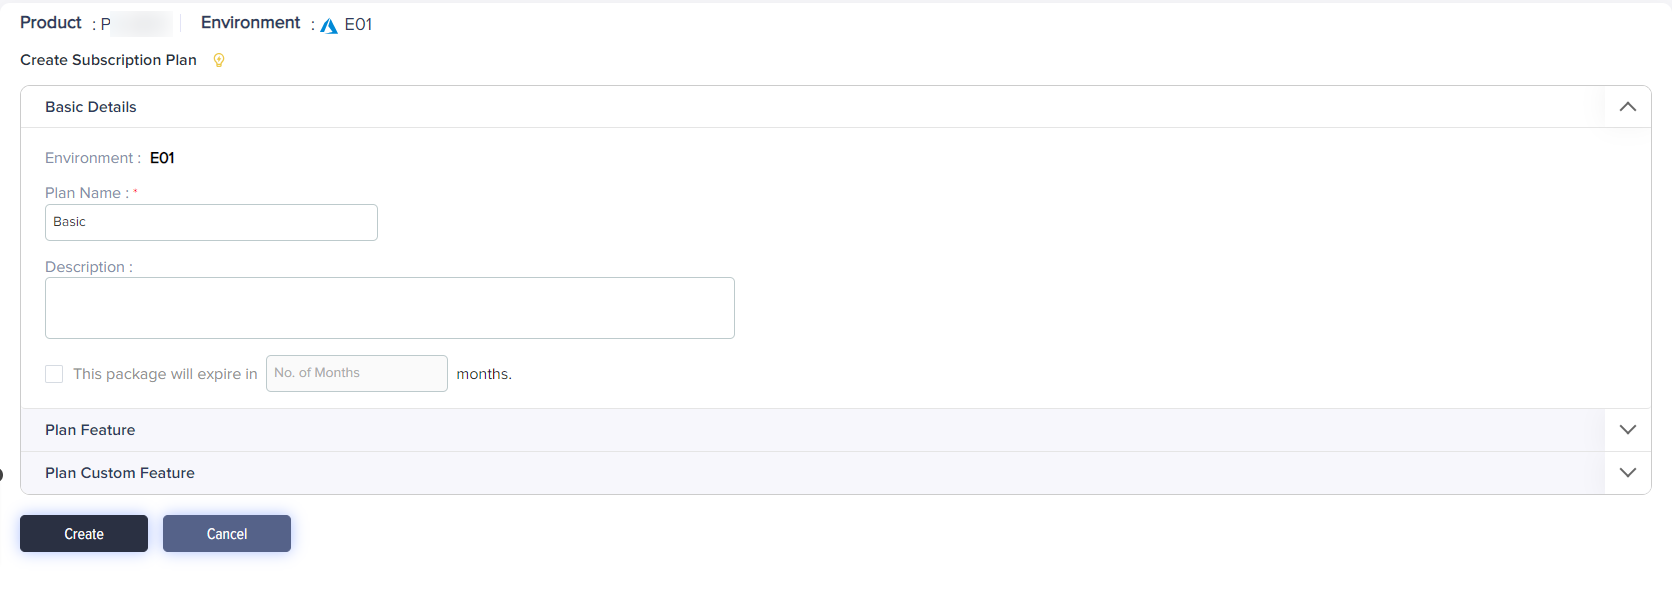
(Screen: Plan Details)
- Basic Details
-
- Environment: Select the environment for which the plan is being created
- Plan Name: Enter the plan name
- Description: Enter a brief description of the subscription plan
- Validity of Plan: Optional field, if you want to set the validity of this plan.
2. Plan Features
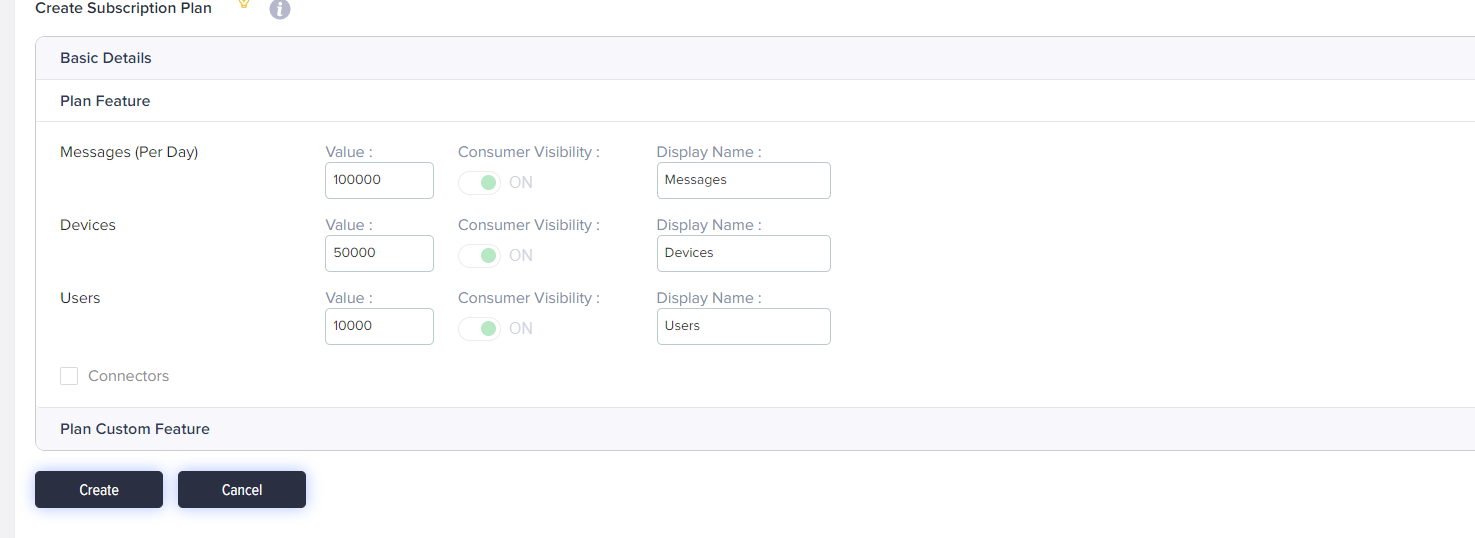
(Screen: Create Subscription Plan- Parameter & Feature Selection)
- Select the number of messages, devices, connectors and users that you want your customer to consume.
- Keep the consumer visibility ON/OFF to define whether you want these fields to be visible to the end-users or not.
- Define Display names for these features. These display names will be visible to your end-customers if you keep the consumer visibility on.
3. Plan Custom Features
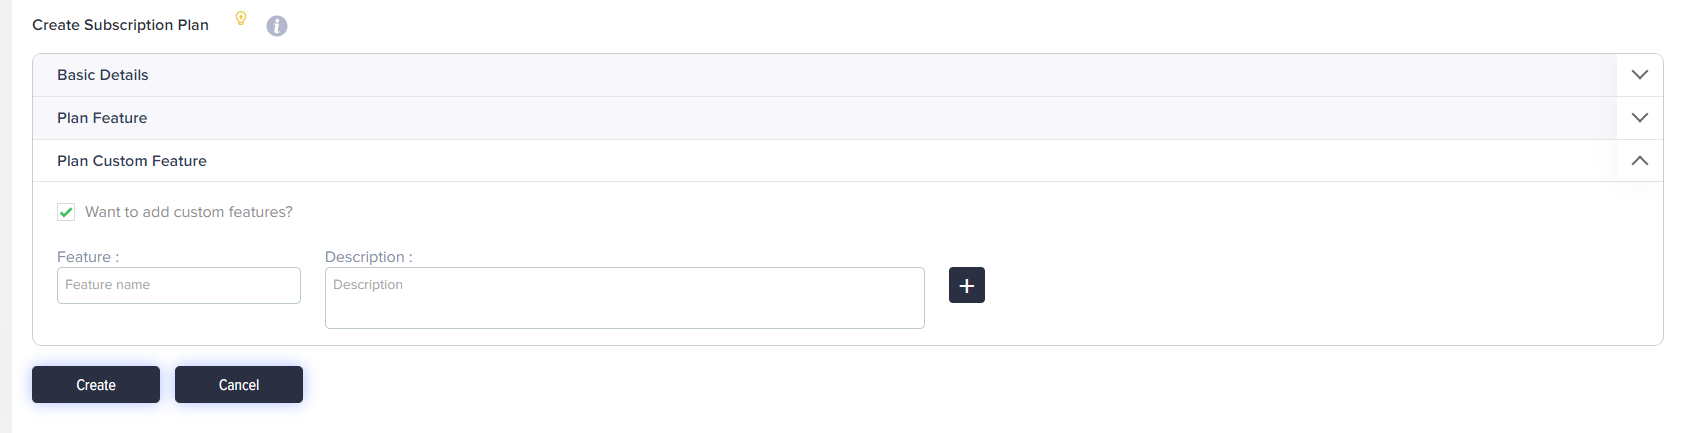
(Screen: Create Subscription Plan- Custom Features)
- Select the checkbox if you want to add custom features
- Feature: Name of the custom feature
- Description: Explain the custom feature
- Click on Add button to add this feature. You can also add more features if you want.
- Once the feature is added, you can edit and delete the feature
- Click on Create to create the plan
- Click on Cancel to clear the entered information
Branding
With the Branding module under Software Products, you can give a unique identity to your brand.
This allows your consumers to identify your products easily.

(Screen: Software_Branding)
Turn on the toggle button to view Branding options: Basic and Advanced.
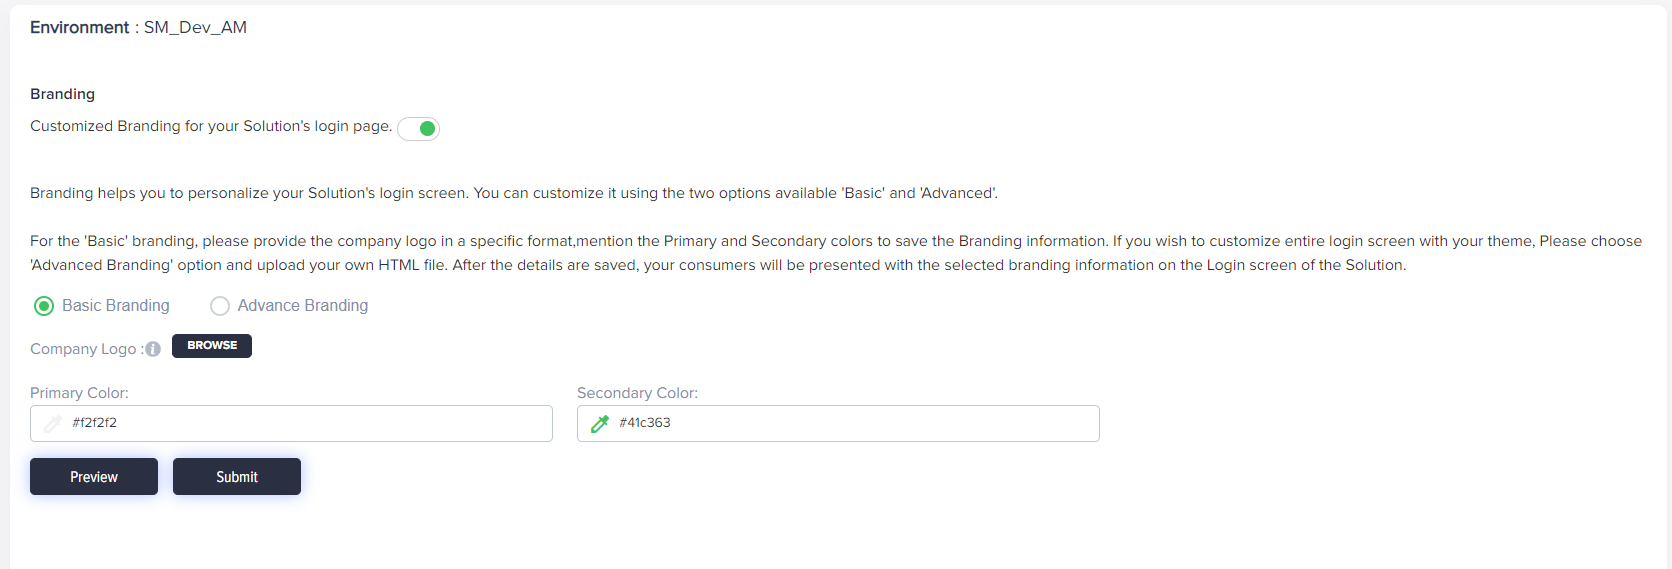
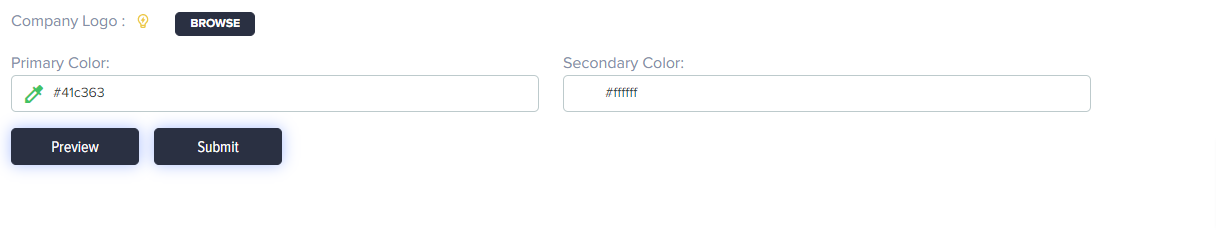
With Basic Branding, you can upload your Company logo and choose primary and secondary brand colors.
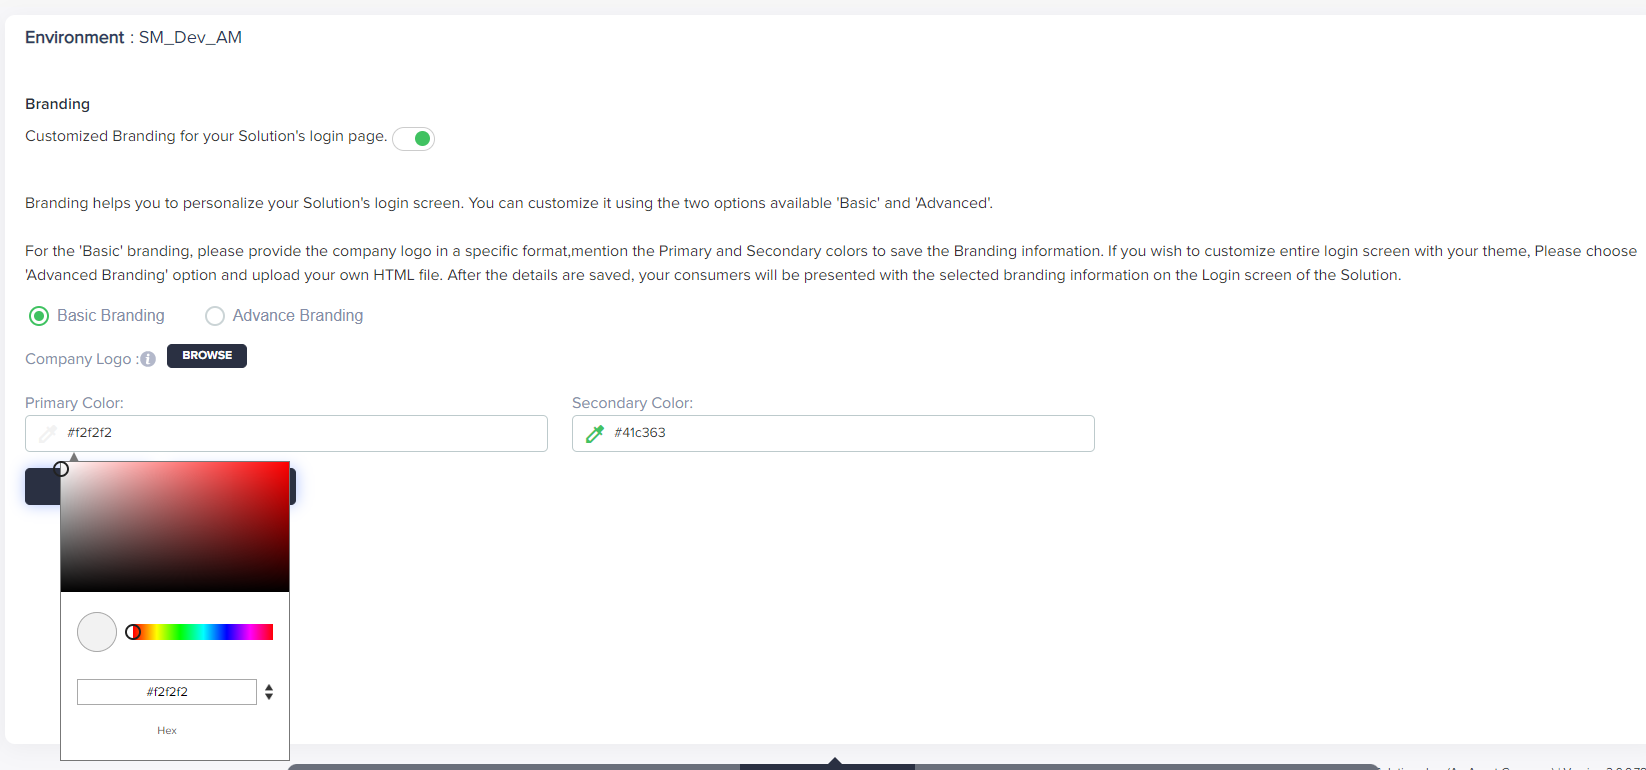
(Screen: Primary Color)
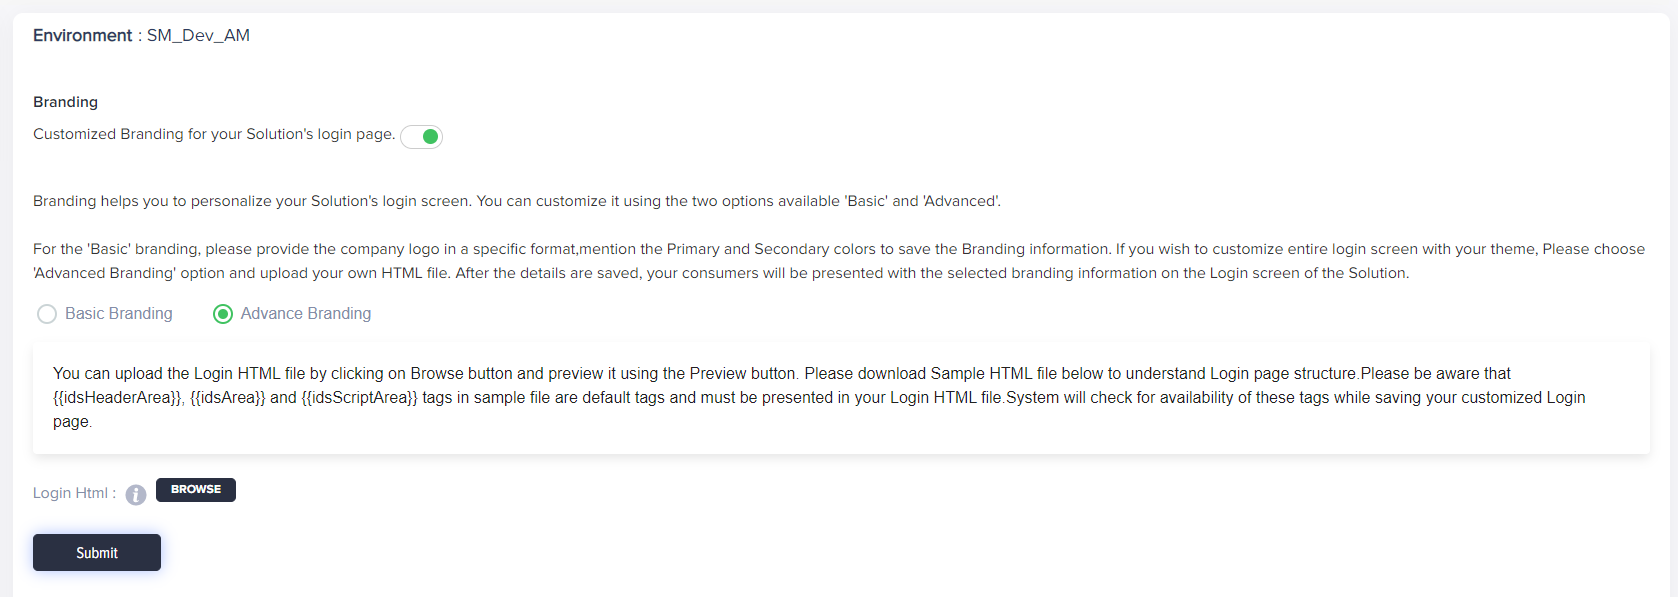
(Screen: Advanced Branding)
Advanced Branding allows you to upload an HTML file with your branding details. You can get the sample HTML file by clicking on the link and customize accordingly.
You can preview your branding page:
(Screen: Preview)
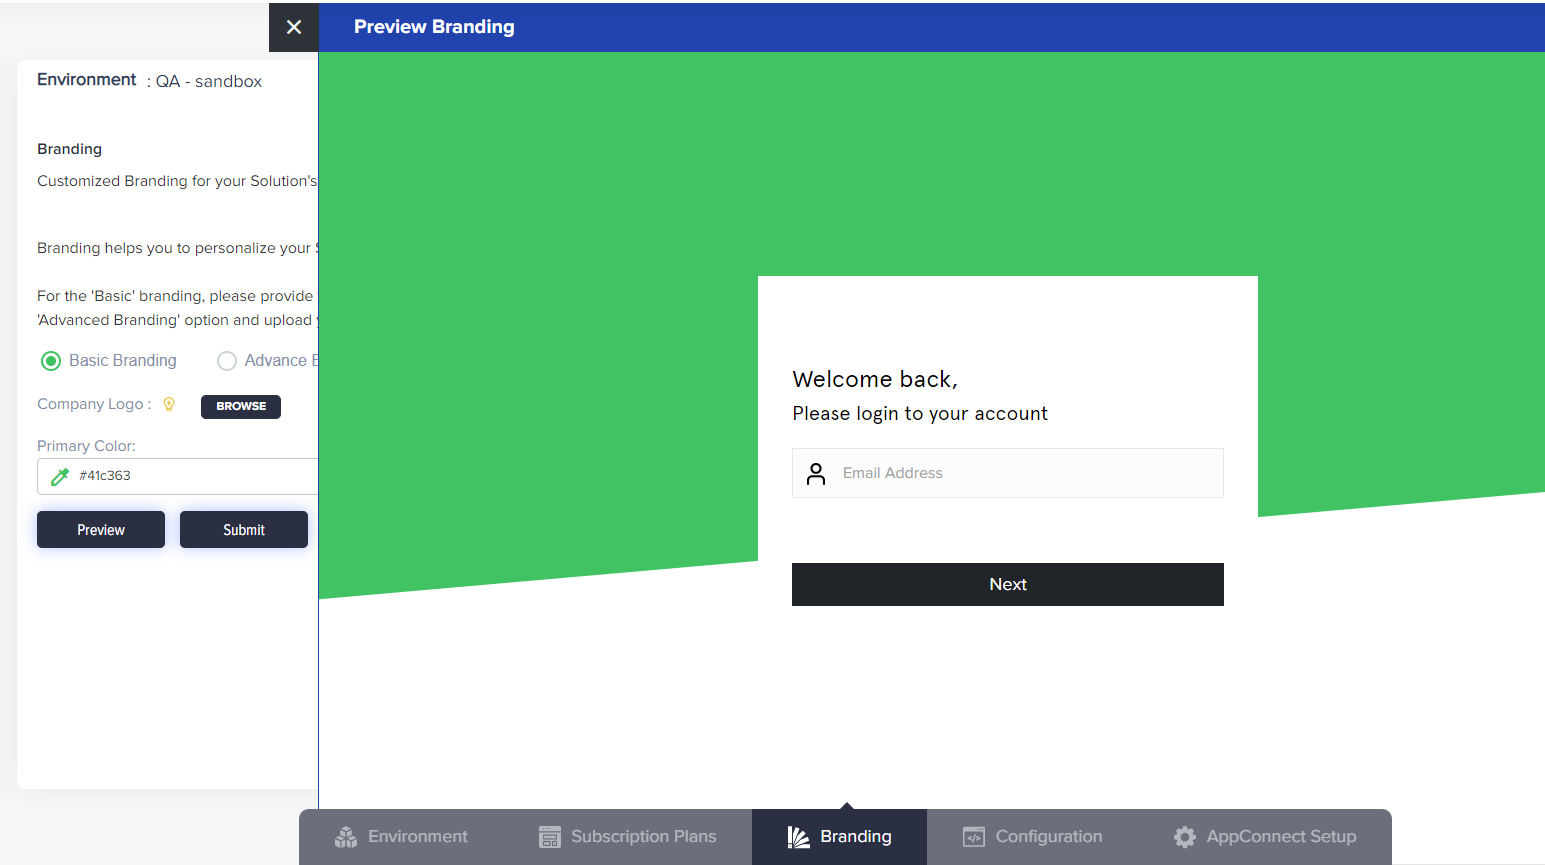
(Screen: Preview_Page)
Configuration
You can sync your /IOTCONNECT™ data using Configuration.
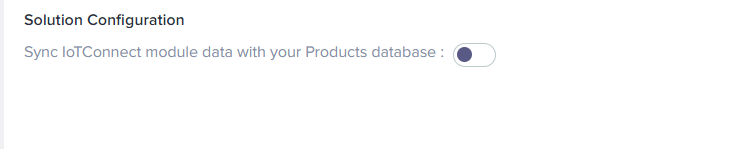
(Screen: Configuration)
By clicking the toggle button, you will get an option to choose the type of data to sync.
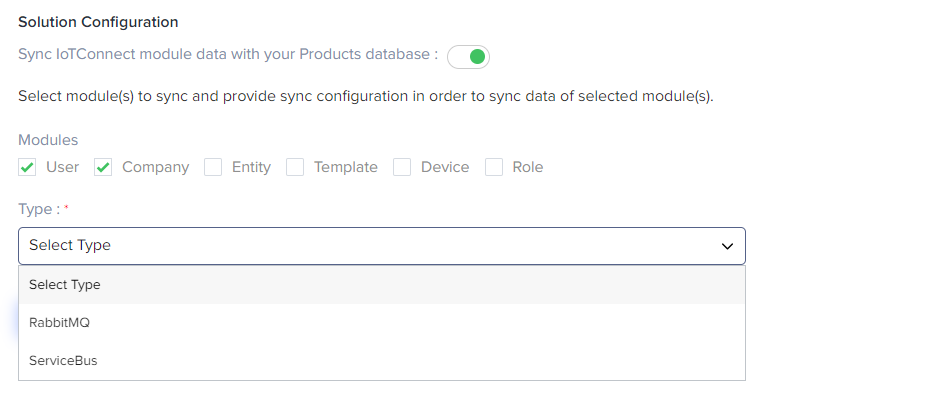
(Screen: Configuration_Sync)
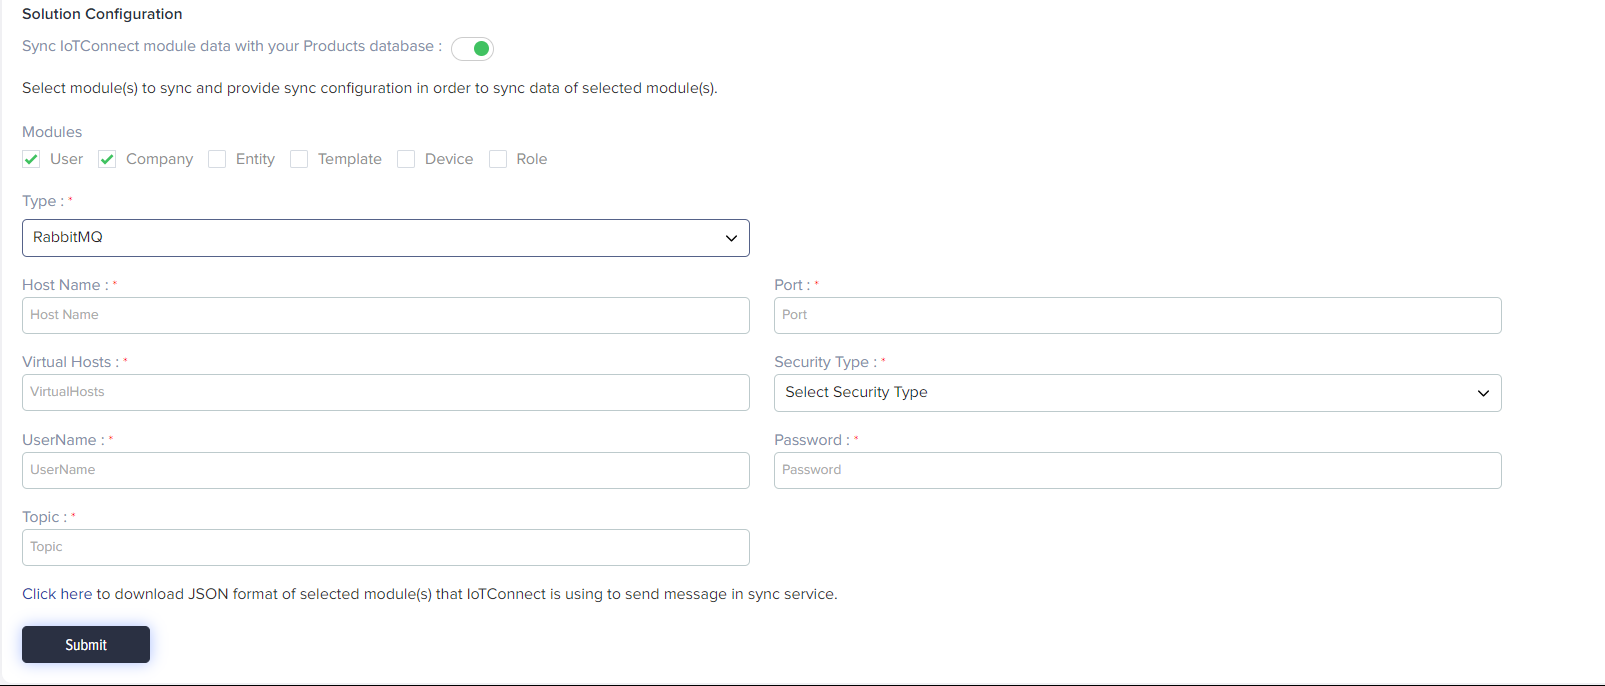
(Screen: Configuration Sync Type)
With Modules, you can select the type of data you want to sync and with Type, you can select the type of data storage like RabitMQ and ServiceBus, and add details about the data type.
AppConnect Setup
AppConnect setup allows you to include the environment created for the solution as AppConnect solution.
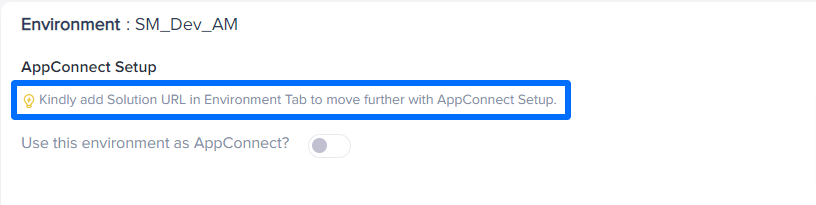
(Screen: Software_AppConnect Setup)
AppConnect
AppConnect allows you to create apps that are pre-deployed on /IOTCONNECT™. You can customize these IoT solutions according to your needs and offer them to your consumers.
Click on Create Product and select software. You will get the following screen:

(Screen: Product Management_AppConnect)
Select AppConnect to use AppConnect module.
You will get the screen as given below:
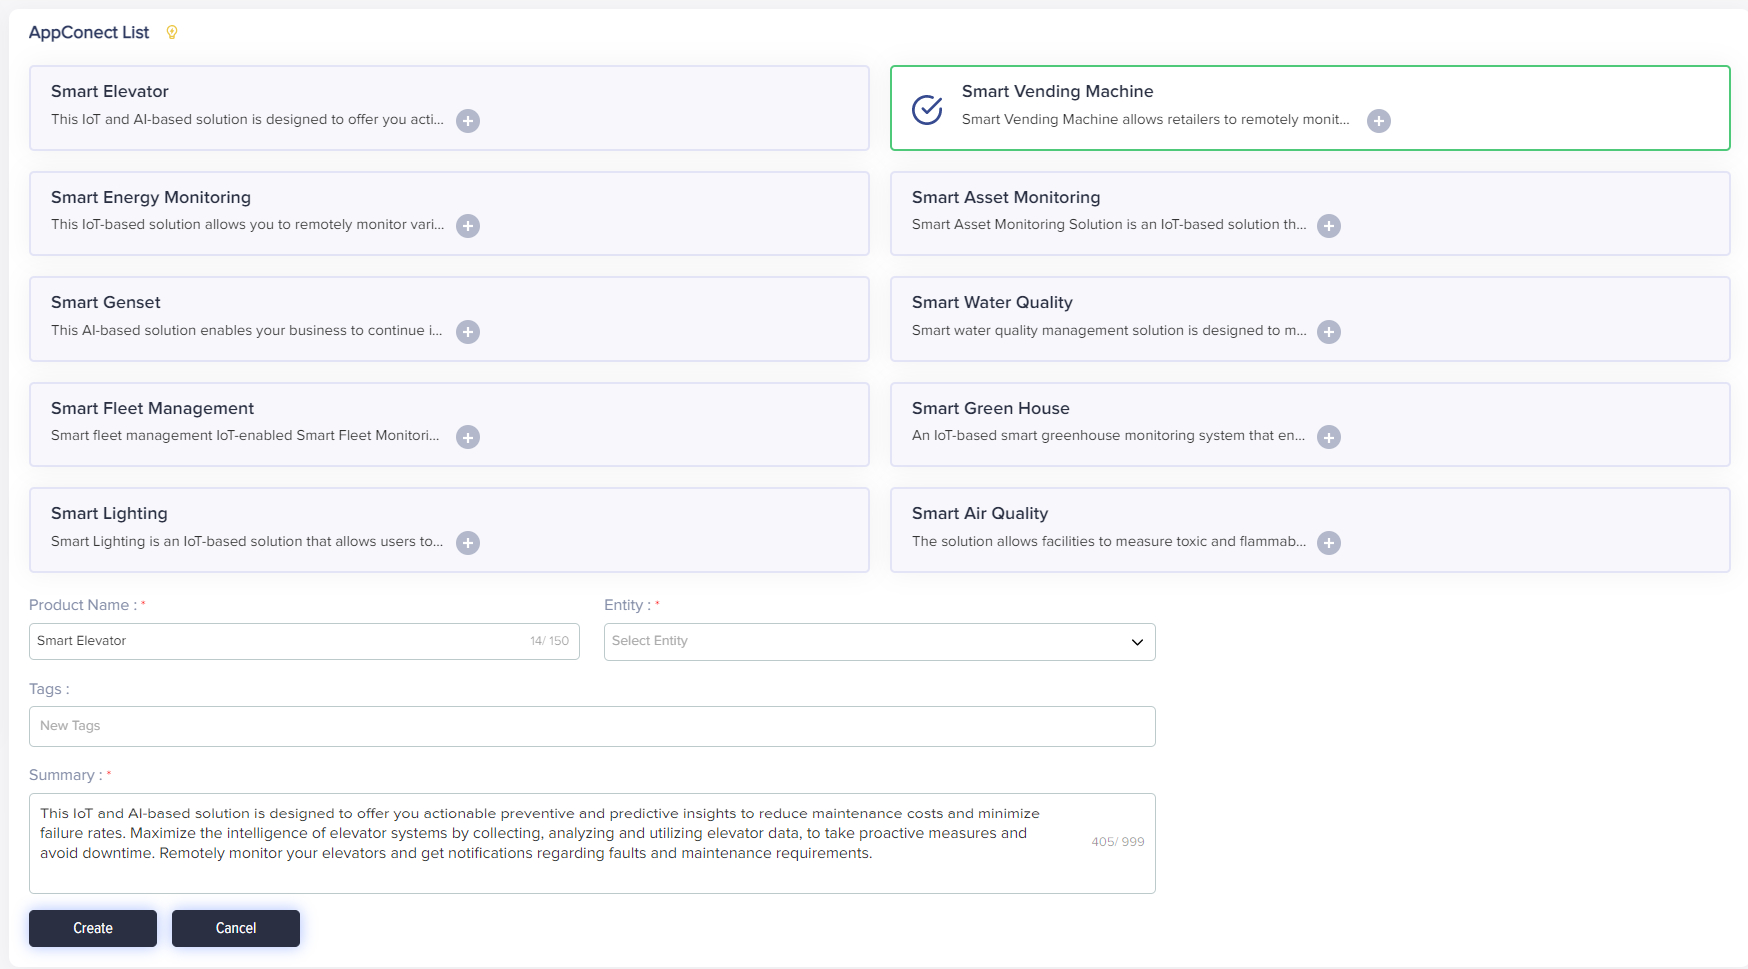
(Screen: AppConnect_List)
You can select the solution from the list and get the details of the solution. Once you click Create, you will get the option to view and create environments for the solution.

(Screen: AppConnect_Environment)
Click on the eye icon to view the details of the associated environment that has already been created in the system. You will also get an option to download the configuration file of the solution within the details of that environment.
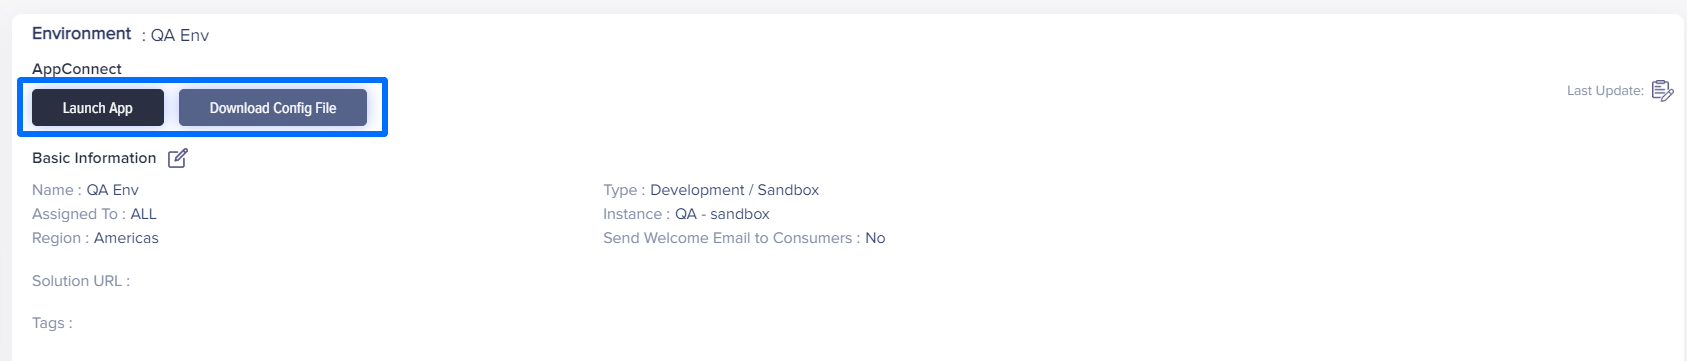
(Screen: AppConnect_Config. File)
Product Sharing for OEM
OEM partners can share their software/hardware products with the selected service or solution partners by assigning them the respective product.
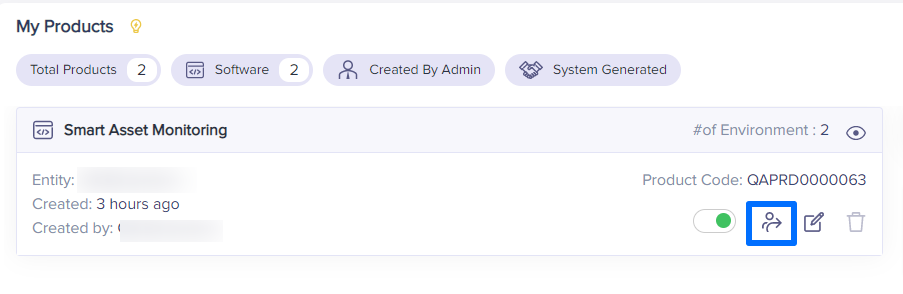
(Screen: Assign Partner)
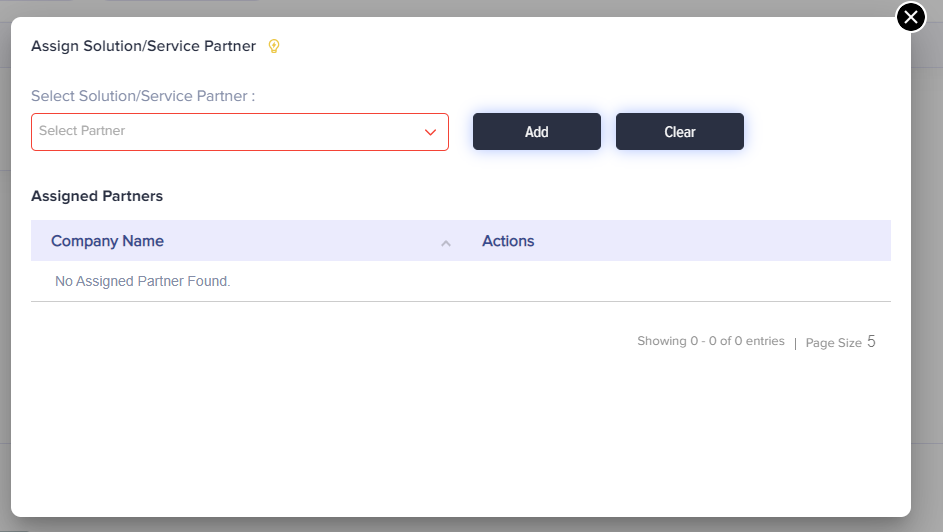
You will get a pop-up screen where you can select the partner that you want to assign the product to.
Once you have added the partner, it will be displayed in the list as given in the screen below.
(Screen: Assigned Partner List)
You can delete the assigned partner. Your partner will no longer be able to avail the services related to that products like devices and consumers.
Environment Information
To know about creating an environment click here.
Once you save the Environment Information an environment will be created.
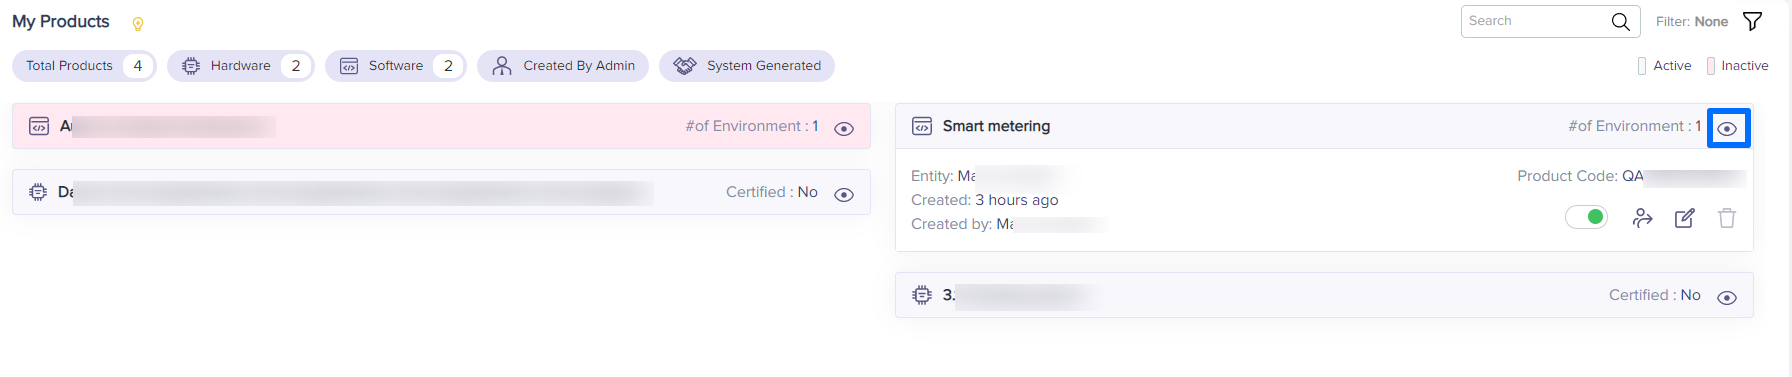
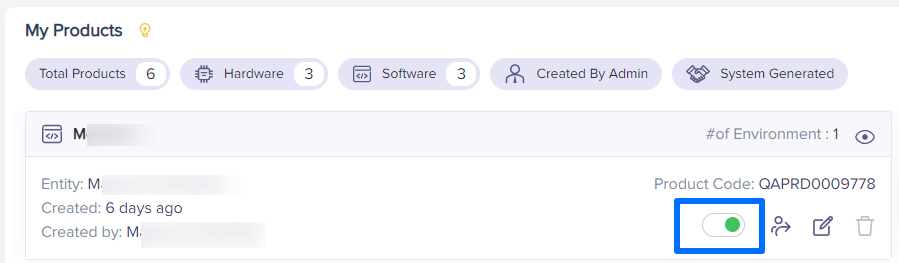
You can access environment information from My Products.

(Screen: My Products)
Change the status of the environment (Active/Inactive)
To change the status of any environment, click on the active/inactive toggle button from the environment tab.
Note: To make any environment inactive, you need to deactivate the subscription plans associated with the environment. Also, no consumers should be associated with the environment.

(Screen: Plan_Inactive)
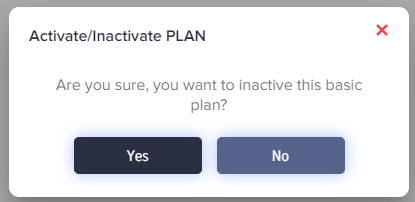
(Screen: Plan_Inactive_Confirmation)
After deactivating the subscription plan, you need to deactivate the status of environment.

(Screen: Environment_Status)

(Screen: Delete Environment)
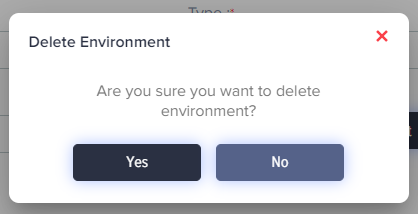
(Screen: Delete Environment_Confirmation)
- Click Yes if you want to change the status.
- Click No to go back without changing the status of the environment.
On clicking Yes, an OTP will be sent to your e-mail id, that you need to enter.
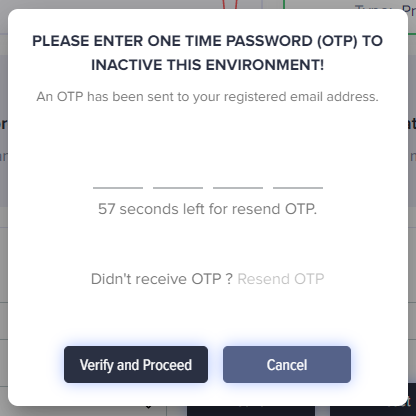
(Screen: Change Environment Status-OTP)
- Click on Verify and Proceed to change the status.
- Click Cancel to go back.
You can see the details of the environment as below:
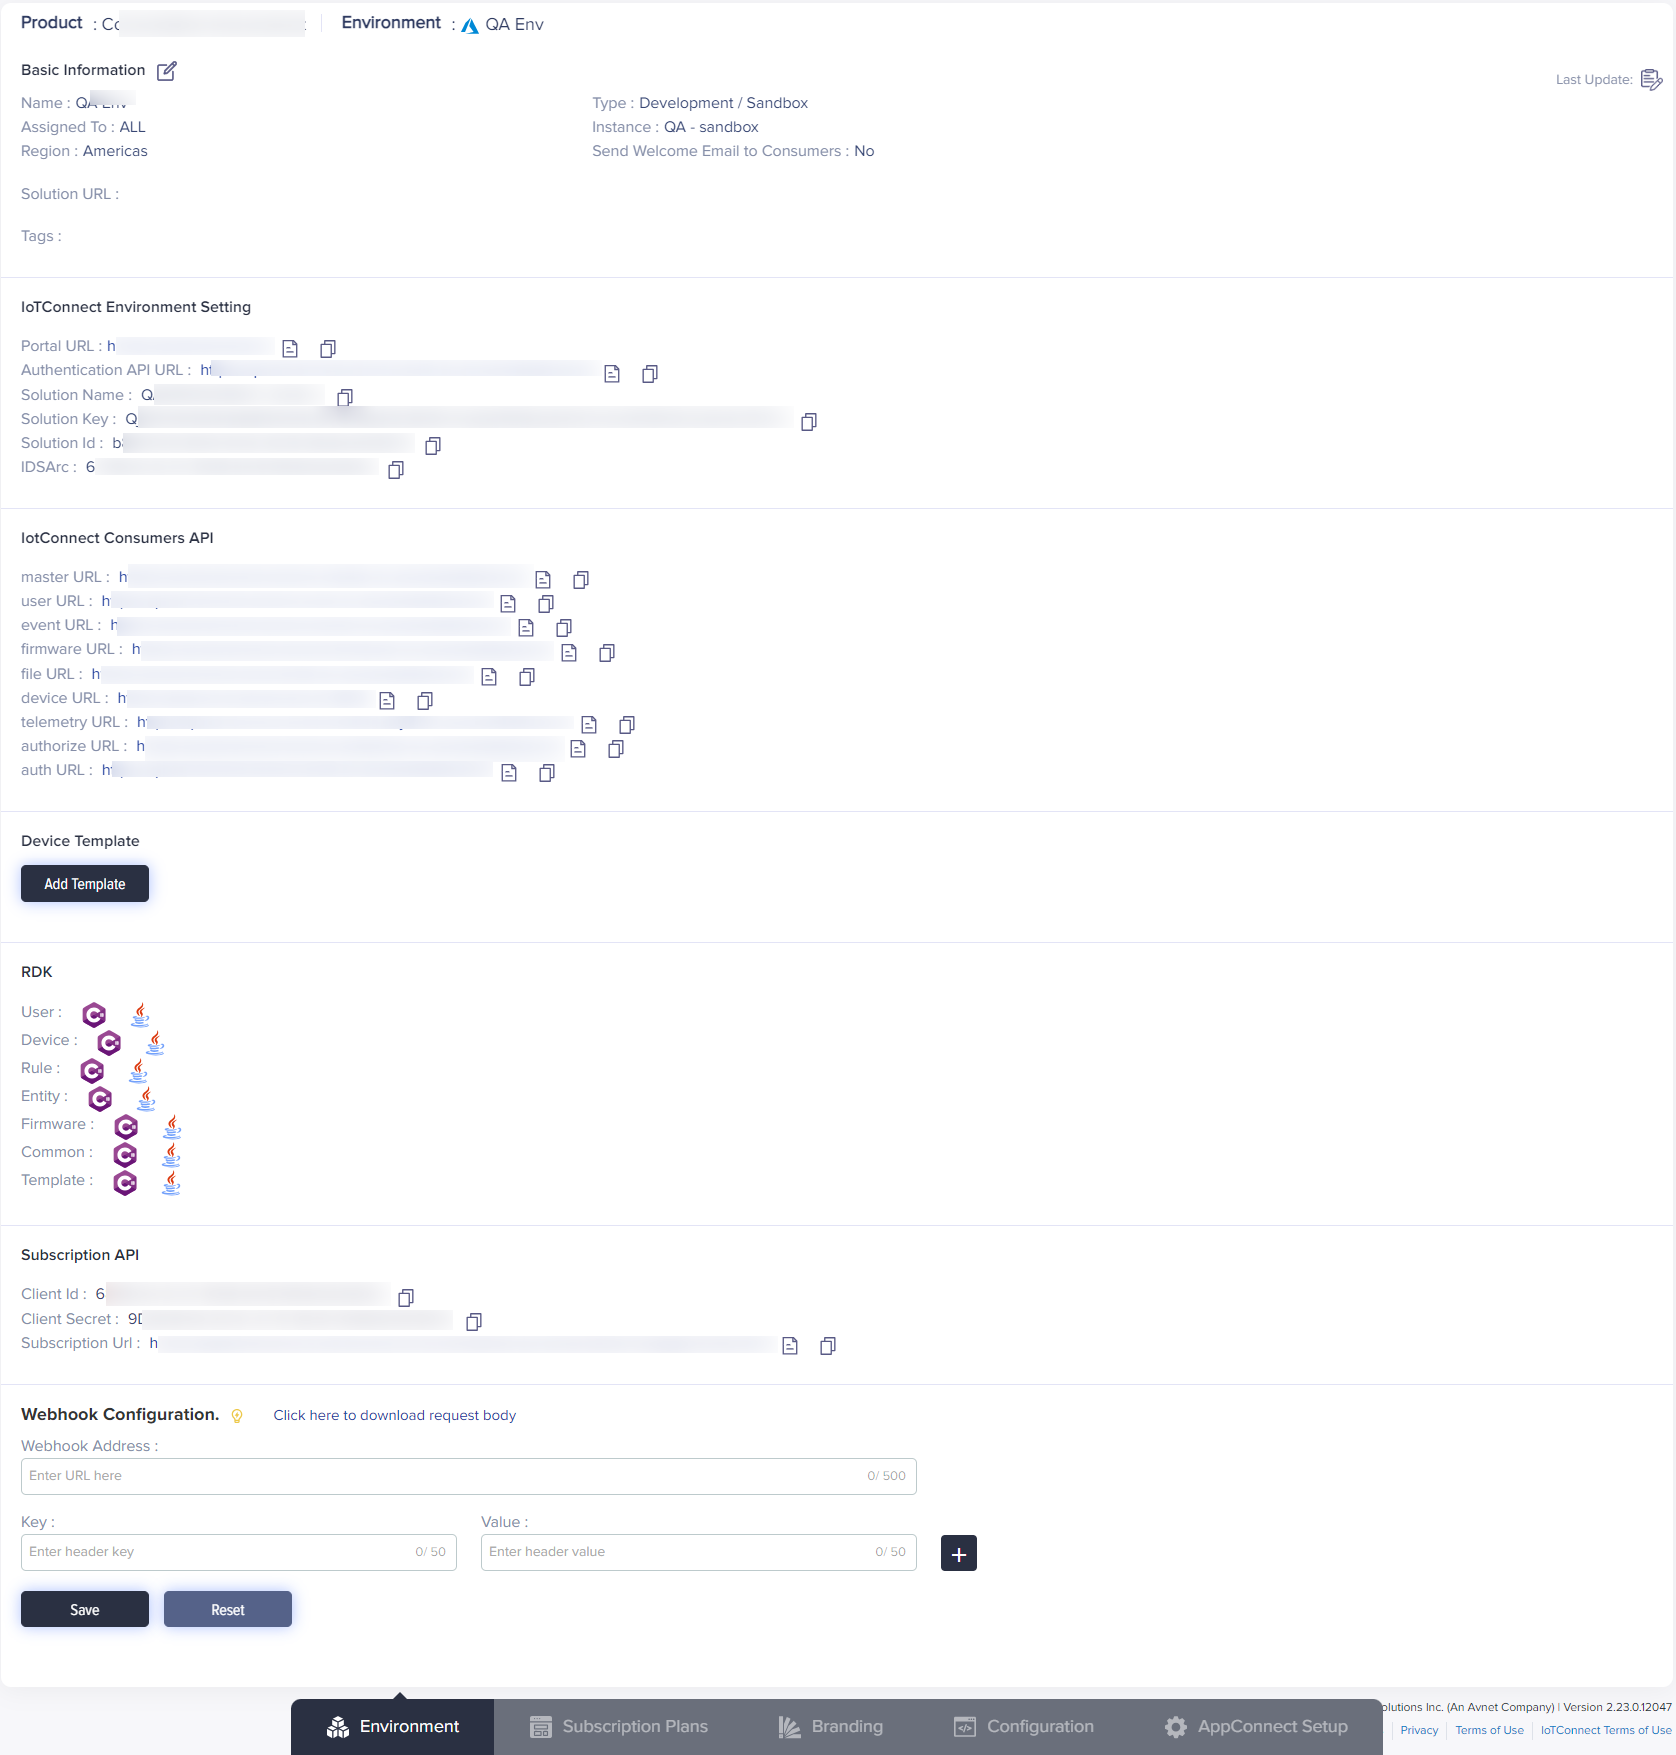
(Screen: Environment Information)
Here you can view various details related to an environment:
- Basic information: Basic details such as name, region, type and instance.
- Attach /IOTCONNECT™ DevLab as a consumer: You can explore DevLab as a consumer by selecting this toggle button. This is only available for Sandbox environment.
- /IOTCONNECT™ environment setting: Set of URLs and other information for setting up /IOTCONNECT™ environment.
- /IOTCONNECT™ consumer APIs: List of various consumer APIs
- Device template: Partners can add upload template for their solution
- RDK: Set of RDKs that partners can download for rapid development of IoT solutions
- Subscription API: API to access the subscription module
- Webhook Configuration: Store data from Partner Program in your local drive or on the Cloud
Change the status of the product (Active/Inactive)
To update the status of any product, click on the status field for the product on the product list page.
Note: To make any product inactive, all the associated environments should be inactive as well.
Click on the existing status to change the status of a product from Active to Inactive or vice versa.
(Screen: Change Product Status)
A pop-up will appear with the question along with choice of Yes or No.
- Click Yes if you want to change the status.
- Click No to go back without changing the status of the product.
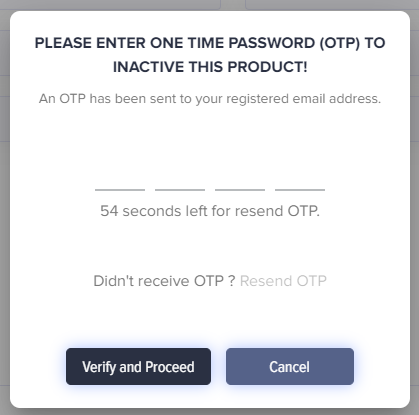
- On clicking Yes, an OTP will be sent to your e-mail id, that you need to enter.

(Screen: Change Product Status-OTP)
- Click on Verify and Proceed to change the status.
- Click Cancel to go back.
Search for specific products from the product list
Enter keyword in the search bar and click on the “Search Icon” or press “Enter”. It will display the results (if there are any) matching the keyword.
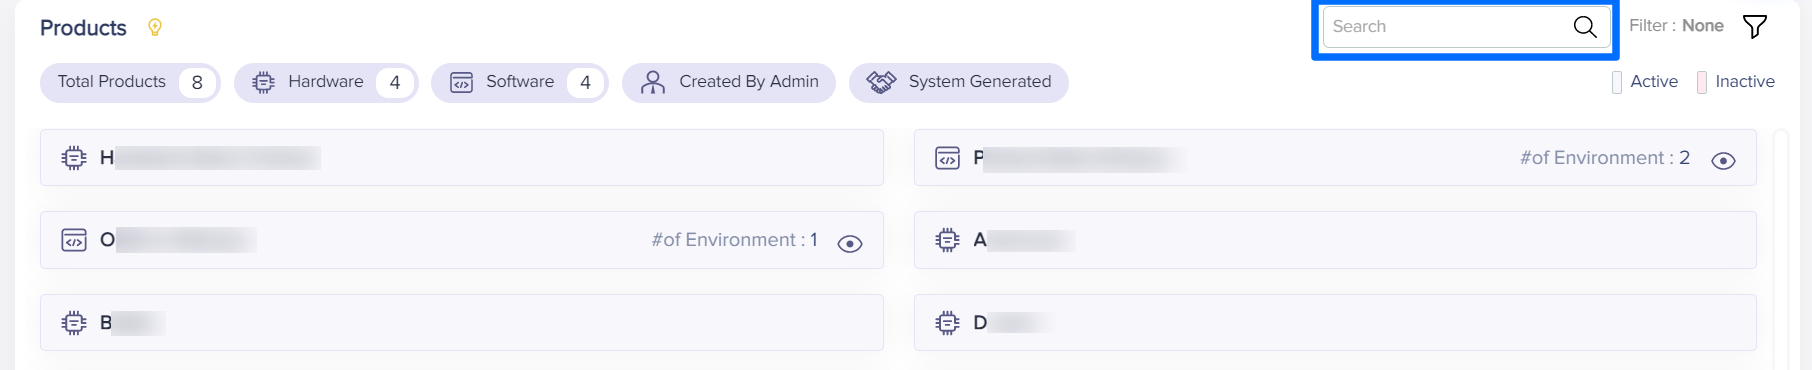
(Screen: Search Product)
Delete product
To delete a product, you need to deactivate the product. However, if the product has associated subscription plan and an environment assigned to it, those details need to be deleted first.
- Click on the eye icon

(Screen: Product)
- Go to the environment details and click on Subscription Plans

(Screen: Environment_View)
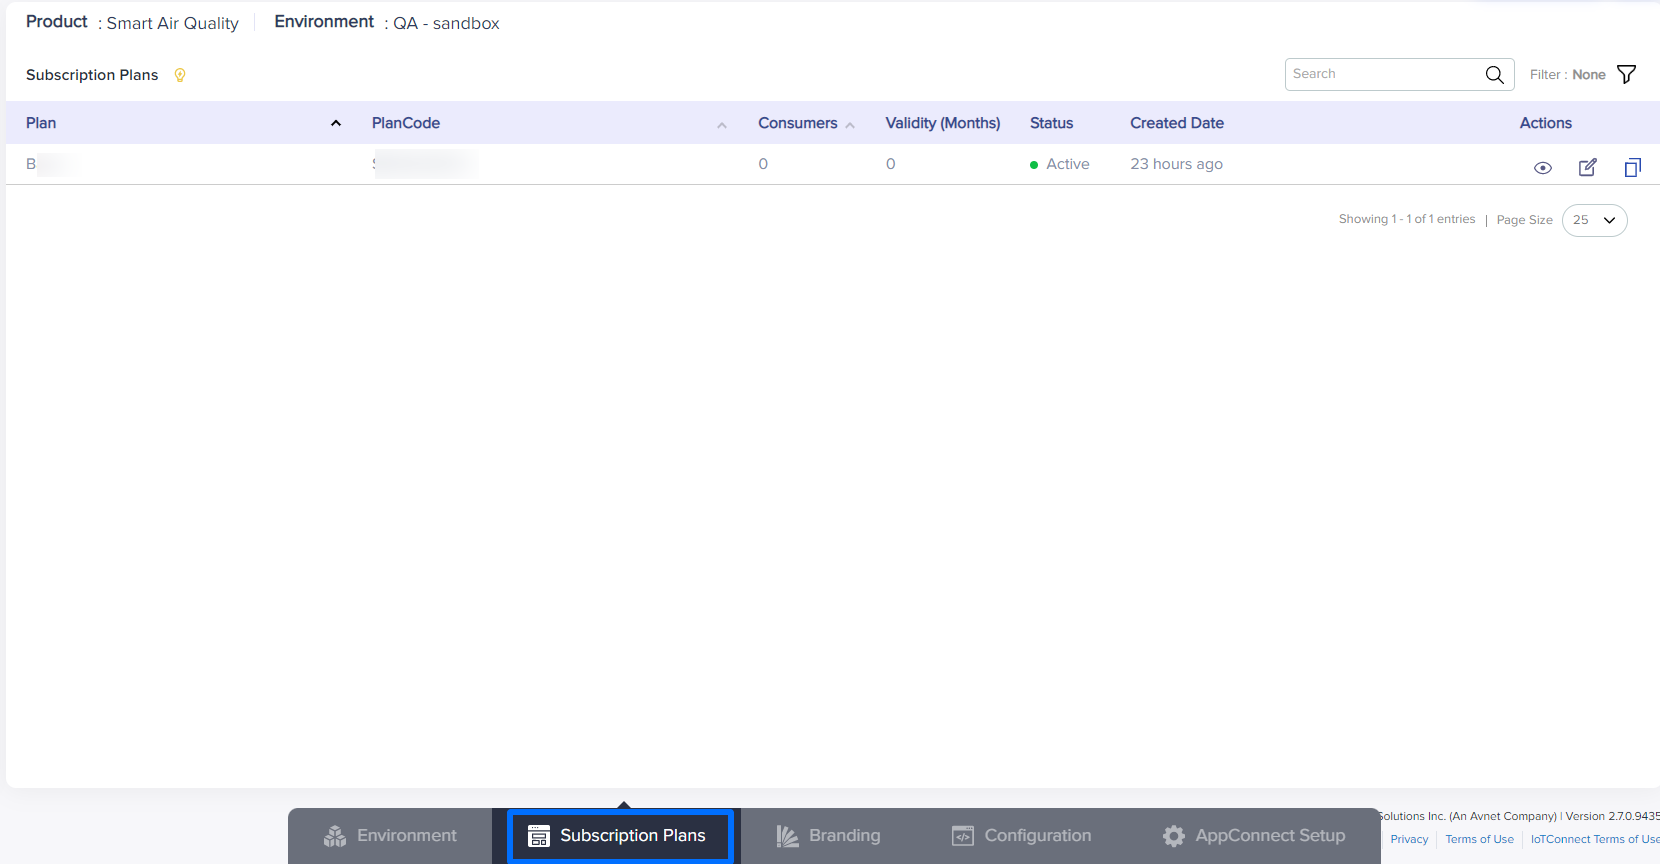
(Screen: Subscription Plans)
- Click on Active

(Screen: Subscription Plans_Inactive)
You’ll get a pop-up message for confirmation.
Once the plan is deactivated, you can go back to environment details screen and turn off the status of the environment.

(Screen: Environment Status)
Once the status is turned off, you’ll get a delete button below the eye icon.

(Screen: Delete Environment)
You’ll receive an OTP on your registered email address which you need to enter to delete the environment.

(Screen: Environment OTP)
Once you’ve entered the OTP, you need to inactivate the product.

(Screen: Product Status_Active)
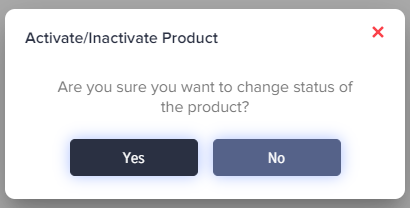
You’ll get a pop-up message as given below:

(Screen: Activate/Inactivate Product)
You’ll receive an OTP on your registered email address which you need to enter to deactivate your product.
(Screen: Product OTP)
You’ll see the Delete button on the product list page.

(Screen: Delete Product)
You will get a pop-up message as given below:
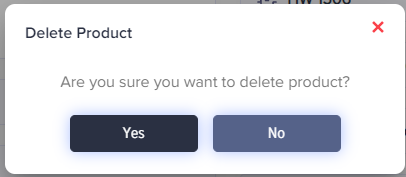
(Screen: Delete Product_Pop-up)
You’ll receive an OTP on your registered email address which you need to enter to delete your product.
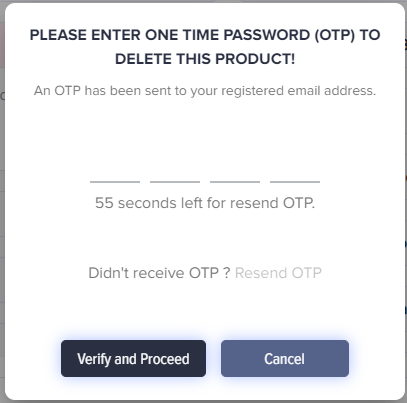
(Screen: Delete Product_OTP)
- Enter the OTP and click on Verify and proceed to delete the product.