Role
Role Management Overview
Defining roles in any business is important to ensure that everyone understands their responsibilities and conduct their duties accordingly. In the Avnet’s IoT Partner Program, the Role Management section allows partners to create various roles as per the structure of their organization.
You can create as many roles as you want, control the access to various features of IoT Partner Program and then assign these roles to different users.
- Go to Setting
- Click on Role
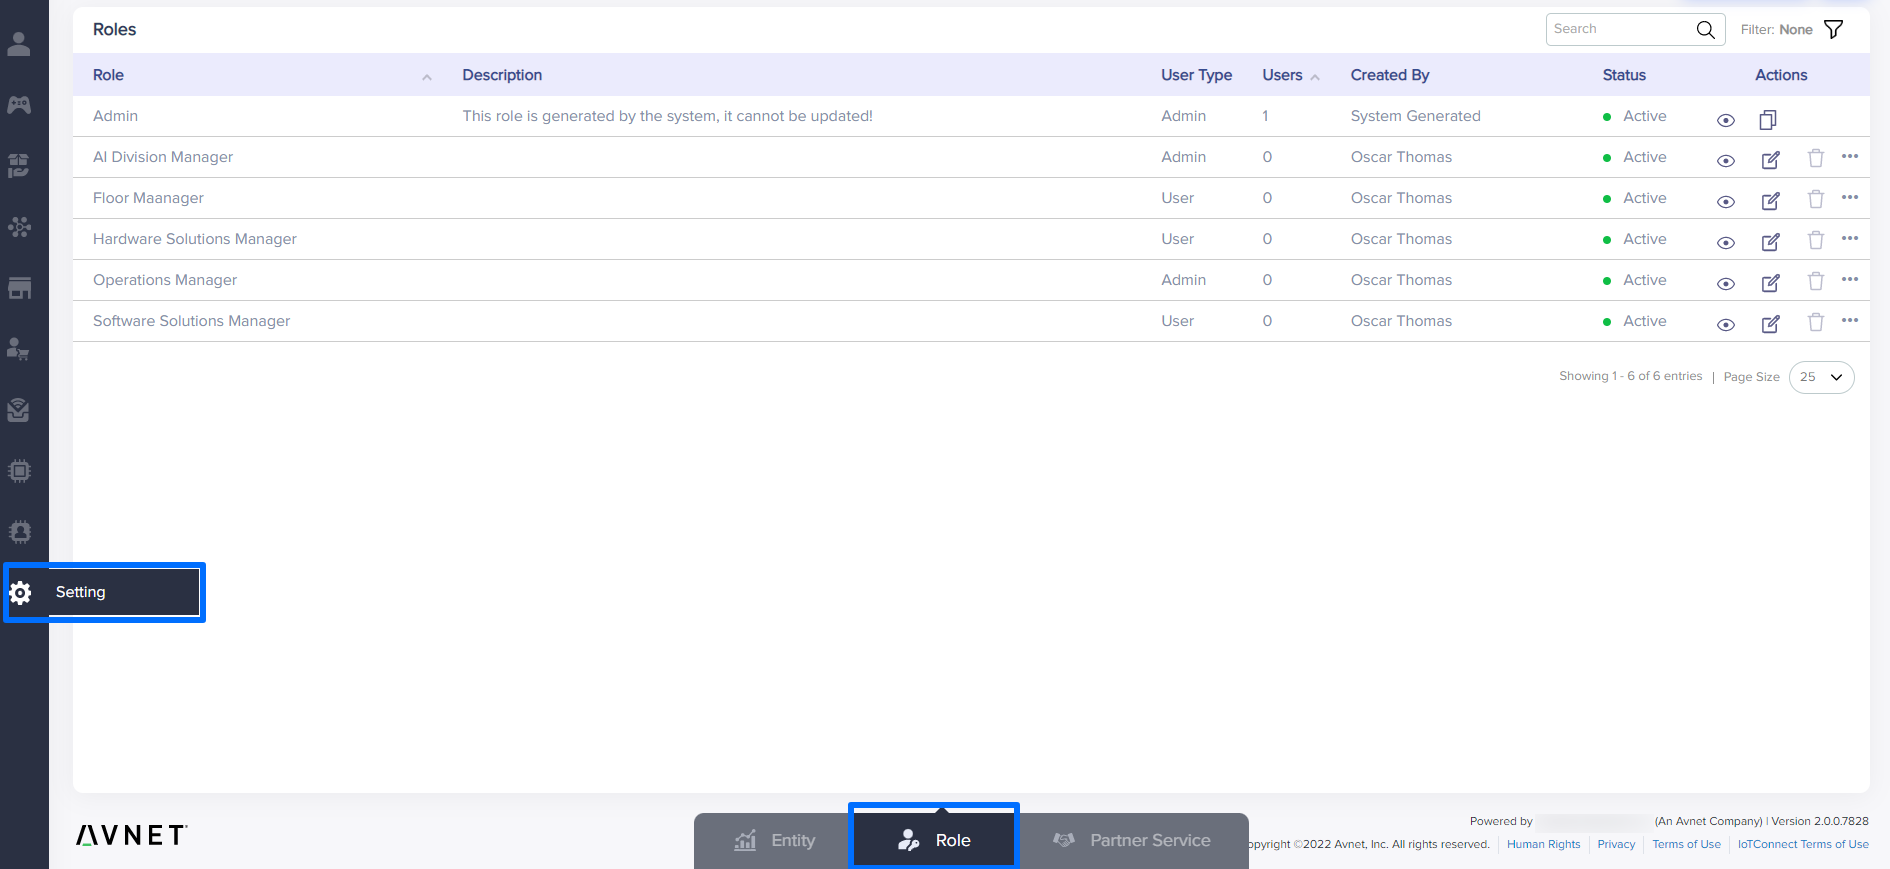
(Screen: Setting – Role)
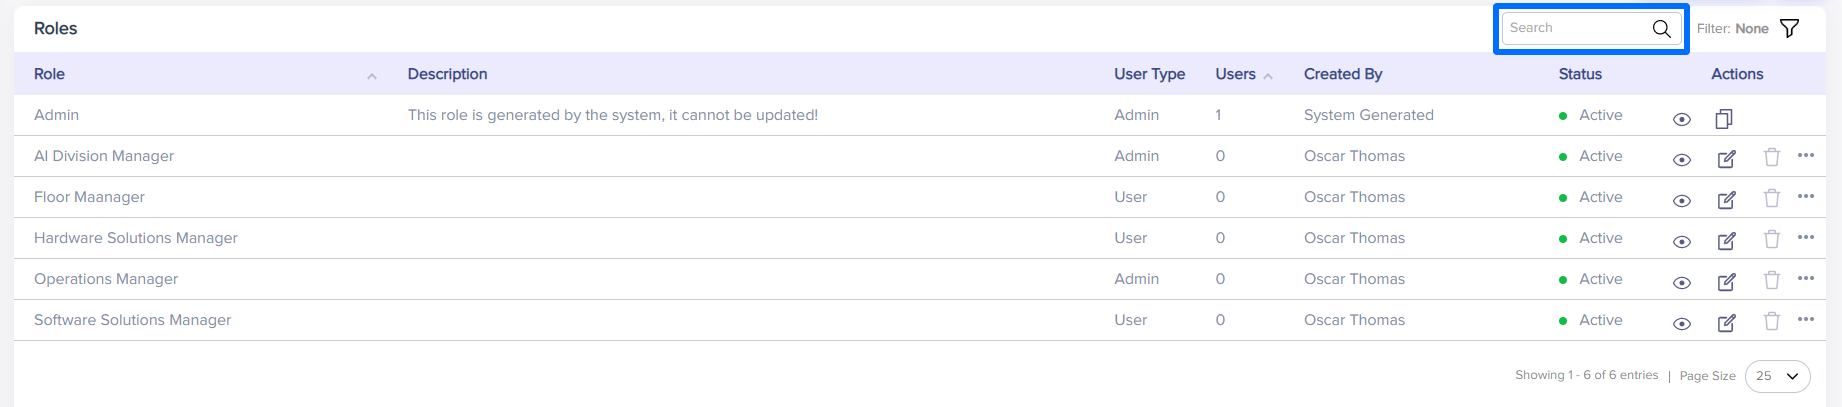
View List Of Roles
On the Role Management screen, you will see a list of roles and their details.
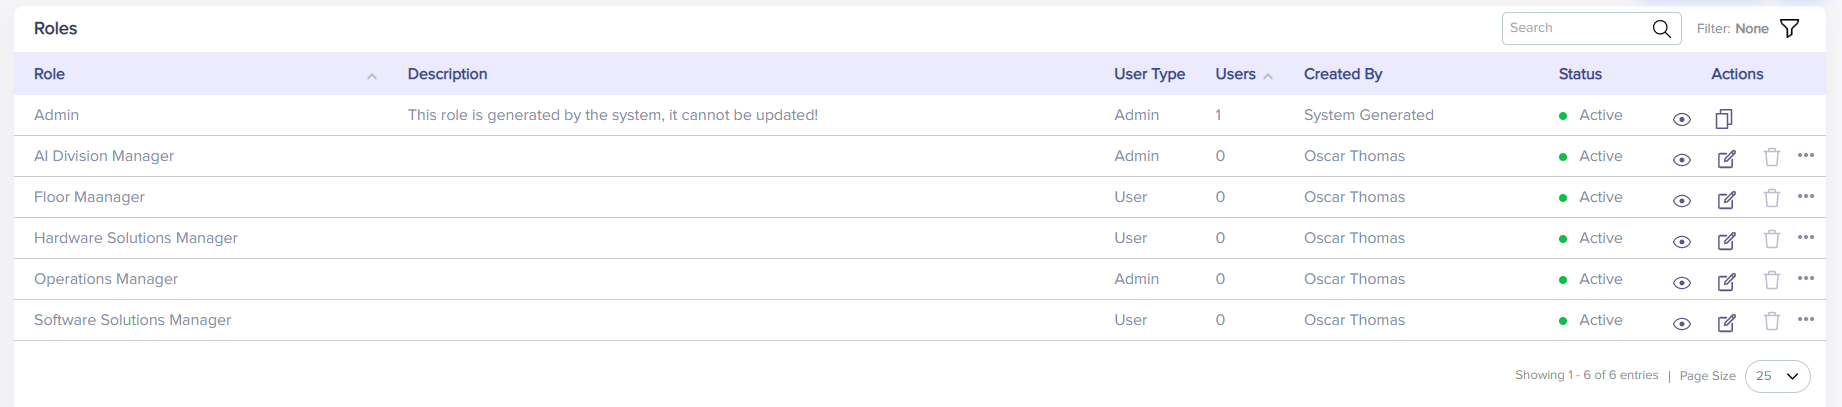
(Screen: Role Management List)
- Role: Name of the role
- Description: A summary of the role
- User type: The user type of the role: Admin/User
- Users: Number of users to whom the role has been granted
- Created by: Name of the user who created the role
- Status: Status of the role: Active/Inactive
- Actions: View, edit, delete and clone buttons for the role
- Sorting: You can sort the list by clicking the icon available along with role and users
Note: The delete icon will be disabled if the status of the role is active.
Filter
You can also filter the list based on user type, status and tags.

(Screen: Role Management List – Filter)
Create A New Role
- Click on the Create Role button to create a new role
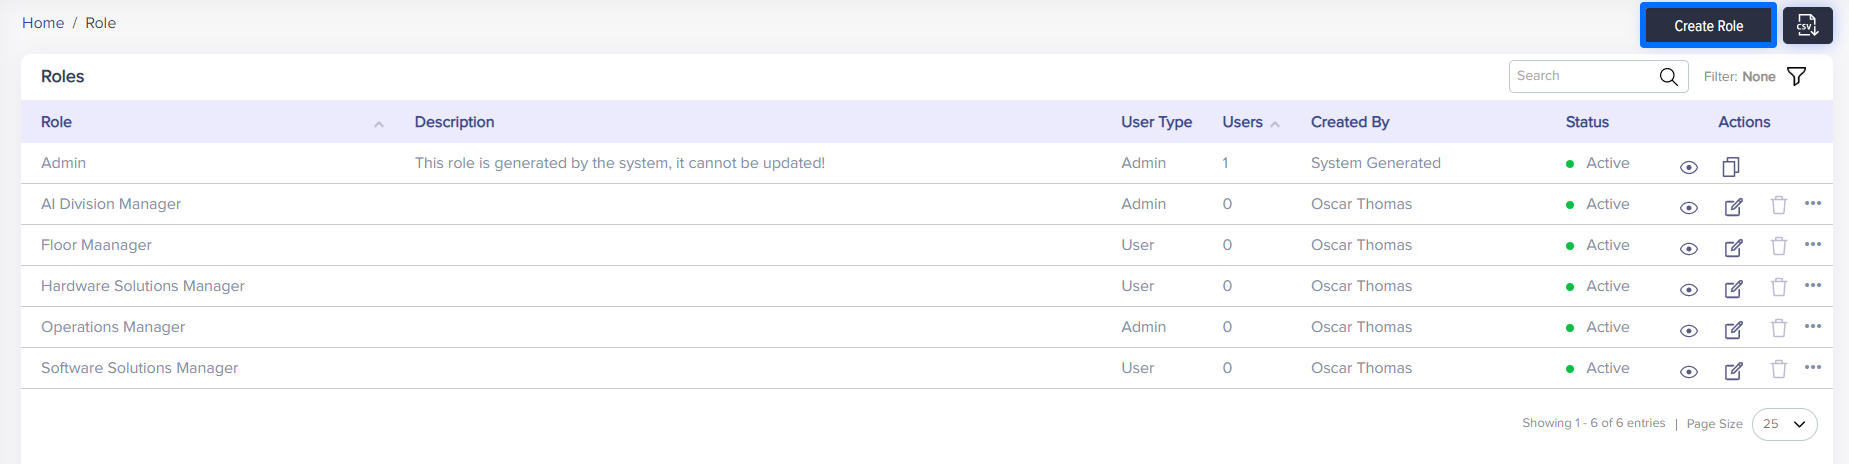
(Screen: Create Role Button)
On click, you will be redirected to the create role page
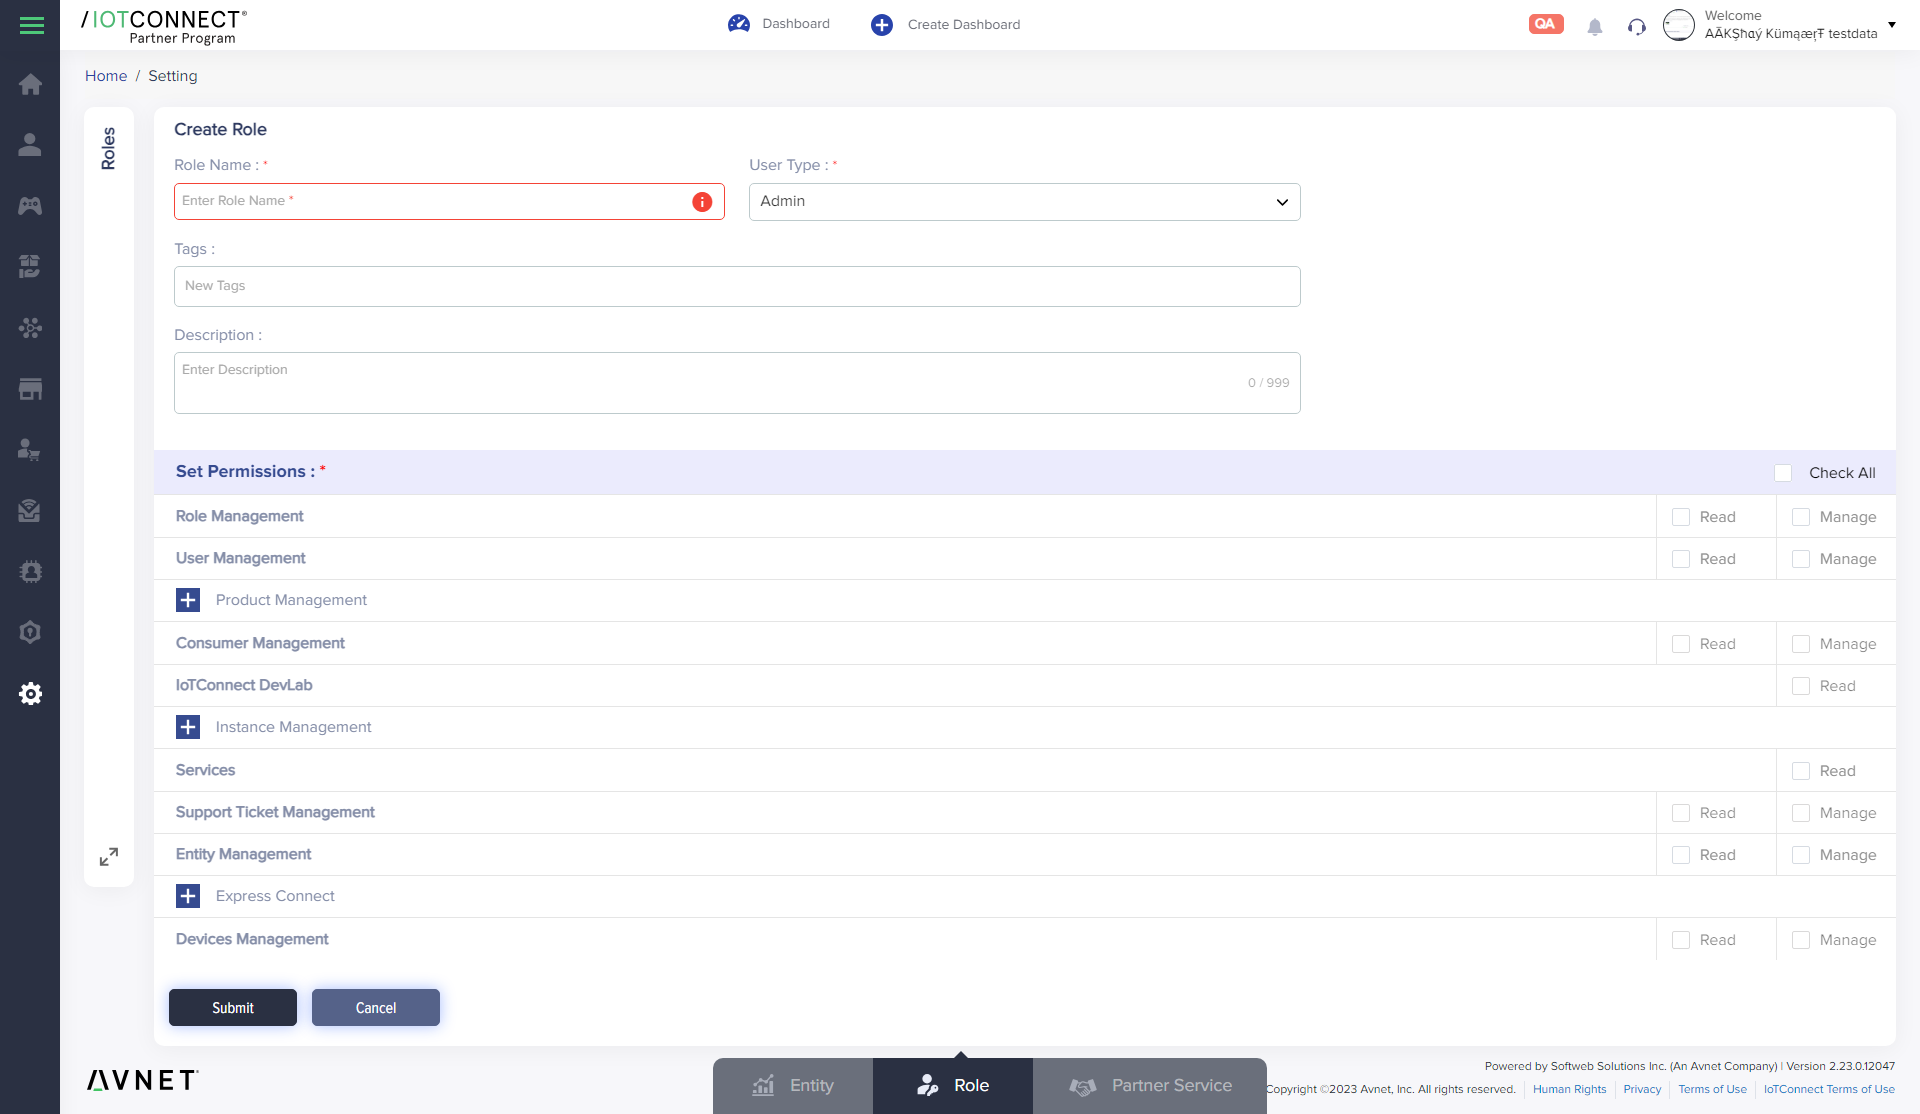
(Screen: Create Role)
- Enter role name
- Select user type: Admin/User
- Enter a description of the role
Note: On selecting the user type as user, the User Management and Role Management options will not be available in set permissions.
Set permissions
The section provides you with full control over the permissions that you want to provide to a specific role in the IoT Partner Program. This is helpful in ensuring that you grant the right permissions to the right users within your team.
Select:
- Read: Allow the user to only read the information provided in the section
- Manage: Allow the user to read, add, edit and manage the information provided in the section
- Click on Check All button to give full access based on the user type
Once you have set permissions for the user, you can:
- Click on the Submit button to create the new role and save the information
- Click on the Cancel button to go back without saving the information
Search Role
Enter the role name in the search bar and click on the search icon or press enter. It will display the results (if there are any) by matching the keyword.
(Screen: Search Role)
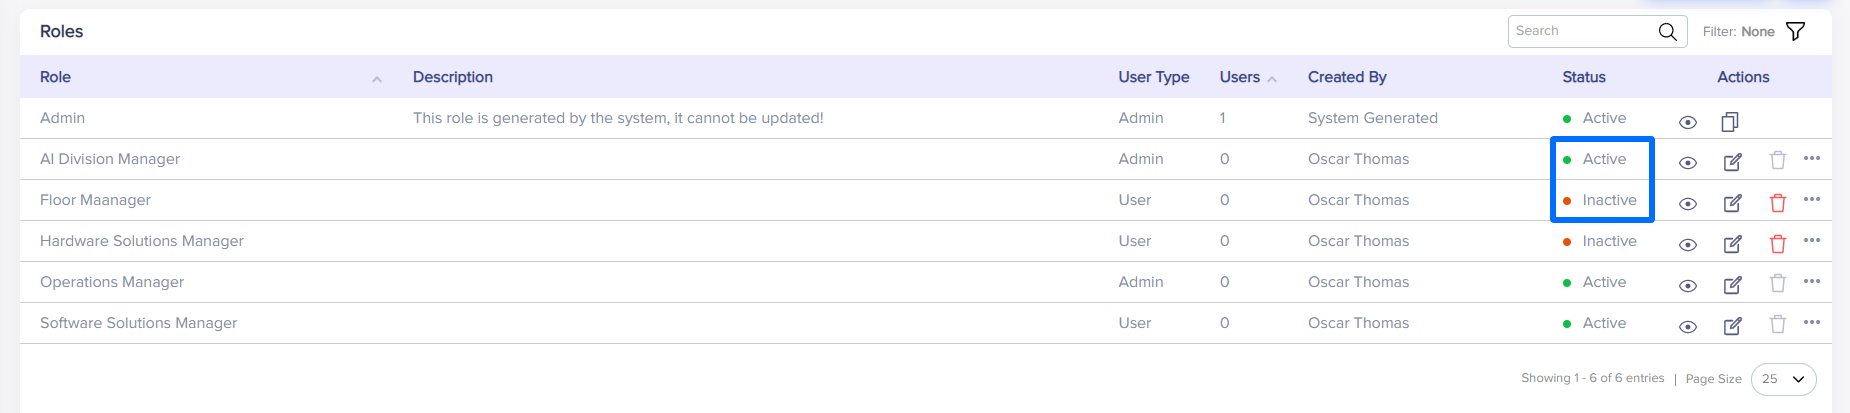
Change The Status Of The Role (Active/Inactive)
To update the status of any role, click on the status field for the role on the role list page.
- Click on the existing status to change the status of a role from Active to Inactive or vice versa
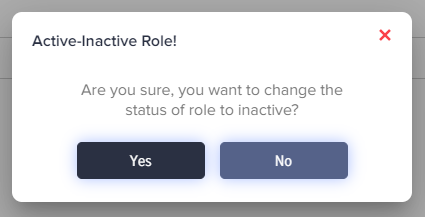
- A pop-up will appear with the question along with answers choice of Yes or No
Note: You can change the status of the role to inactive, only if there are no associated users.
(Screen: Role Status)
(Screen: Change Role Status)
- Click Yes to change the role status
- Click No to go back without changing the role status
View Details Of A Role
To view details of any role:
- Click on the view icon from the role list page
- You will be redirected to the view role page
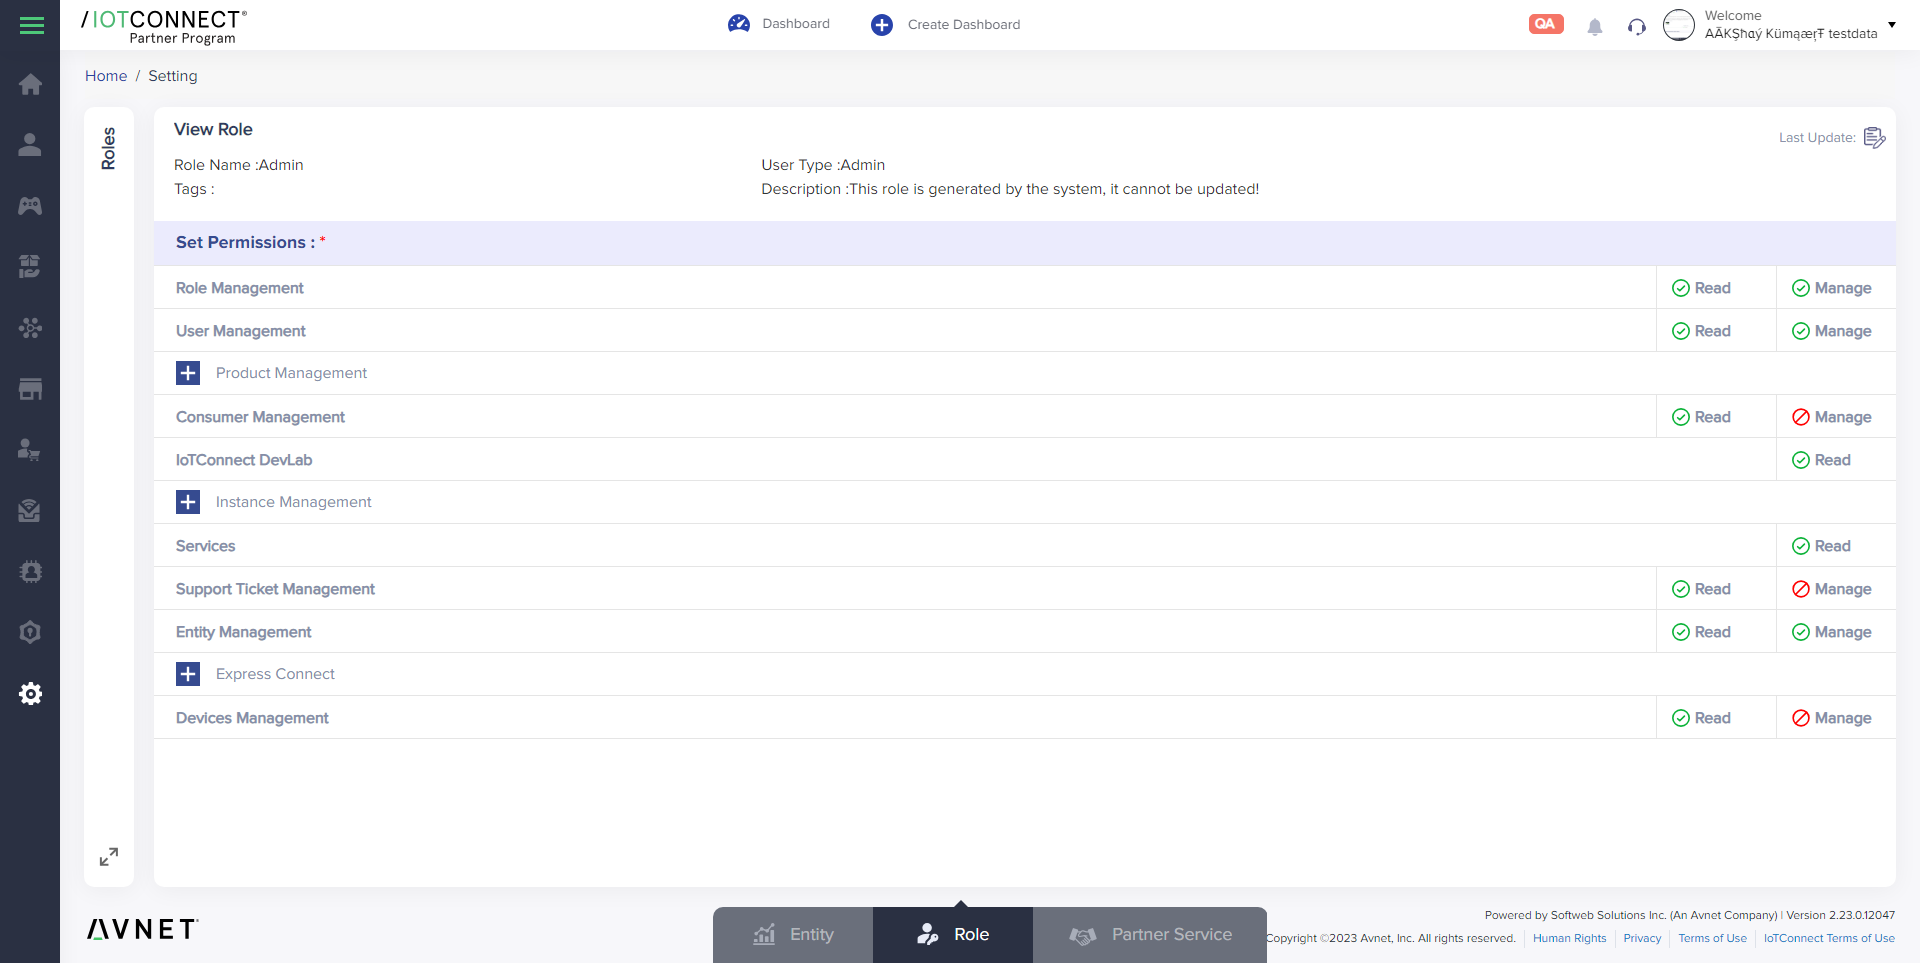
(Screen: View Role)
Edit Details Of A Role
To edit details of any role:
- Click on the edit icon from the role list page
- You will be redirected to the edit role page

(Screen: Edit Role)
- You can see the prefilled information of the role in edit mode
- Update the fields as needed (User type is a non-editable field)
- Click on the Submit button to save the changes
- Click on the Cancel button to go back without editing the information
Note:
System generated roles cannot be edited.
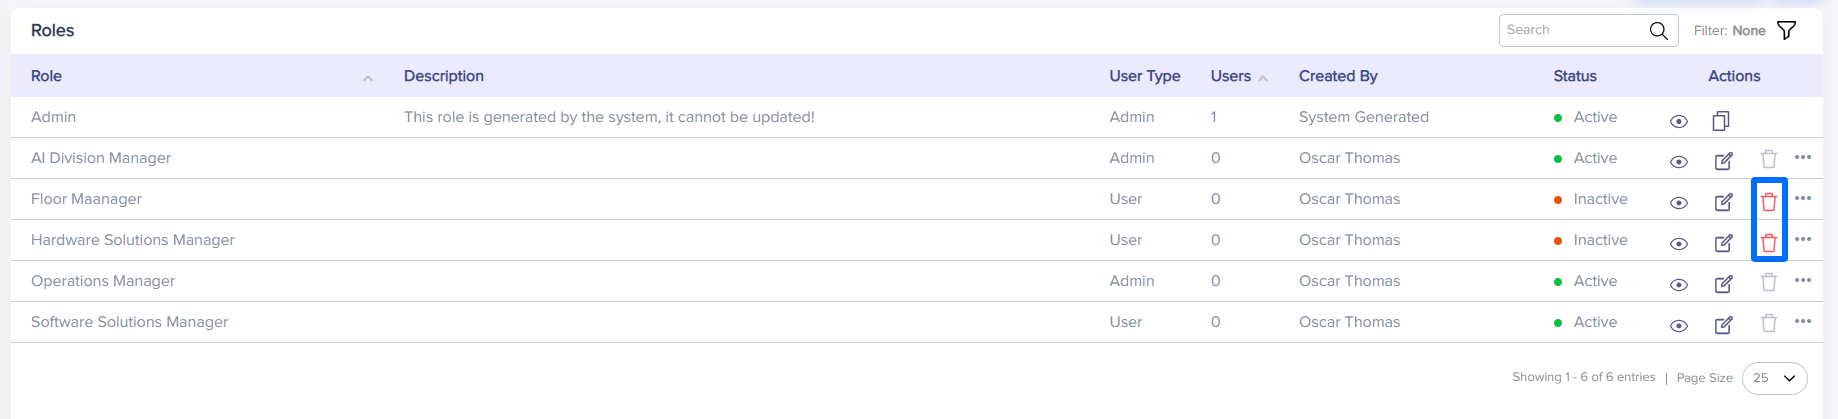
Delete A Role
Note: To delete a role, the status should be inactive and only then will the delete icon be enabled.
To delete a role:
- Click on the delete icon for the role from the role list page
(Screen: Delete Role Button)
- A pop-up will appear with the question along with answers choice of Yes or No
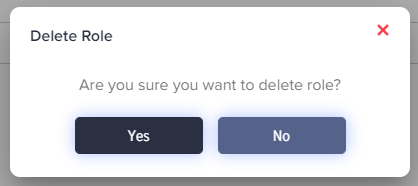
(Screen: Delete Role)
- Click Yes to delete the role
- Click No to go back without deleting the role
Clone A Role
Cloning a role allows you to create a new role which has the same attributes and permissions of the role that you are cloning. This helps in saving time when you have to create multiple roles that may be similar in nature, where you only have to change certain particulars and not create each role from scratch.
To clone any role:
- Click on the clone icon from the role list page
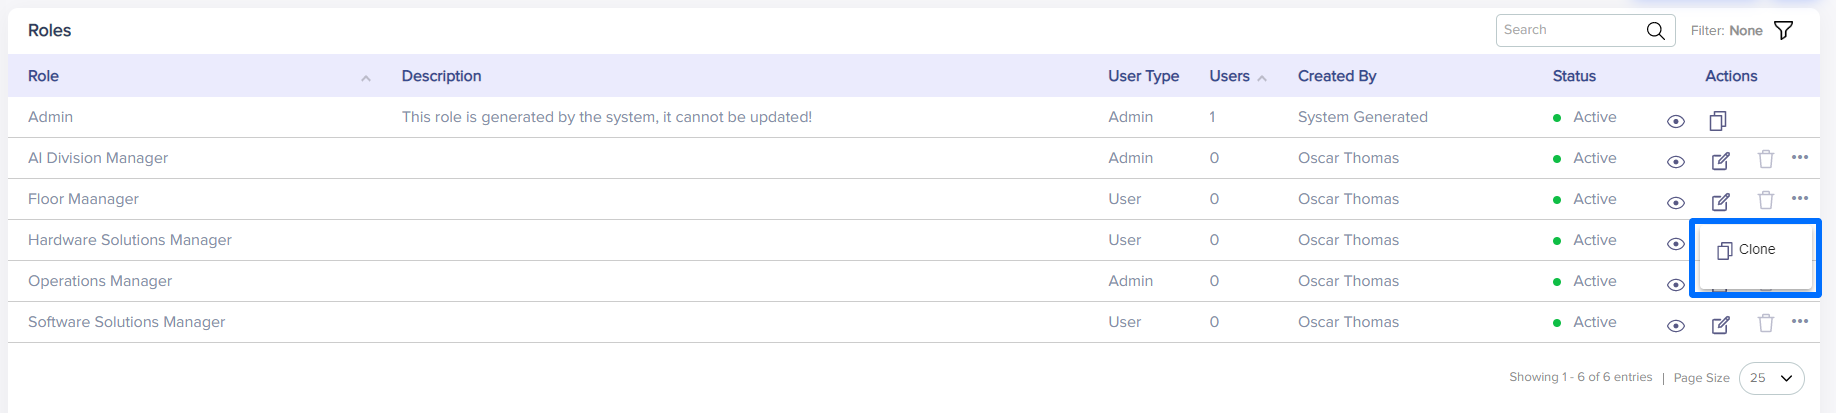
(Screen: Clone Role Button)
- You will be redirected to the clone role page

(Screen: Clone Role)
- Enter Role name
- Here you will see prefilled information of the role such as user type, description and permissions.
- Update the fields as needed
- Click on the Submit button to create a new role and save the information
- Click on the Cancel button to go back without saving the information