User
User Overview
Setting up and managing a team of users with various roles is imperative to start building solutions on Avnet’s IoT Partner Program. The partner can provision multiple users onto the platform from this section. After logging in, you can create, edit, and delete users according to your preferences.
- Go to Dashboard
- From the left navigation pane click User
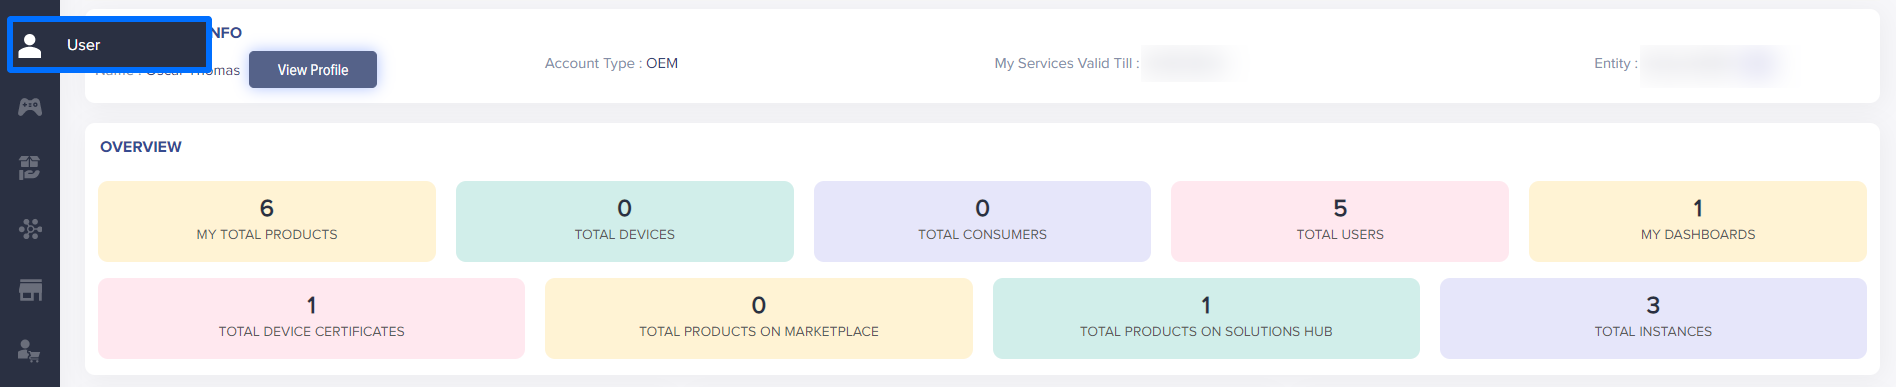
(Screen: IoT Partner Program Portal Dashboard- User Management)
View List Of Users
On the User screen, you will see a list of users and their details.
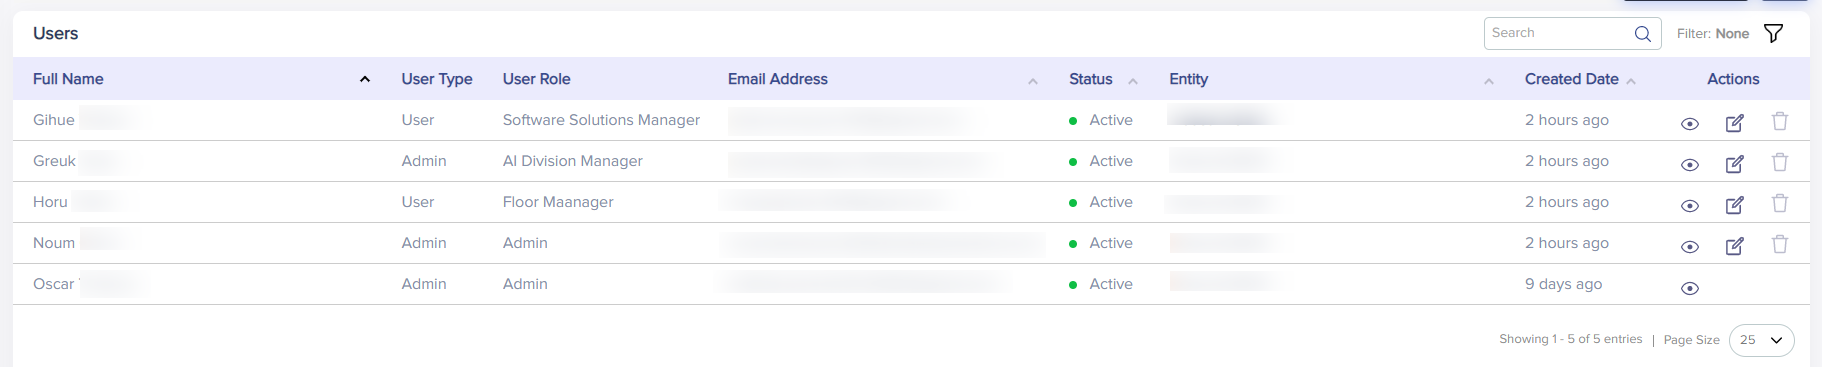
(Screen: User Management List)
- Full name: First and last name of the user
- User Type: This field defines the type of user
- User Role: The role assigned to the user
- Email Address: Email address of the user
- Status: Status of the user: Active/Inactive
- Entity: Entity of the user
- Created date: The date when the user was created.
- Actions: View, edit and delete buttons for the user.
Create A New User
- Click on the Create User button to create a new user.
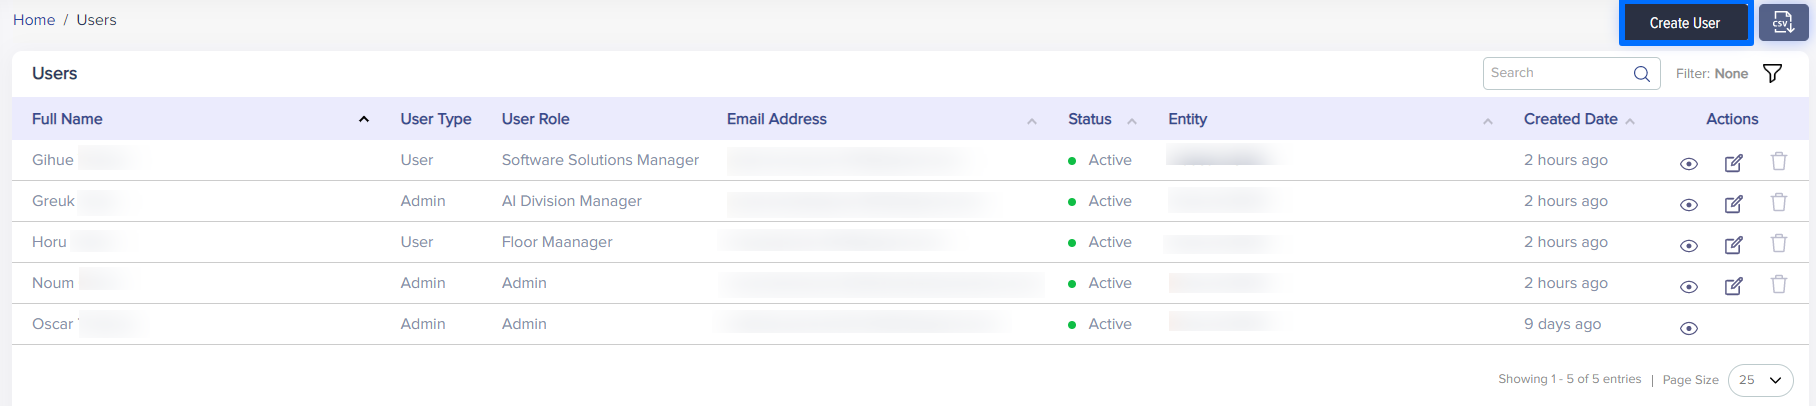
(Screen: Create User Button)
- On click, you will be redirected to the Create User page
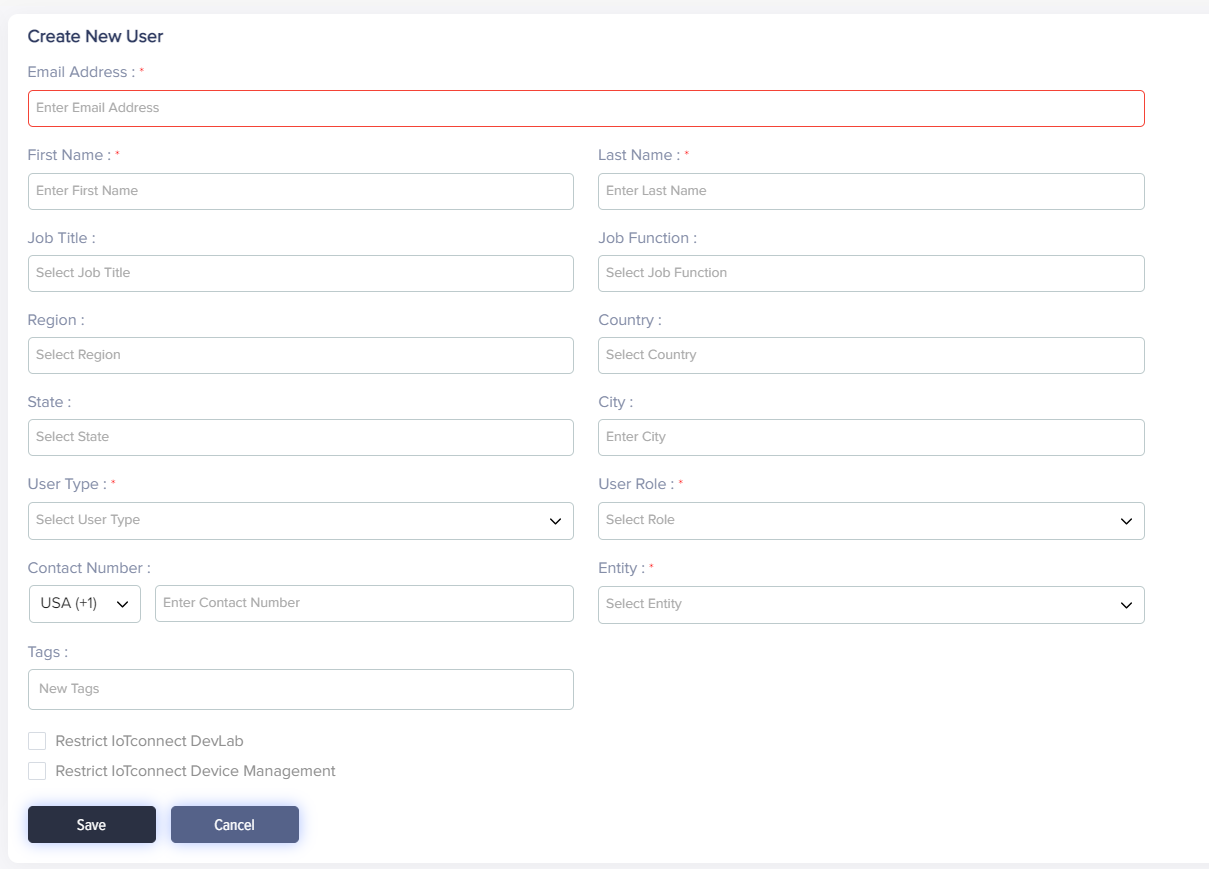
(Screen: Create User)
- Enter email address, first name and last name of the new user
- Enter job title and job function of the user
- Select region, country, state, city and entity of the new user
- Select the user type and role to be assigned to the new user
- Click on the Save button to create new user and save the information
- An email will be sent to the entered email address
- Click on the Cancel button to go back without saving the information
Search User
Enter keyword in the search bar and click on the search icon or press enter. It will display the results (if there are any) by matching the keyword.

(Screen: Search User)
Change The Status Of The User (Active/Inactive)
To update the status of any user, click on the status field for the user on the user list page.
- Click on the existing status to change the status of a user from Active to Inactive or vice versa.
- A pop-up will appear with the question along with choice of Yes or No.

(Screen: Change Status)
- Click Yes to change the user status.
- Click No to go back without changing the user status.
Note:
You won’t be able to change the status of the primary user or the user who has logged in.
View Details Of A User
To view details of any user:
- Click on the view icon from the user list page
- A pop-up showing the user details will appear on the right side
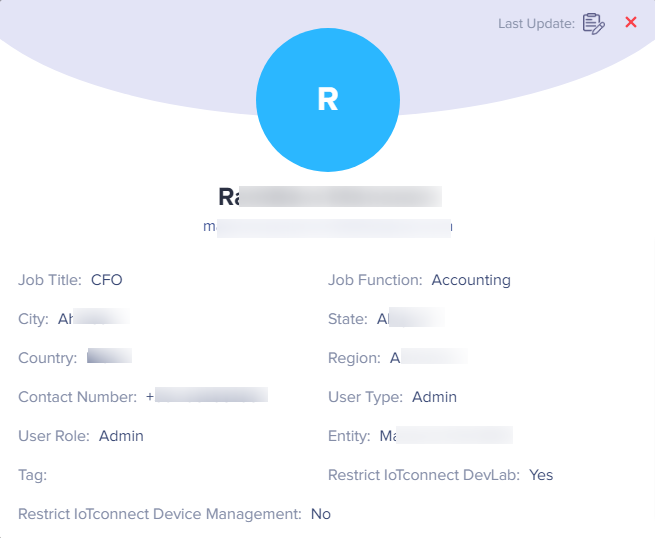
(Screen: View User)
Edit Details Of A User
To edit details of a user:
- Click on the edit icon for the user from the user list page.
- You will be redirected to the edit user page.
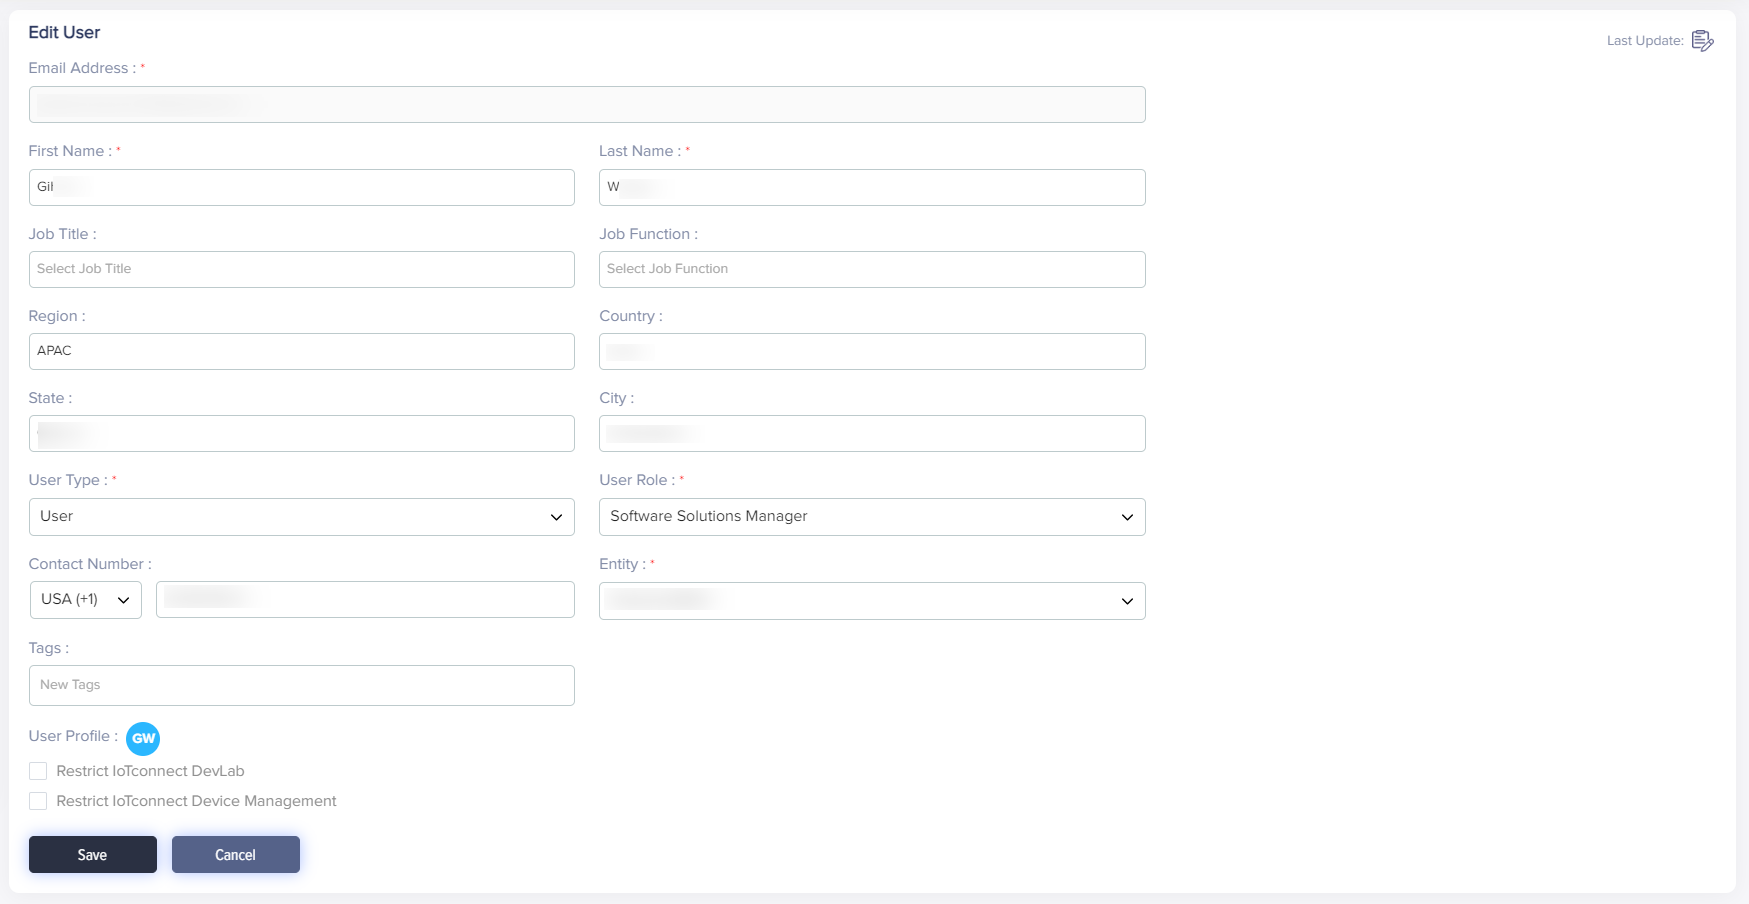
(Screen: Edit User)
- You can see the prefilled information of the user in edit mode.
- Update the fields as needed (Email address is a non-editable field).
- Click on the Make primary contact checkbox, if you want to make the user as primary contact.
- Click on Restrict user to /IOTCONNECT™ DevLab, if you don’t want the user to access DevLab.
- Click on Restrict user to /IOTCONNECT™ Device Management, if you don’t want the user to access DMS module.
- Click on the Save button to save the changes of the existing user.
- Click on the Cancel button to go back without saving the user information.
Note: You can edit all the fields except Email.
Delete A User
Note: To delete a user, the status of the user should be inactive then only the delete icon will be enabled.
To delete a user:
- Click the delete icon for the particular user from the user list page
- A pop-up will appear with the question along with choice of Yes or No

(Screen: Delete User)
- Click Yes to delete the user
- Click No to go back without deleting the user